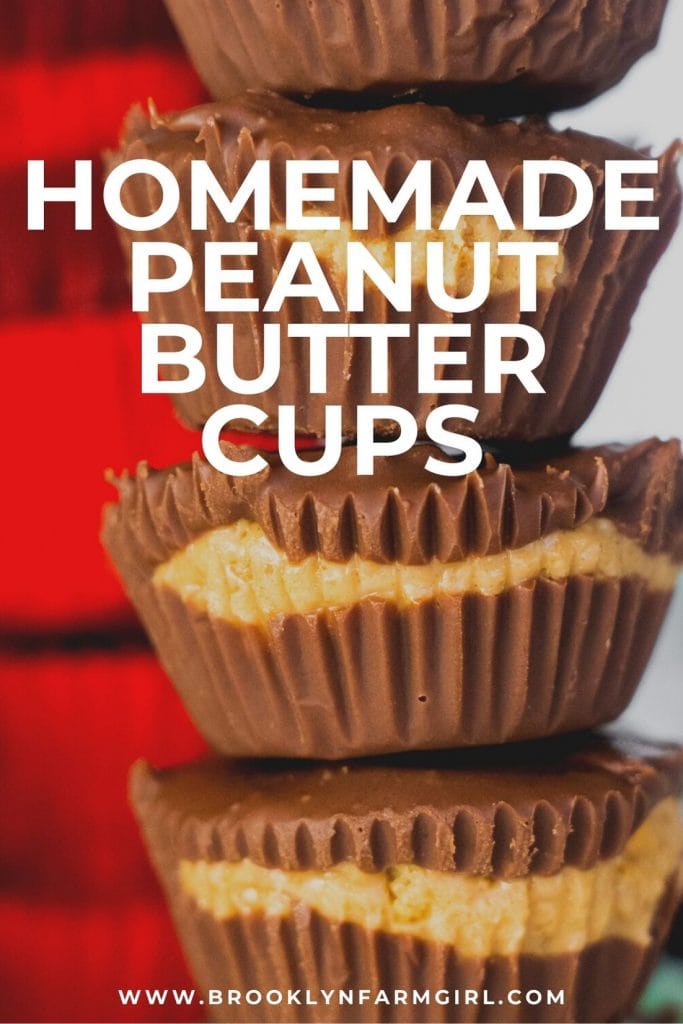

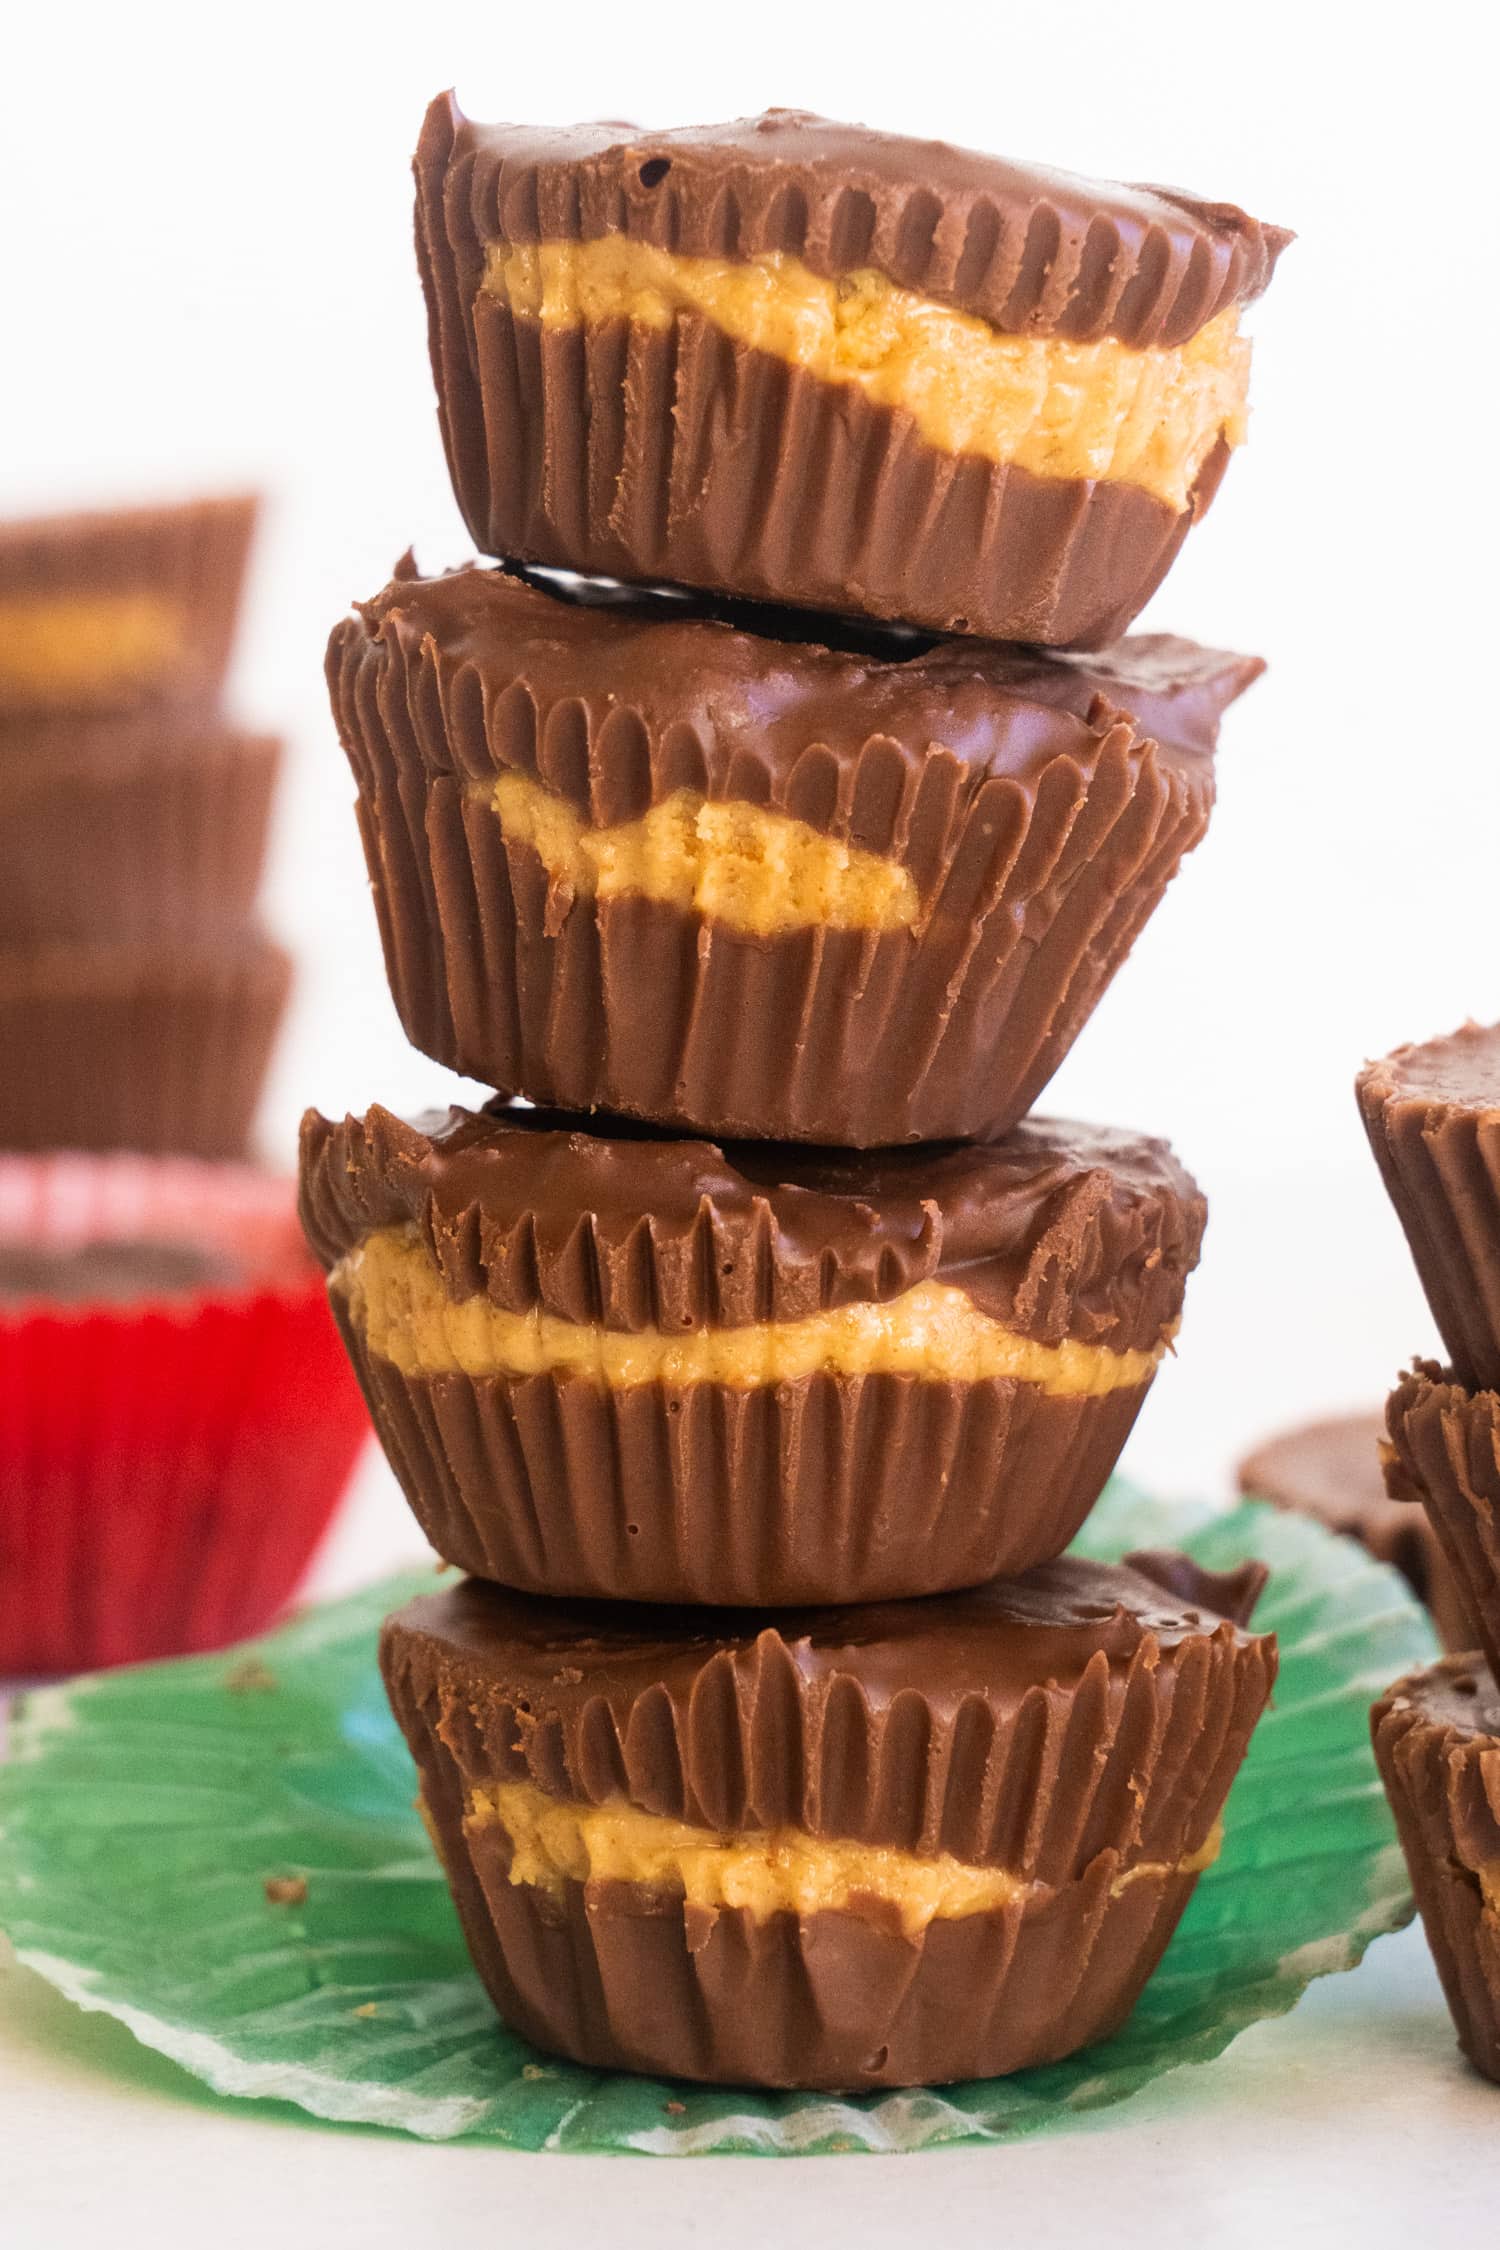
Making Homemade Peanut Butter Cups is so easy! Using a handful of simple ingredients, these no-bake chocolatey peanut butter treats come together in no time and store well for months.
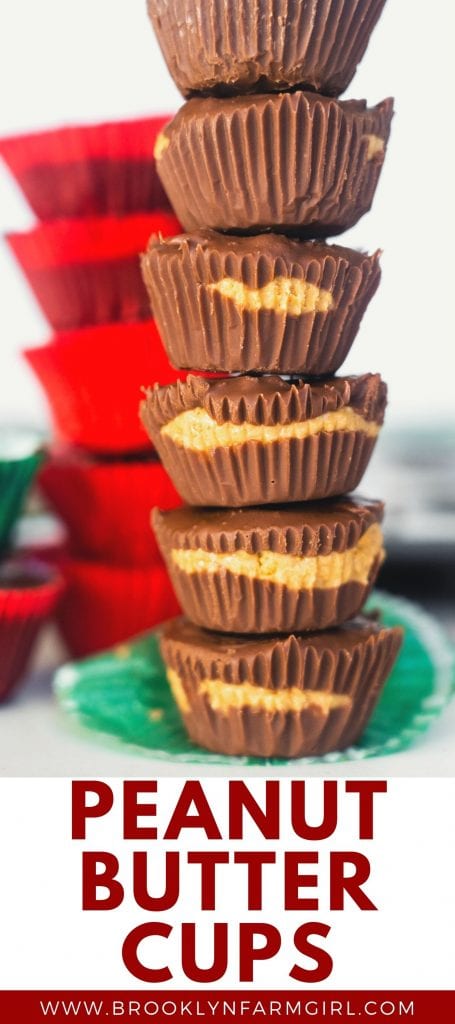
Mini peanut butter cups recipe
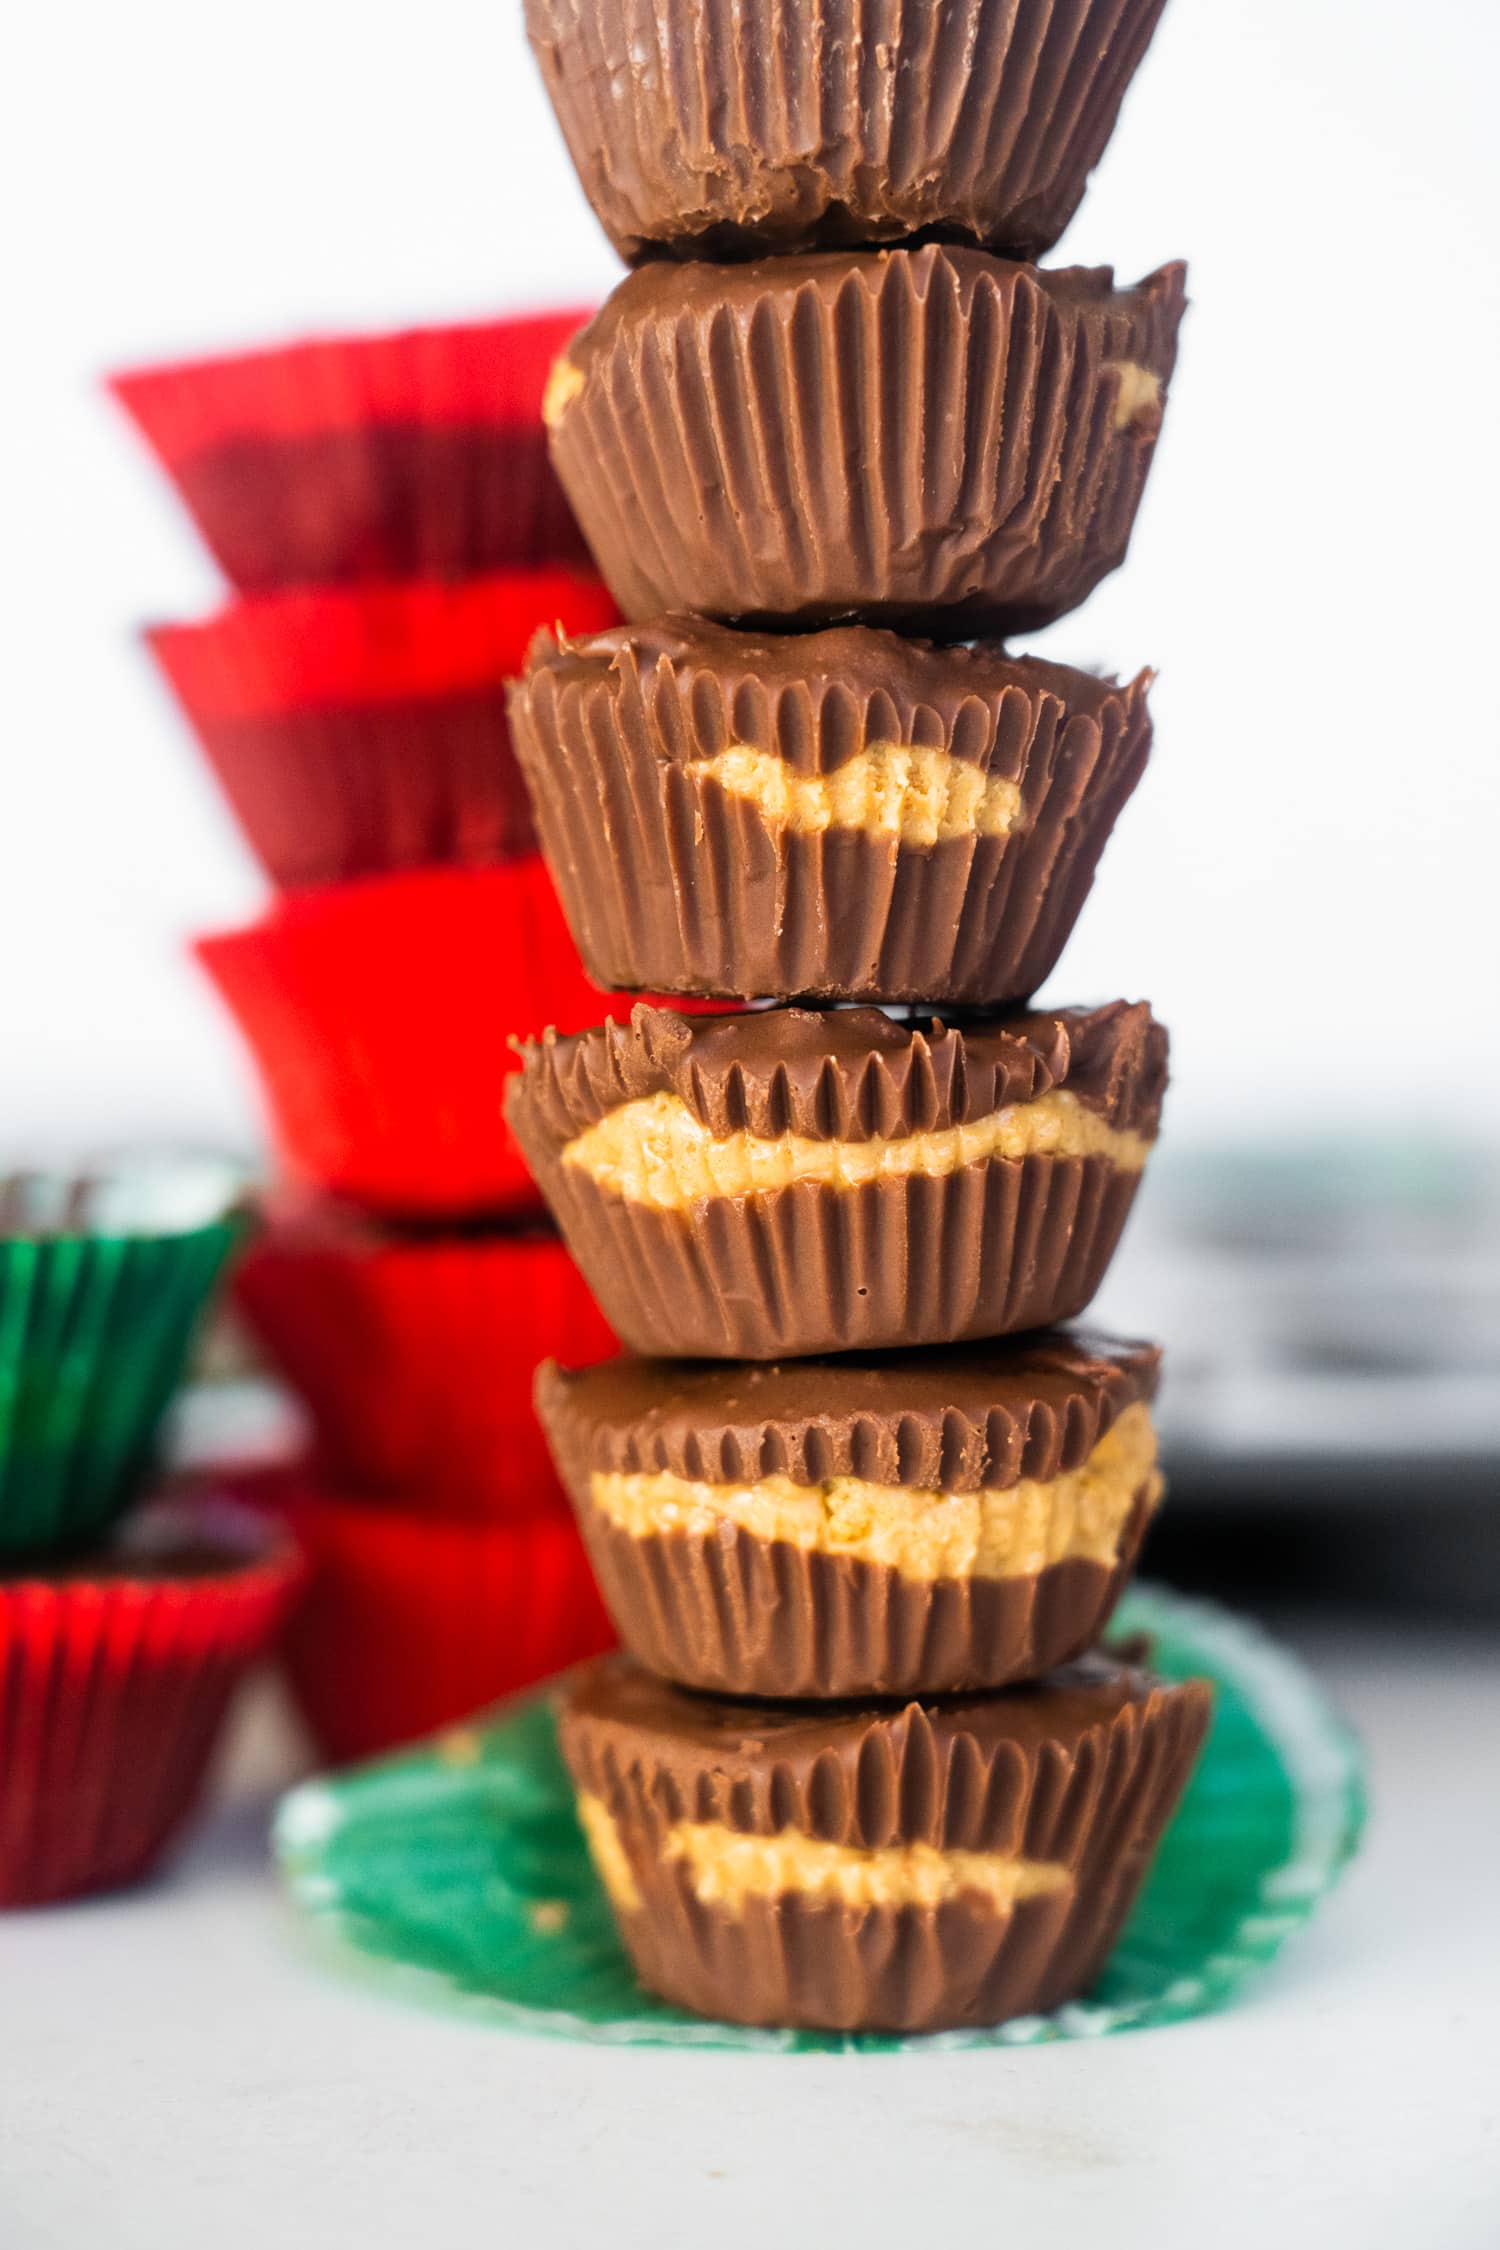
I can’t get over how easy it is to make Homemade Peanut Butter Cups. Just like the classic Reese’s peanut butter cups, these sweet, chocolatey, and nutty treats are so addictive! This recipe makes 24 mini peanut butter cups but I recommend doubling the recipe to stash in your freezer.
This mini peanut butter cups recipe has 4 simple ingredients: chocolate, peanut butter, graham cracker crumbs, and powdered sugar. Just like my Chocolate Peanut Butter Blossoms and Baked Chocolate Donuts, these delicious treats are ultra chocolatey with peanut butter. Bonus: customize them any way you like for the holidays, special events, or to make the recipe perfect for your taste buds!
What ingredients are in peanut butter cups?

This is a simple and chocolatey 4-ingredient dessert recipe. You’ll need:
- Chocolate chips
- Creamy peanut butter
- Graham crackers crumbs
- Powdered sugar
Try to use high quality milk chocolate chips for the very best flavors. I also added crushed graham crackers so the peanut butter layer is sturdy and doesn’t leak out of the chocolate.
How to make your own peanut butter cups
No special equipment needed here! Making mini peanut butter cups only requires a mini muffin tin and cupcake liners. You’ll be surprised at just how easy they are to make:
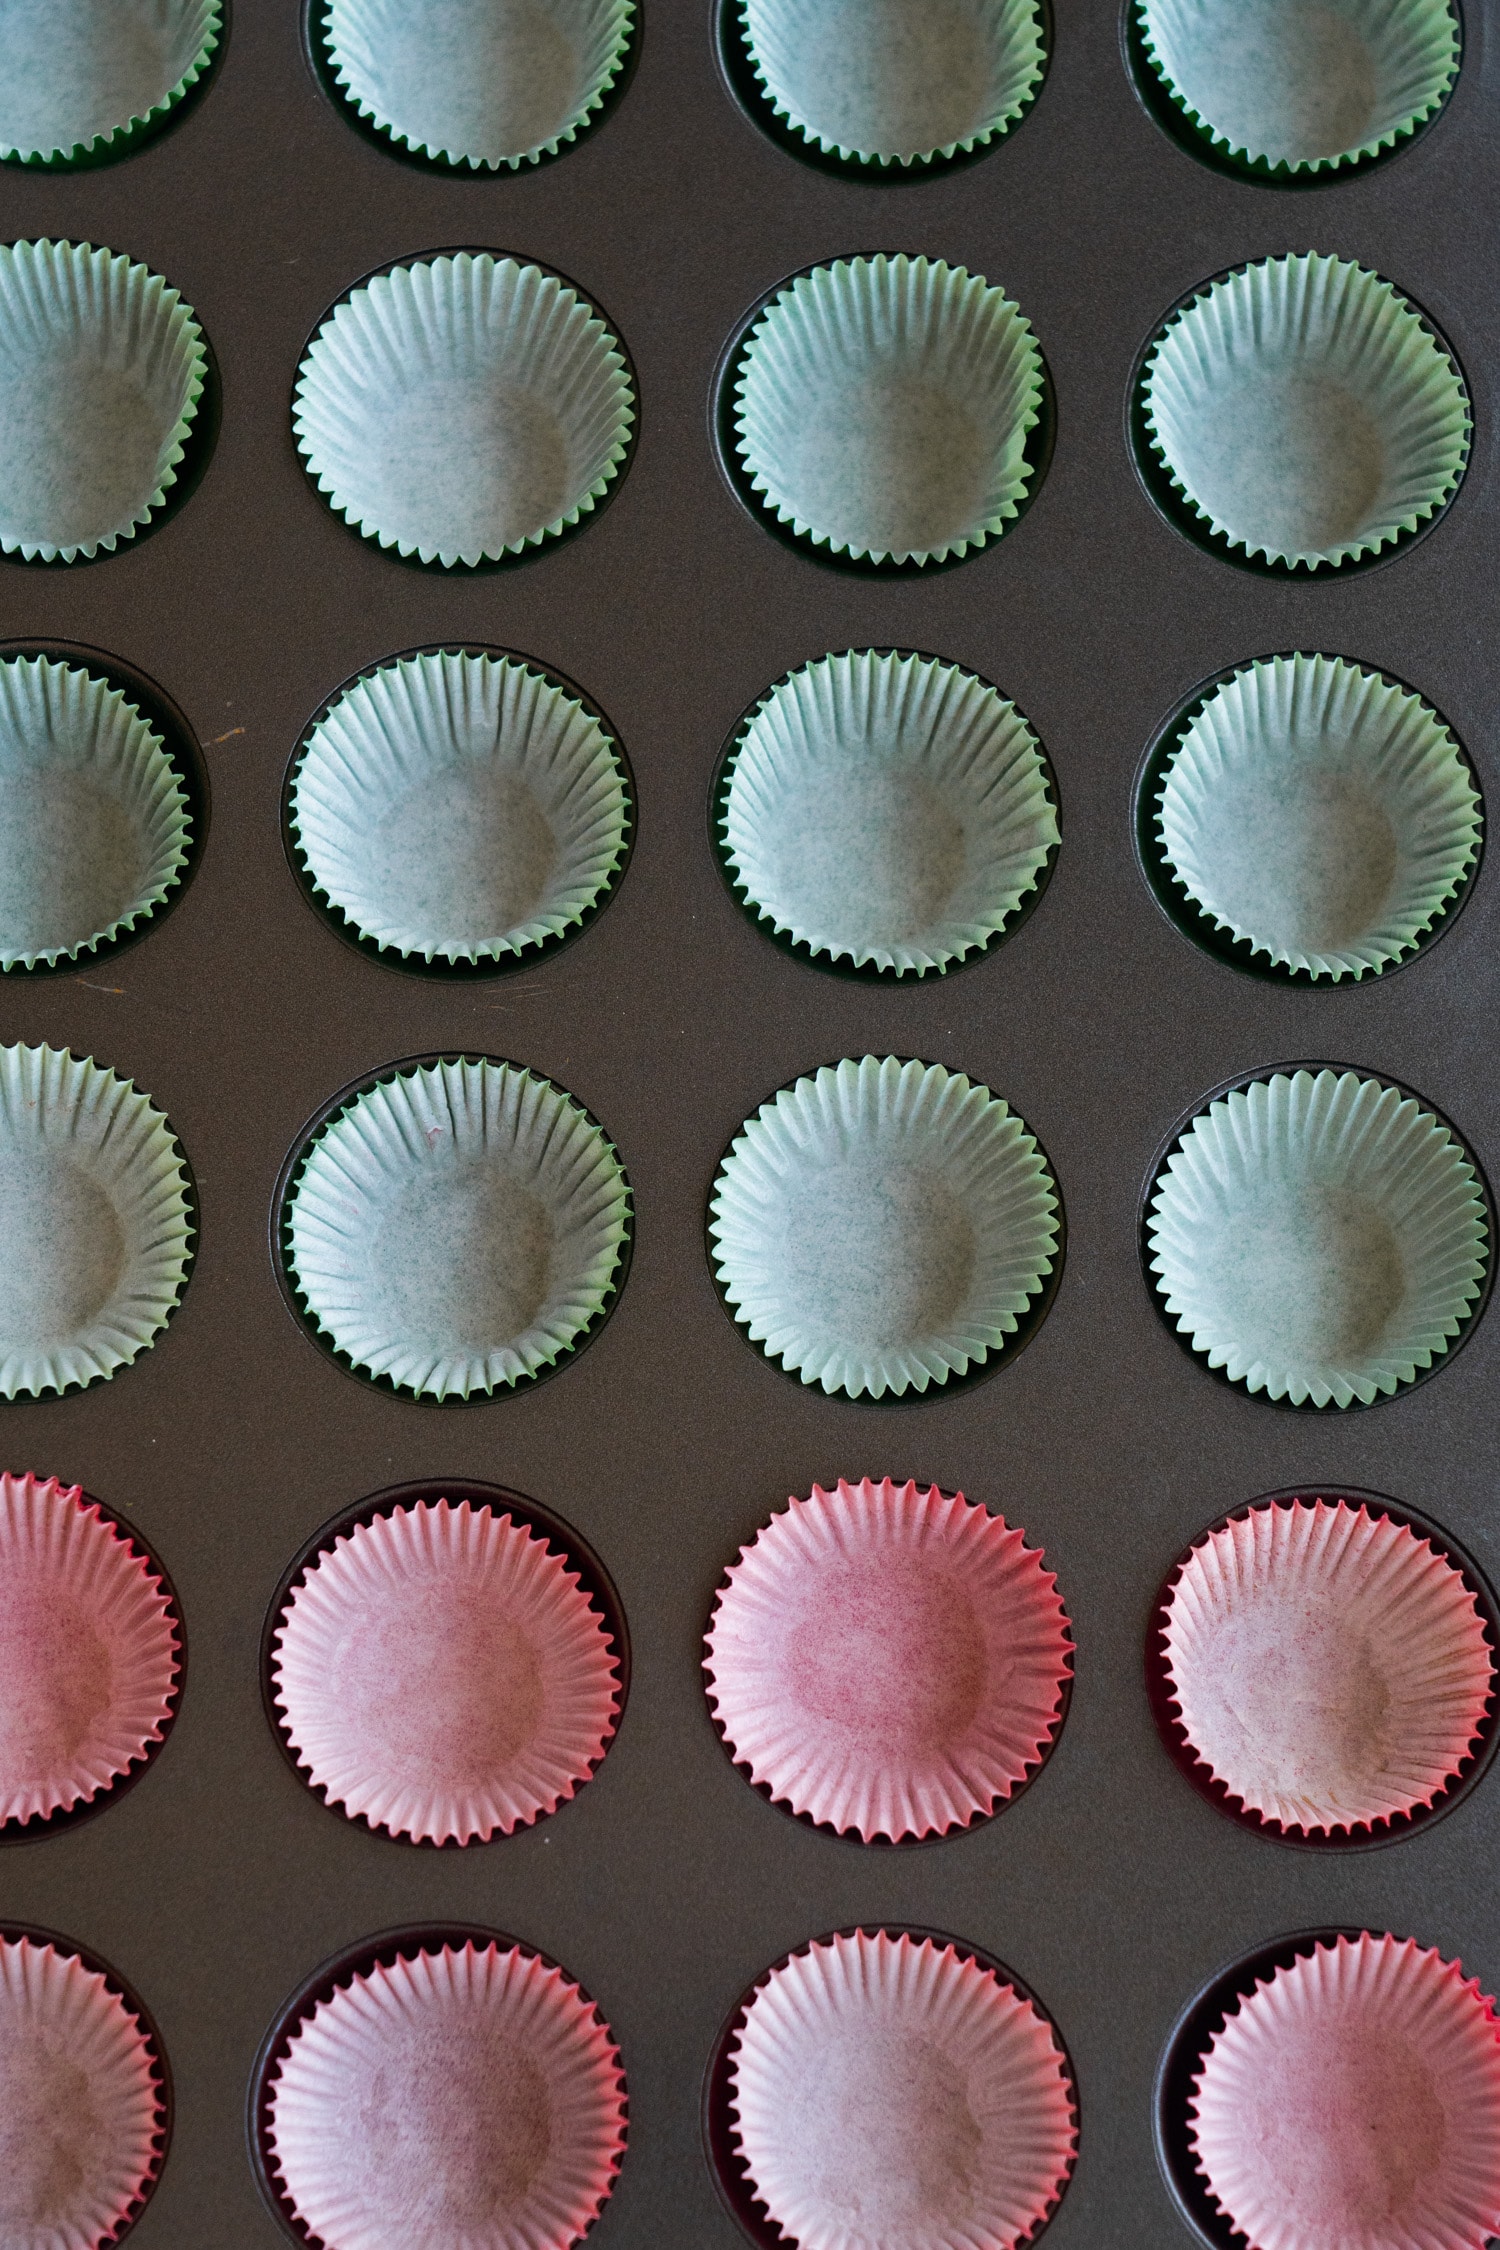
Line your mini muffin pan with liners. (ps. love these silicone reusable muffin liners)
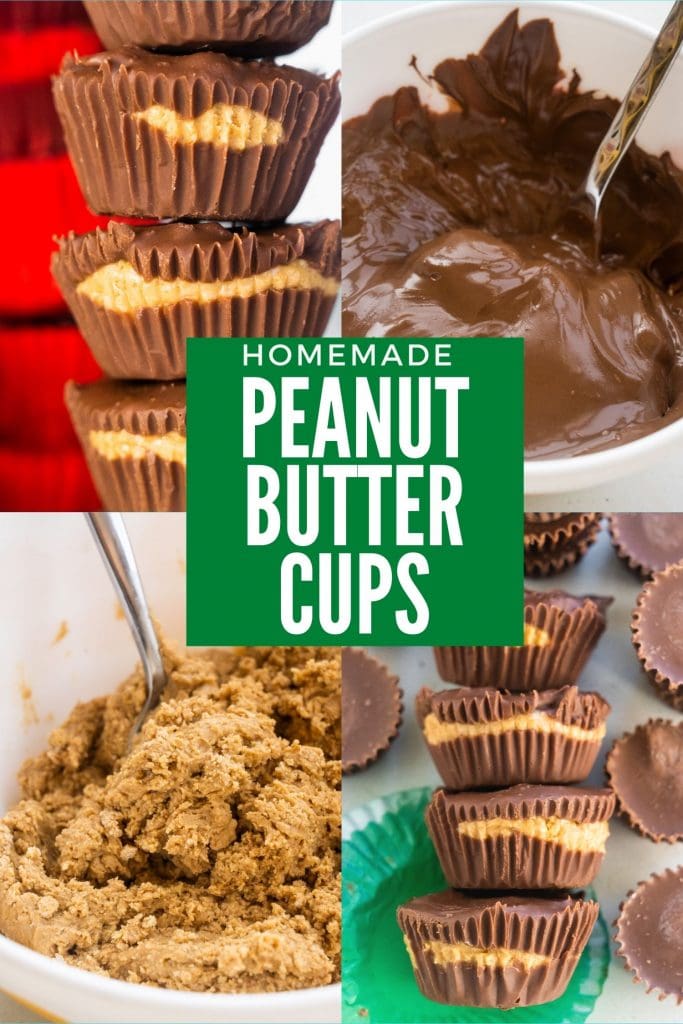
Melt the chocolate chips in the microwave.

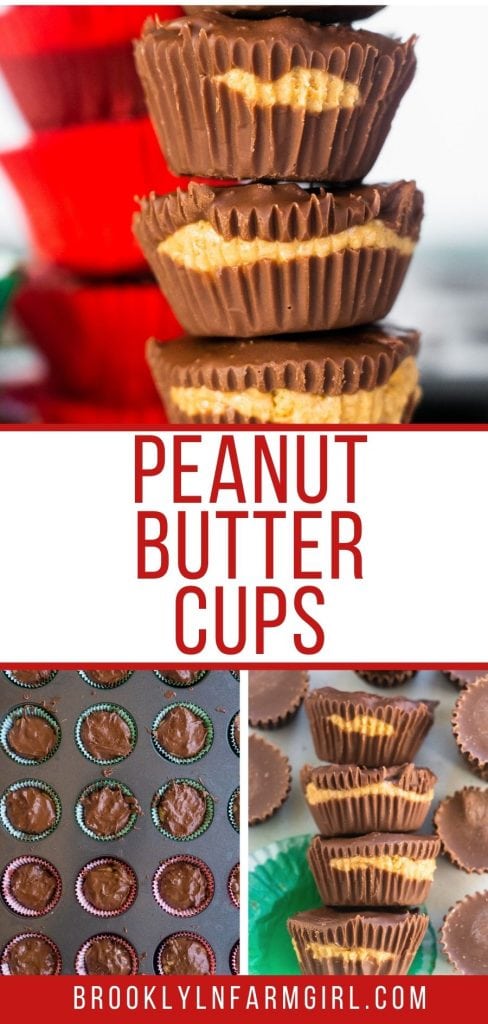
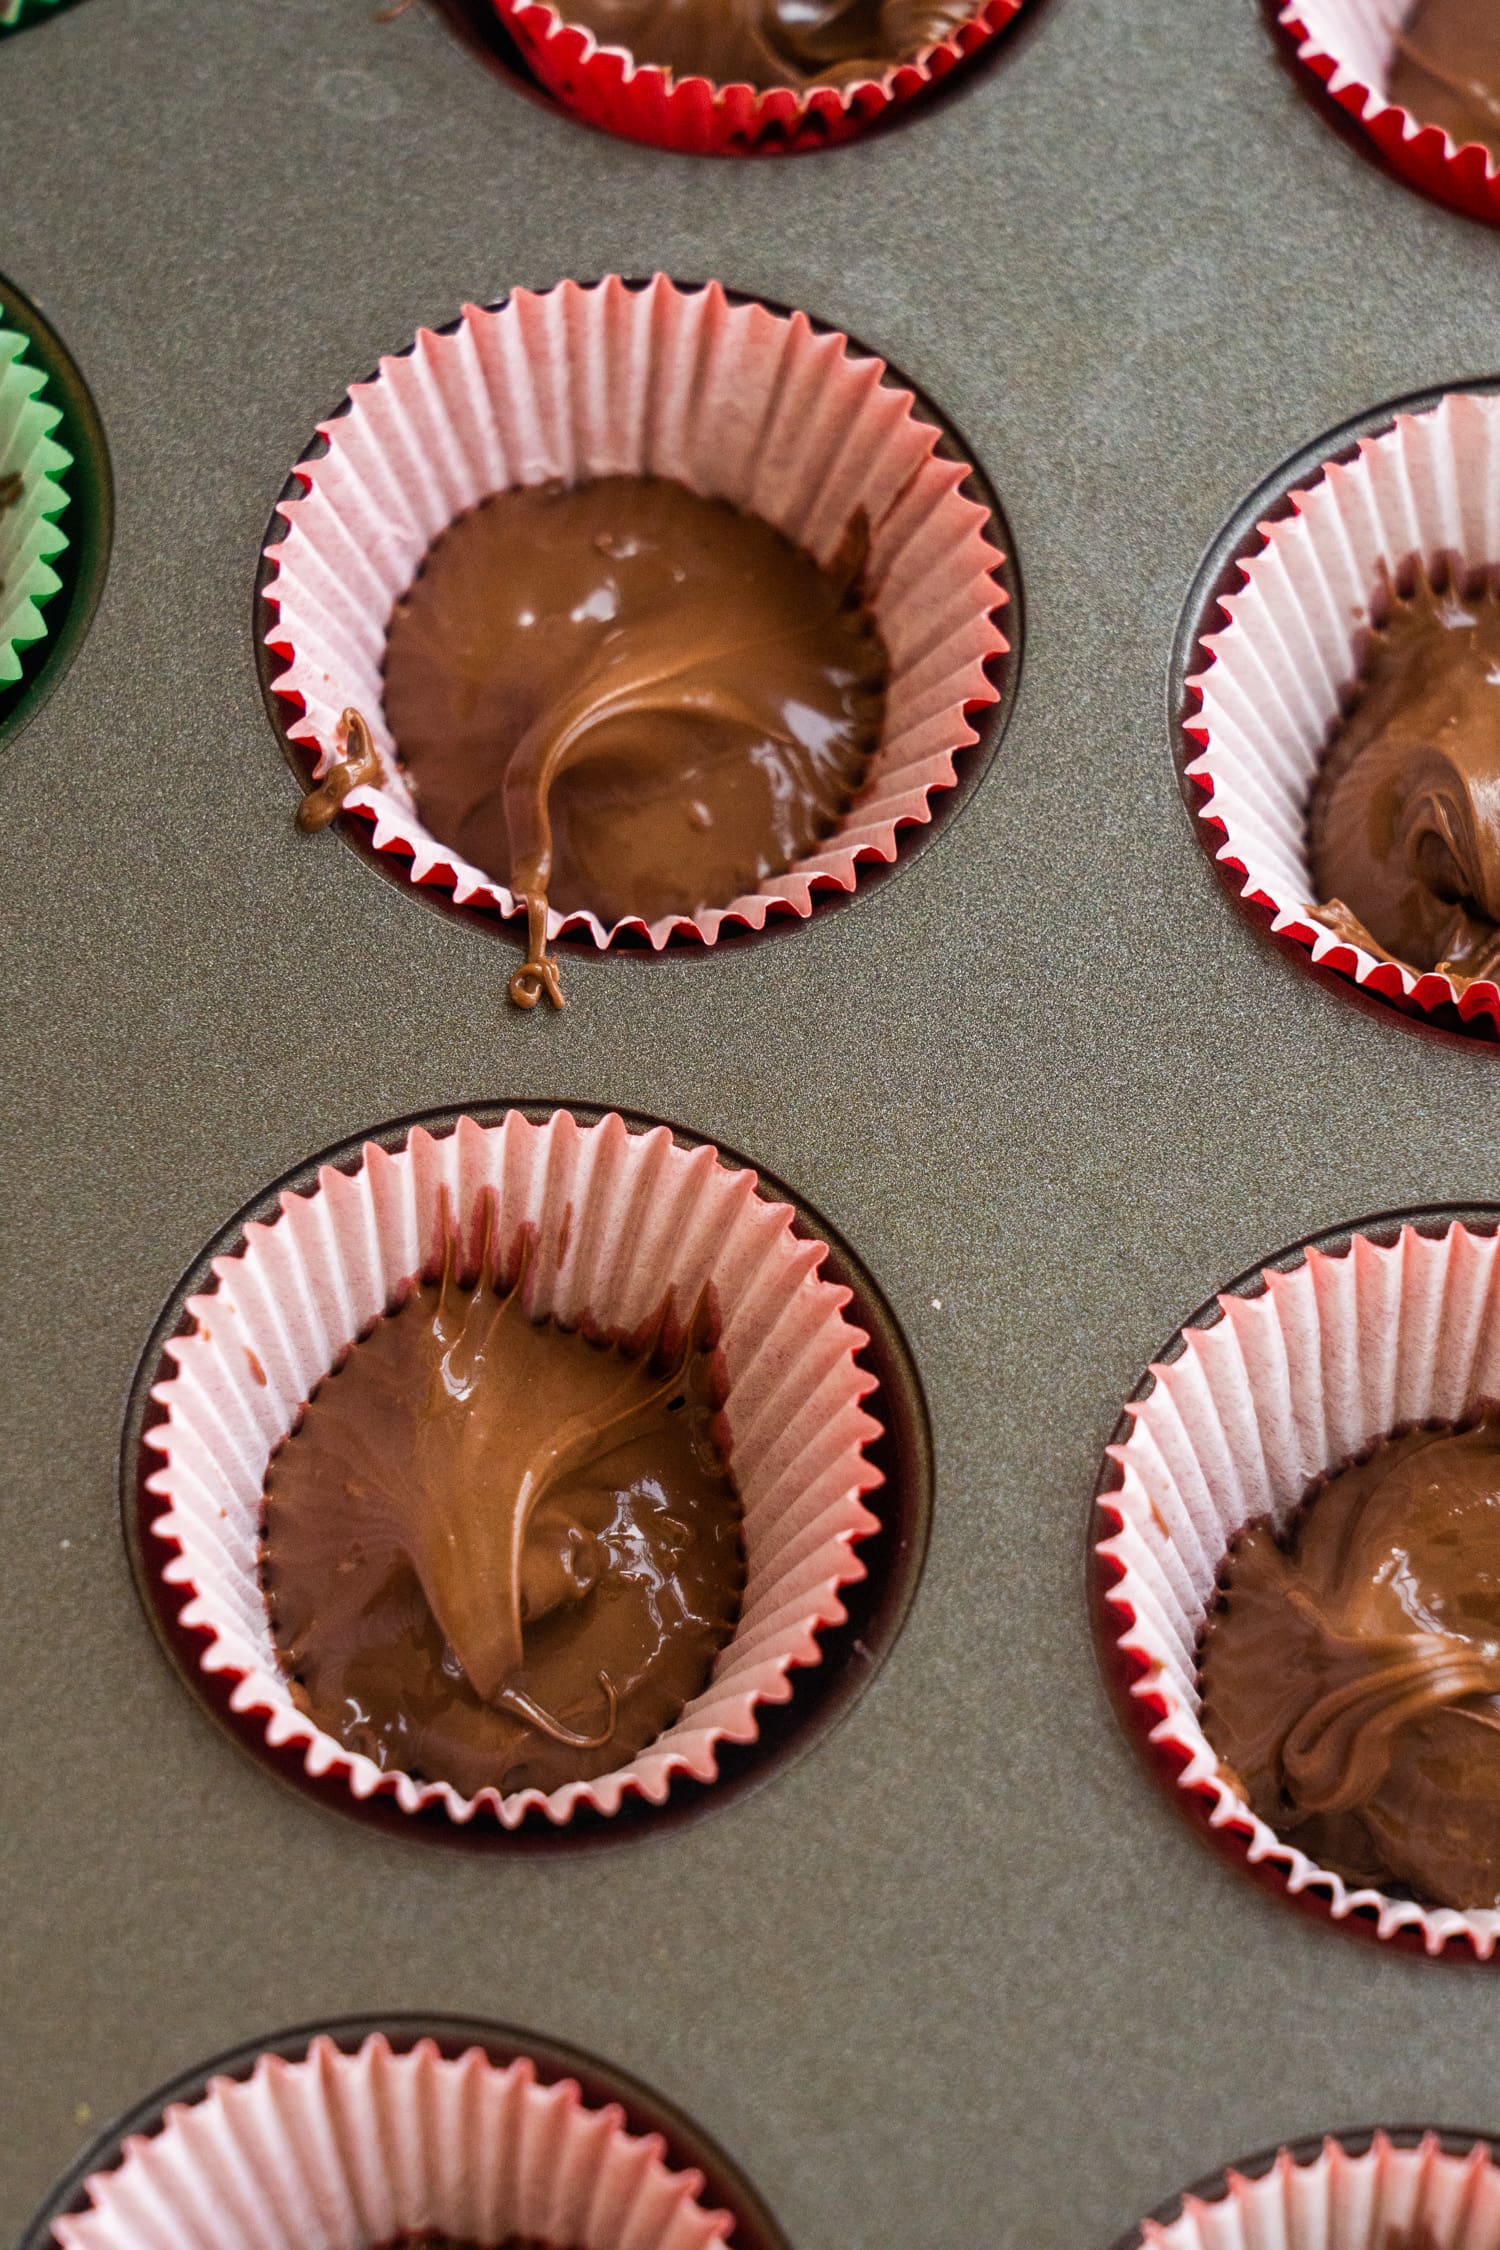
Scoop a little melted chocolate into the bottom of each liner.
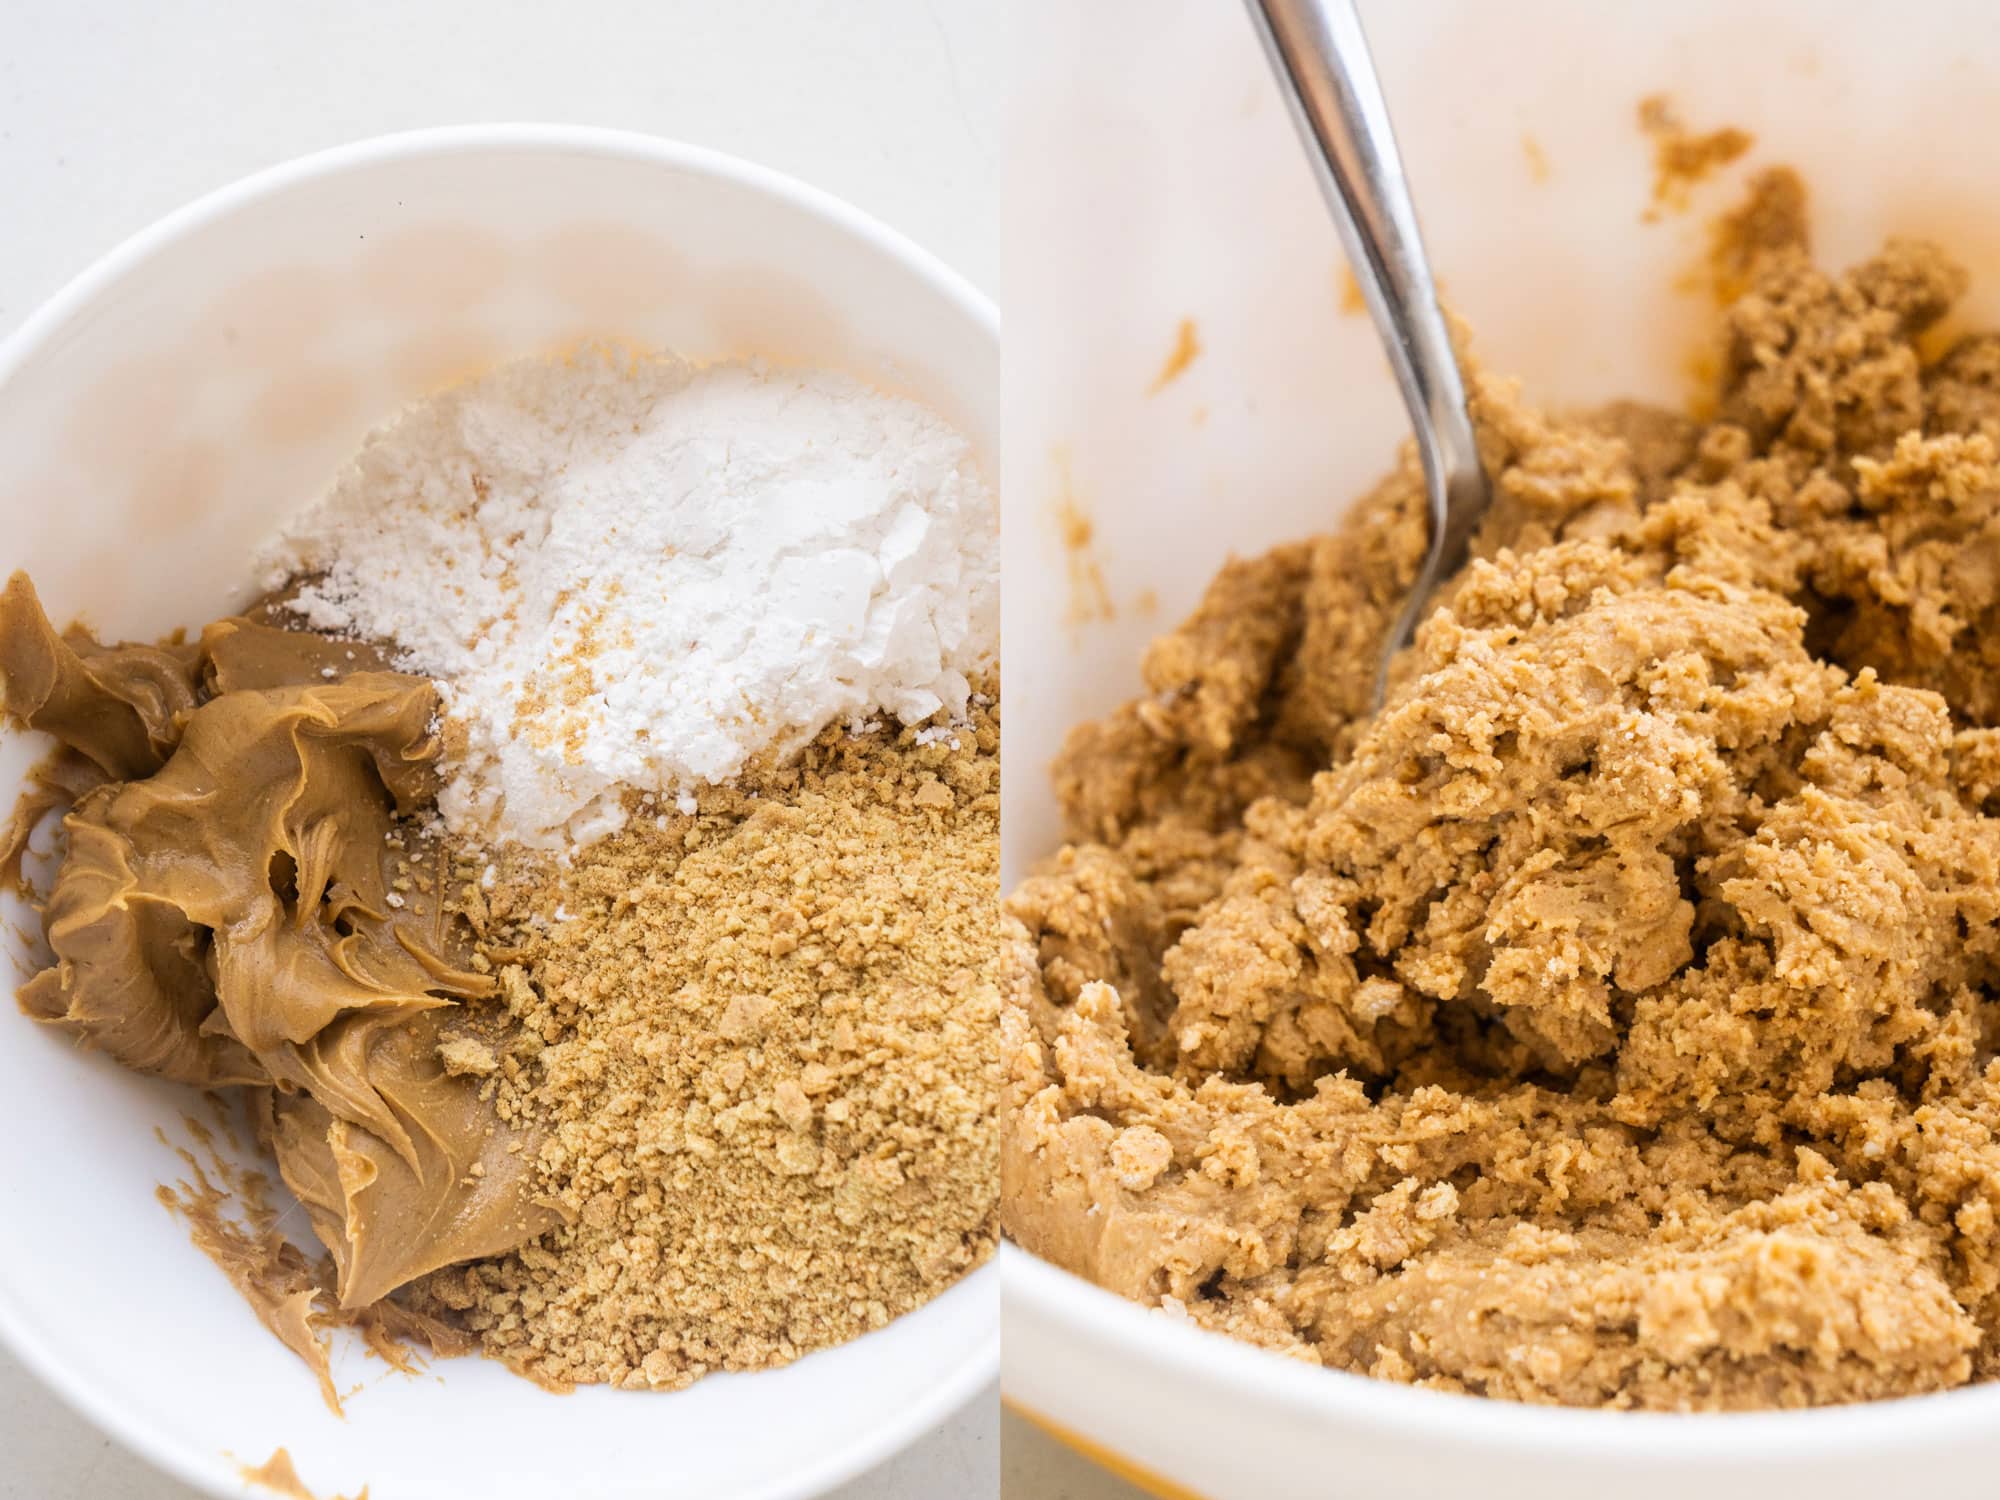
Stir the graham cracker crumbs, powdered sugar, and peanut butter together in a bowl until it forms a gritty dough.
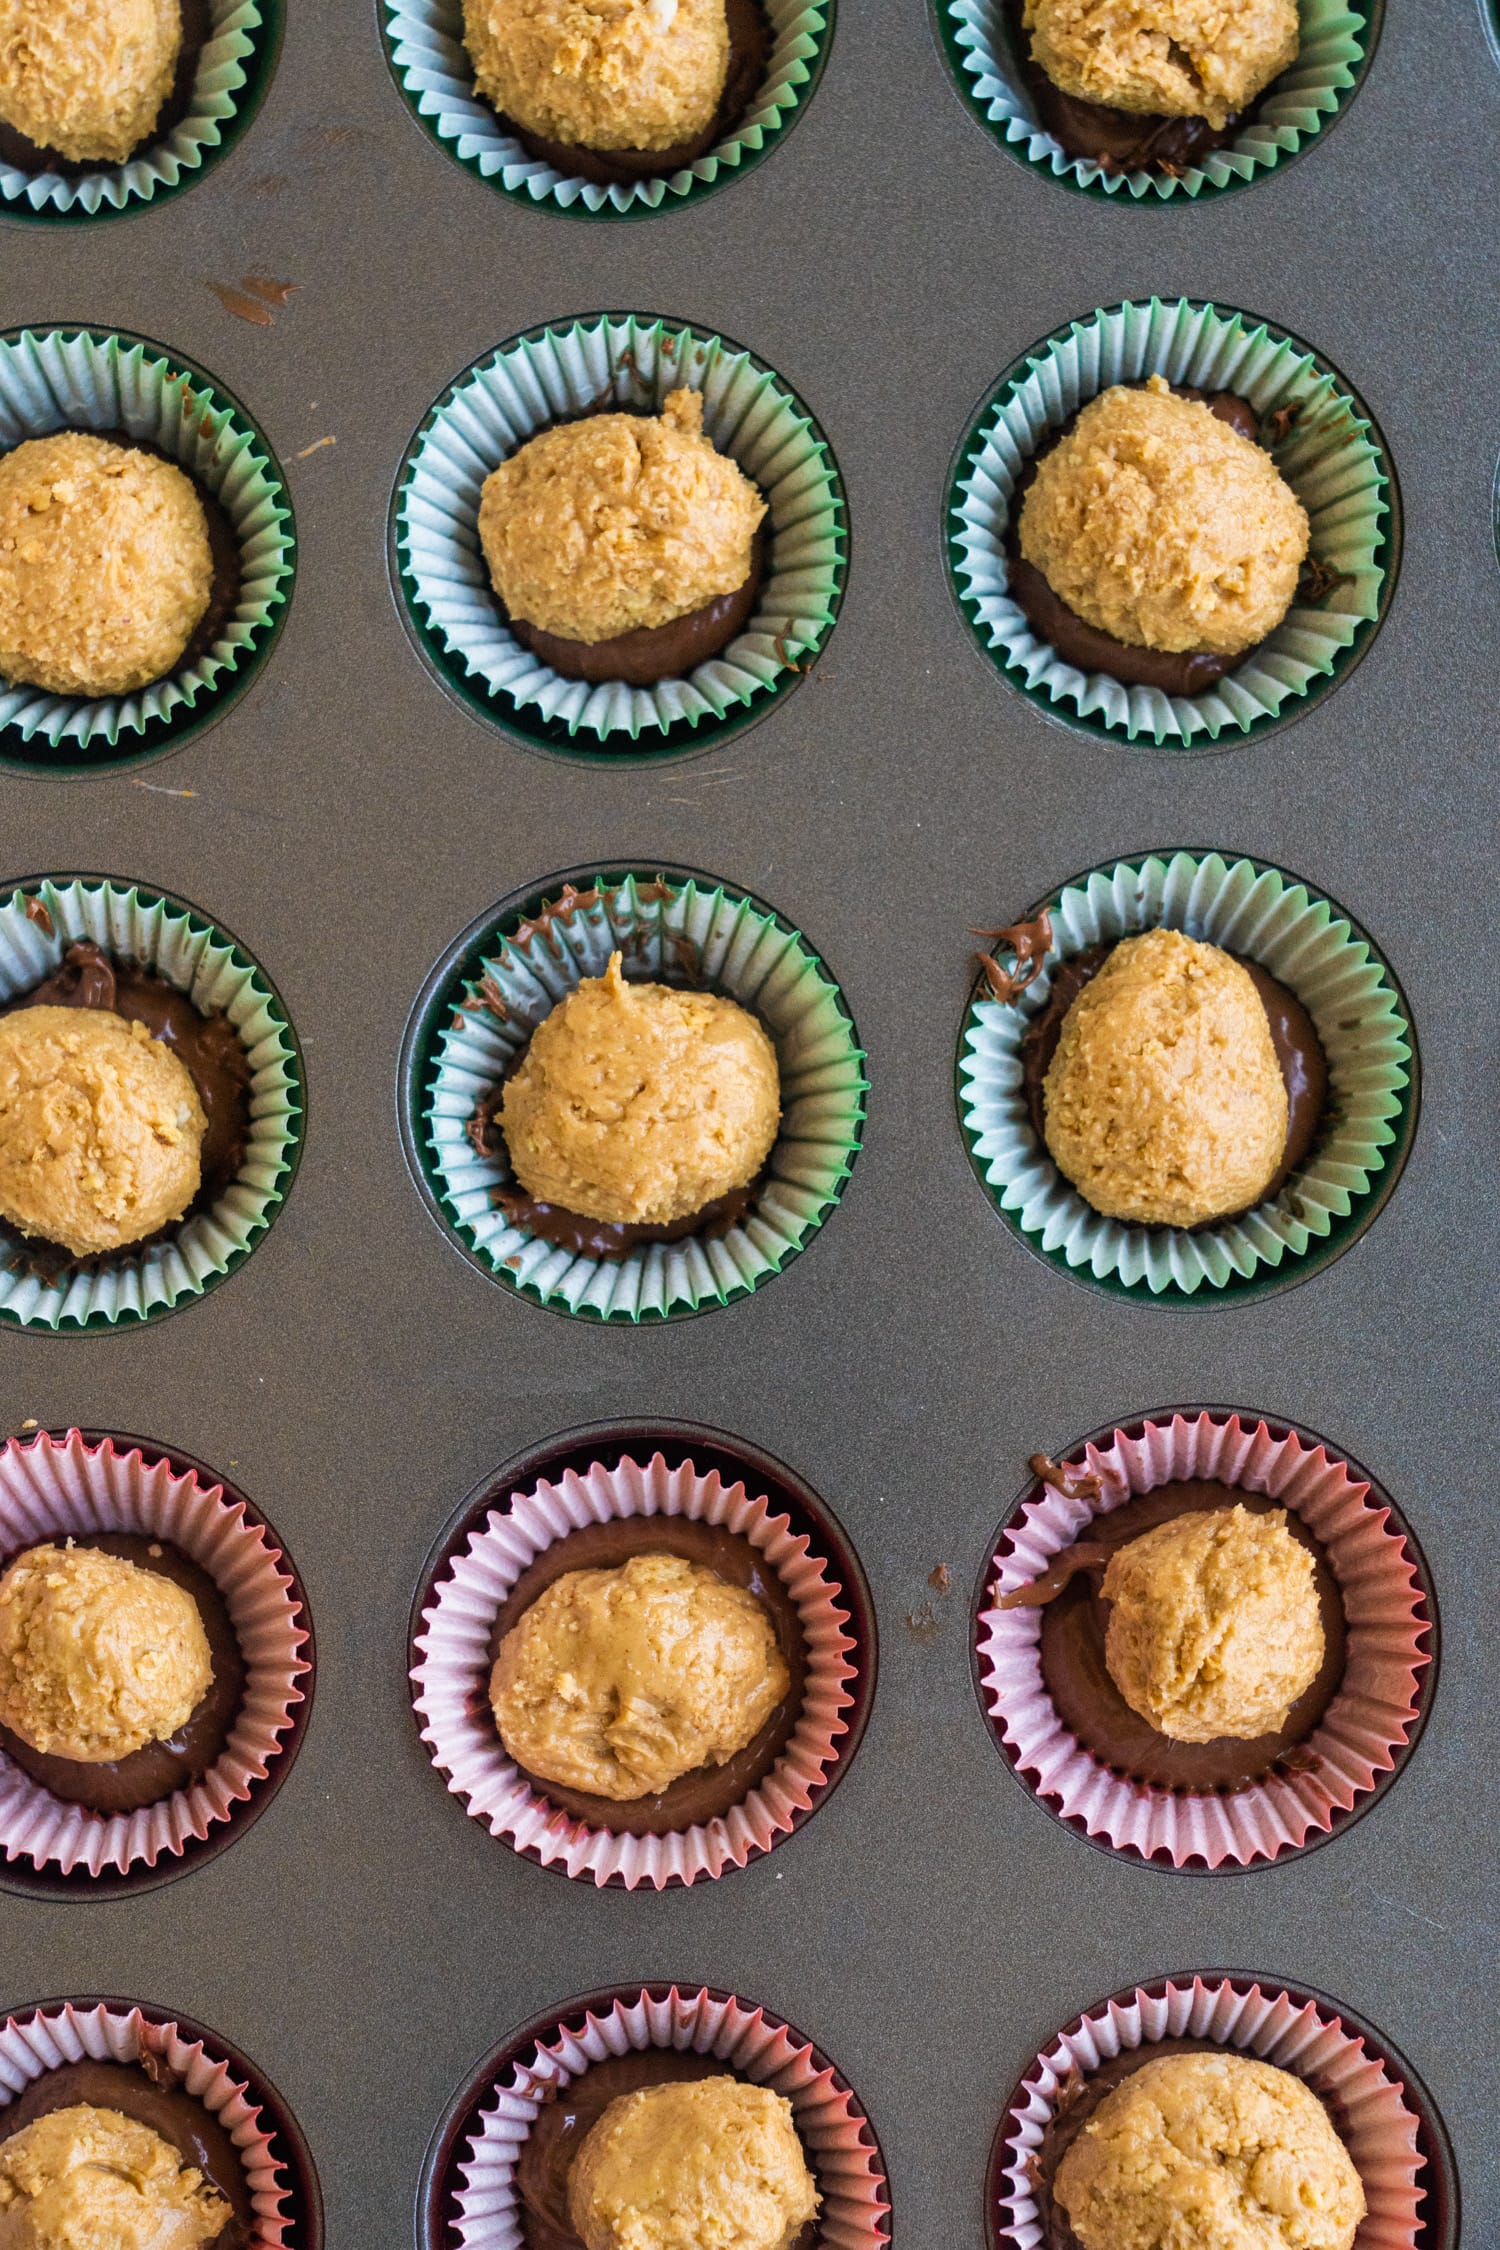
Scoop a little dough out of the bowl, roll it into a ball, and place it in the middle of a chocolate-filled cup. Continue until you run out of dough.
Pour the remaining melted chocolate over the peanut butter balls.

Wrap the muffin tin with plastic wrap and refrigerate for at least 2 hours or until they’re firm. Serve and enjoy!
Tips and tricks
- If you don’t have a microwave, melt the chocolate over a double broiler instead.
- For a beautiful shine, melt the chocolate with ¼ cup of vegetable shortening or coconut oil.
- Make sure that the peanut butter balls are right in the middle of the chocolate with some space remaining around the sides. This way, the second layer of chocolate will cover the peanut butter entirely.
- Hungry for peanut butter cups right now? Place the assembled and wrapped cups in the freezer instead of the fridge. They should be set after a 30 minute freeze.
Customize your DIY peanut butter cups
Make this recipe your own by swapping a few ingredients or adding fun and festive toppings. Use these suggestions as inspiration:
- Toppings – When the peanut butter cups are assembled, top them with sprinkles or flaky sea salt to make them extra decorative and fun. You could even add a drizzle of white chocolate for a zebra stripe effect!
- Different chocolate – You can replace the milk chocolate chips with dark chocolate chunks, white chocolate chips, vegan chocolate chips, or any kind of chocolate you like! The higher quality, the better your peanut butter cups will taste.
- Instead of powdered sugar – Use maple syrup or honey for a natural sweetness.
- Instead of peanut butter – Use nut free sunflower seed butter or another nut butter, like almond or cashew butter.

Frequently asked questions
Can you make these using a regular sized muffin tin?
Yes! You’ll end up with fewer peanut butter cups but they’ll be bigger in size.
Can these be made gluten free?
To make gluten free peanut butter cups, simply omit the graham cracker crumbs from the recipe or use crumbled gluten free ginger cookies instead.
How long do homemade peanut butter cups last?
Store your mini peanut butter cups in an airtight container in the fridge or freezer and they’ll last for 6 to 9 months!
Looking for more chocolate and peanut butter treats?
- Chocolate Peanut Butter Whoopie Pies
- Chocolate Chip Peanut Butter Cookies
- Chocolate Bark
- Gooey Chocolate Butter Cake
- Chocolate Chip Granola Bars
- Chocolate Chip Carrot Bread
- Peanut Butter Fudge
- Homemade Peanut Butter Oreos
Pin later:
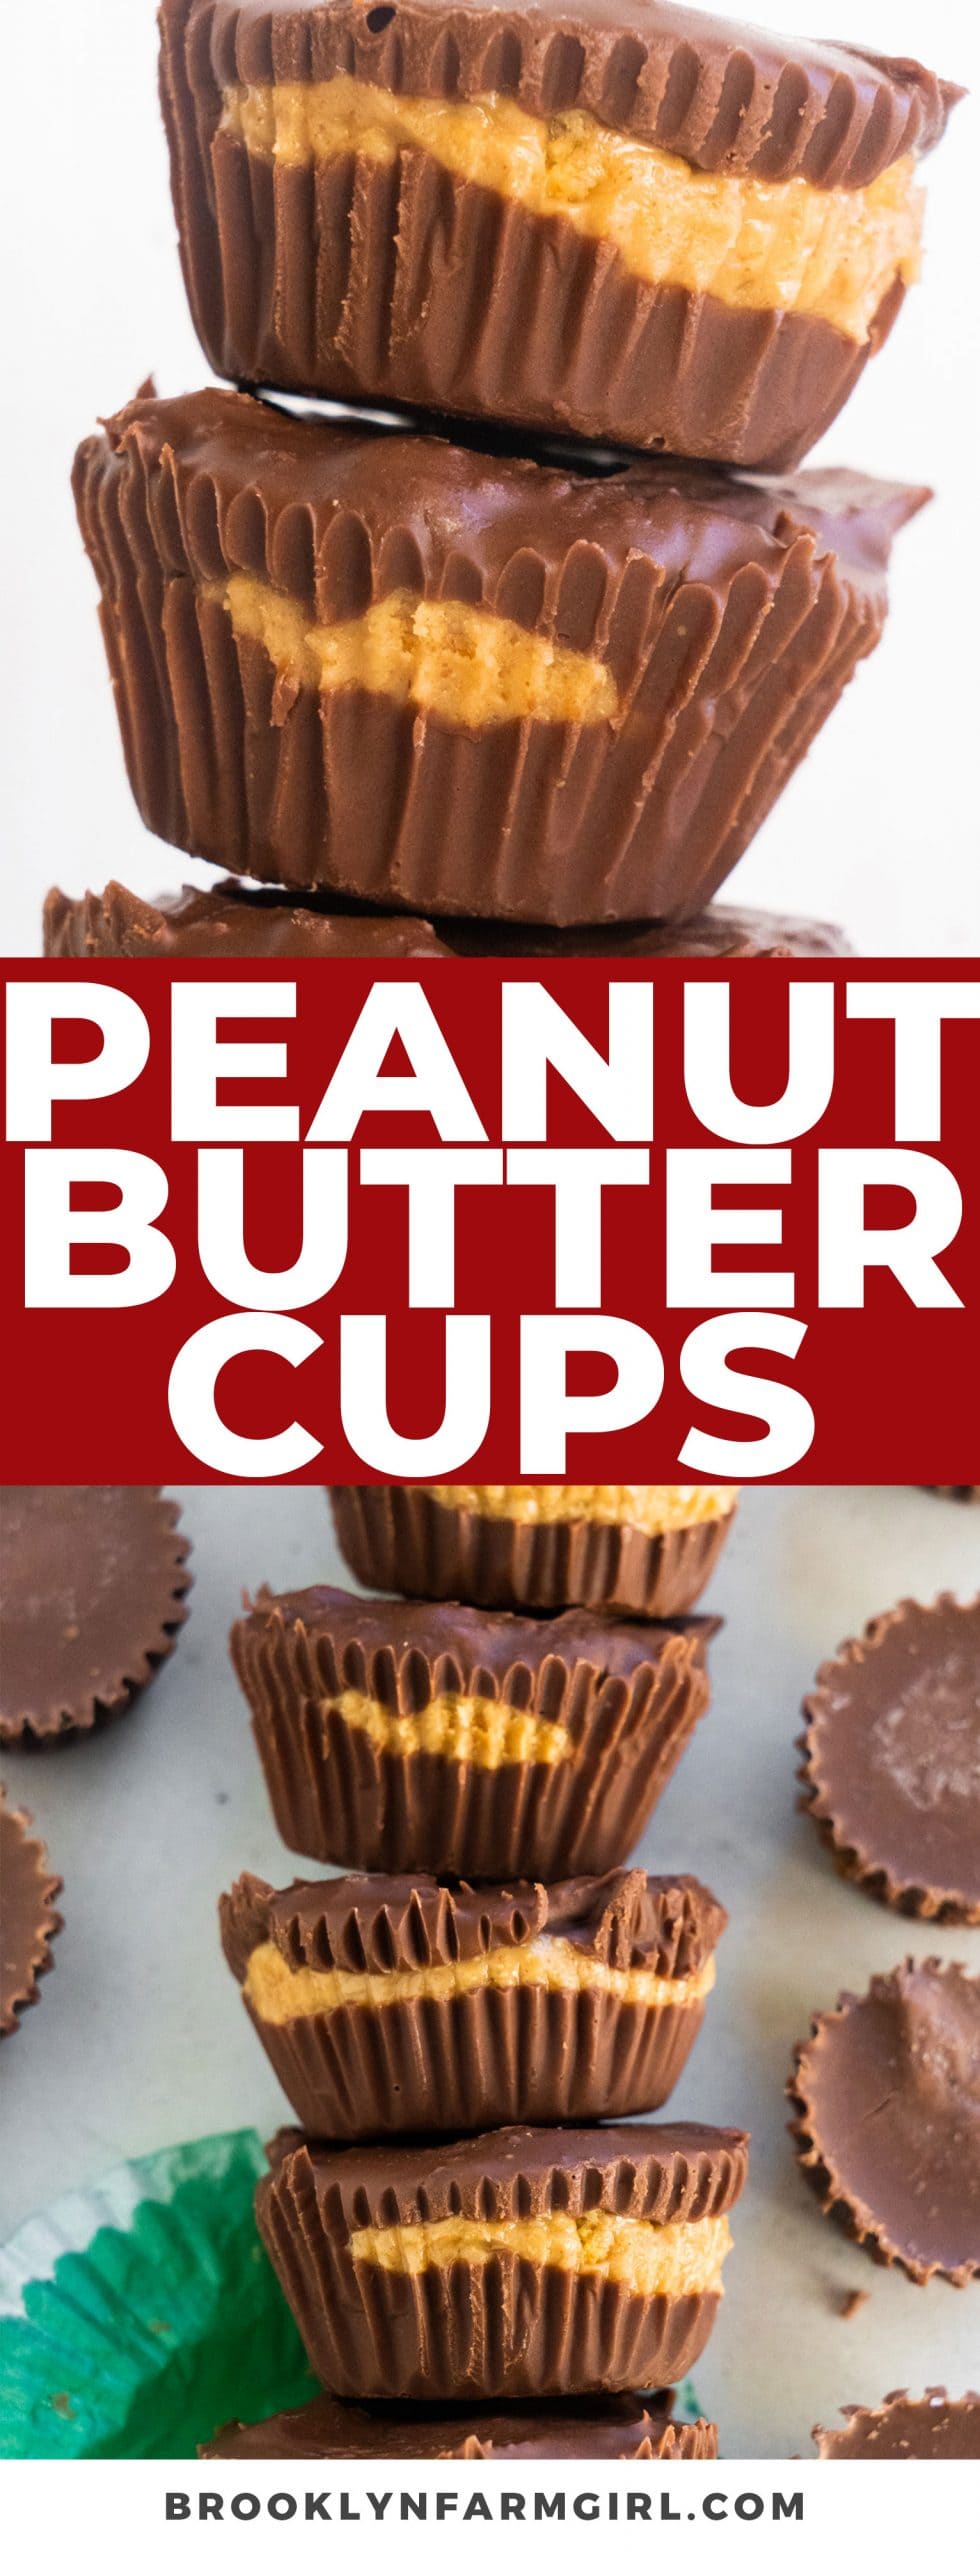

Homemade Peanut Butter Cups
PrintIngredients
- 2 cups chocolate chips
- 1/4 cup graham crackers crushed
- 1/4 cup powdered sugar
- 1/2 cup creamy peanut butter
- 24 mini muffin liners
Instructions
- Place 24 mini muffin liners in a mini muffin pan.
- Melt the chocolate chips in the microwave, placing them in a microwave safe bowl and heating for 20 seconds. Stir, and microwave for 10 more seconds, or until melted.
- Remove chocolate from the microwave and place a small amount at the bottom of each muffin cup, filing up about 1/4 of the way.
- Mix graham cracker crumbs, powdered sugar and peanut butter together in a mixing bowl, mixing until you get a grainy mixture you can roll in your hands.
- Roll a mini peanut butter ball in your fingers and place on top of the chocolate in each cup. You want to make sure that the peanut butter ball is in the middle of the chocolate, it should still have a tiny bit of space around it where we can pour more chocolate in.
- Pour the remaining melted chocolate on top of each peanut butter ball, making sure the chocolate covers the peanut butter and sides.
- Cover muffin pan with plastic wrap and place in the refrigerator for 2 hours, or until they are firm. Enjoy!

Melanie M Cox says
I just made these. They are so good..I was tempted to buy a pack when I was at DG today. I told myself no,you have stuff at home to make them
Melanie says
I made these before,and took them to work. Everyone seemed to love them. I just made half recipe for home. They are so good.. I used honey this time instead
Julie @ This Gal Cooks says
I really need to make peanut butter cups one day. I’m such a huge peanut butter fan that I’m surprised I haven’t yet! These look delicious. Pinned!
Pamela says
They are addicting Julie! I just can’t get enough of them once I make a batch. 🙂
laurasmess says
These look delicious. Haha… I love your recollections of Hershey Park. We don’t even get Hershey’s chocolate over here (except for specialty shops that import it) so I have no emotional attachment to pb cups. These look darn amazing though! x
Pamela says
They hold a loving place in my heart. <3 Thanks for stopping by!
Tina @ Tina's Chic Corner says
I’m in love! Definitely must try. 🙂
Pamela says
I hope you do Tina! Going to make some more later on today.. can’t get enough!
gotasté says
soooooo….yummmyyyy! I can eat a good serving at one go! 🙂
Joy @ Baking-Joy says
Yuuuum! I love the look of this version 🙂 So dangerous how easy peanut butter cups are to make!
Pamela says
I know, thinking about making some right now… 🙂
Laura Dembowski says
I love homemade pb cups! I make them with carob chips or white chocolate chips because I’m allergic to chocolate. Yours look great. Love pb&co peanut butter too! It’s my fave, and I have a giveaway of their pb on my blog. Even though I’m allergic to chocolate, I totally want to visit Hershey Park and get a Kiss stuffed animal!
Pamela says
Mr. Kiss (my stuffed Kiss name) sends you hugs! Hopping on over to your blog now. :D)
Gill Gore says
Pamela, these look delicious. I am definetely going to make these for my nephews birthday party. We dont have graham crackers in the UK but Im going to try using digestive biscuits instead 🙂
Pamela says
That’s great to hear, please let me know how they turn out! Enjoy!
Eileen says
Oh…. Peanut butter cups are my most favorite candy bar ever! I’m going to have to try these very soon 🙂
Pamela says
Enjoy Eileen!
jackie @ Marin mama cooks says
Great job on the peanut butter cups girl! They look delish! We made a batch of them earlier this summer. They’re so easy and so good, I mean who would have known? I didn’t get all fancy and add the graham crackers and powdered sugar though. We cheated and used crunchy peanut butter. I’m going to have to try them this way though! I’m sure it resembles more of a traditional peanut butter cup.
OK, my mom lives near Harrisburg and every time we visit her, we go to Hersey Park. I love that chocolate tour and I also love that on certain rides throughout the park, they give away samples! Bonus! xoxo, Jackie
Pamela says
I love that you have been to Hershey World! I’m born and raised about 45 minutes away from Harrisburg. 🙂
Pam says
I have a feeling these could be very addictive!
Pamela says
Hahaha, you are very right!
Jamie G says
Mmmmm! I am going to have to add these to a cookie/candy swap tray this Christmas season. I might have to “practice” making these several times before Christmas though. 🙂
Pamela says
Hahahaha, practice.. that’s a very great idea. *evil smile*
Amy @ Elephant Eats says
These look soooo good! How do you get the chocolate to pour nicely for topping of the cup? Whenever I try to make something like this, the chocolate is like gloppy and i have to just kind of plop a blob of it on top 🙁
Pamela says
I circularly pour it on and since it’s so melted it should be pretty smooth. If you get any globs on top, I always clean it up with my fingers by smearing it (which means I get to clean up my fingers, win win situation!). 🙂
Sophie33 says
MMMMMMM,…You are one funny woman! 🙂 These cups look great & so does the white one! 😉 Yum!
Pamela says
Hahaha, thanks Sophie! 🙂
renee dwyer says
Oh mY! Yum! This is defiantly on my to do list, so easy!
I want to go to Hersheys amusement park !!! x
Pamela says
Enjoy Renee! I hope you like them! 🙂
Julie @ Table for Two says
Totally irresistible!! And so gorgeous!!
Pamela says
Thanks Julie!
Katie says
I want to be hugged by a giant candy bar AND go on a ride simulating the chocolate-making process! FUN!
My mom makes these every year for the Holidays, and every year, they are the first of all the different candies and cookies to go. My sisters and I would fight over them. A couple years ago, I discovered that HEY! I don’t have to wait until Christmas for these, and I made them in bar form. Even easier! Same recipe, you just pat down the PB mixture in an 8×8 in pan, spread on the melted chocolate and then cut into squares when they are solid.
Dangerous, I tell you.
Pamela says
Katie, that sounds great.. I think I am going to add pretzels on top next time! You only live once! 🙂
Faith @ Pixie Dust Kitchen says
I love hershey park! I grew up 45 minutes west (In York, if you know where that is) and we went on feild trips there and went almost every summer. Execpt they changed Chocolate World a few years ago and it’s not as good anymore. I love making my own peanut butter cups as well. They’re so much cheaper and sometimes I like them even better than Reese’s.
Nora @ Buttercream Fanatic says
Isn’t it amazing how simple these are to make? And also a little terrifying, because they’re also very easy to eat. And make again. And then eat them all. [repeat]
Pamela says
I know, it’s horribly great. Everytime I’m out I just make another batch. I can’t resist them!
Miss Messy says
I’ve never had a peanut butter cup! But i’d love to try making my own. Maybe i’ll order some to across the pond.
Pamela says
Miss Messy, you have got to try them! If you can’t find any, let me know and I will ship you some.. but in the Fall/Winter or you will get melted chocolate. 😛
Kelly says
Oh my goodness, these look heavenly Pamela! I LOVE peanut butter cups and love your step by step photos. So simple but insanely delicious! I can’t wait to make these 🙂 Pinned and thanks for sharing with us 🙂
Pamela says
Enjoy Kelly, let me know how you like them! 🙂
Anne ~ Uni Homemaker says
These look insanely good! Homemade peanut butter cups? Yes please! Thank you for sharing this post with us Pamela. 🙂
Pamela says
Yes please, I agree! Enjoy Anne!
Georgia @ The Comfort of Cooking says
OMG. My favorite! These are amazing and so dangerously easy, Pamela!
Pamela says
Enjoy Georgia!
Mr. & Mrs. P says
These are just too cute!!! Fun to make too!
Pamela says
Definitely fun to make, enjoy!
Kristi @ lifesprinkles says
I want a hug from a chocolate bar! These look awesome – going to pin for a rainy day. 🙂
Pamela says
Hahaha Kristi, if you ever visit make sure to hug them! 🙂
Suzanne says
Oh my, no bake chocolate pb treats these have my name written all over them!! They look wonderful I am especially loving the pb swirled one. Just amazing!!
Pamela says
I know, no bake rules the world!
Danielle @ Dani Cakes says
I’m pretty sure you were reading my mind. I was craving these yesterday but wasn’t quite sure how to go about making them. This looks so easy!! And way more fun/delicious than buying them.
Pamela says
We have similar minds.. I’ve been thinking about peanut butter cups so much over the past weeks! Who can’t resist these little cups of joy? It’s dangerous though knowing you can make one (or more) anyday!
Monica says
Love that chocolate ride at Hershey Park, too! I’ve made PB cups too but never thought to add the graham crackers! Great idea for a bit of crunchy texture. I used dark chocolate so that when it set up, the chocolate was hard while the PB was creamy so it was a little messy with the filling squishing out. I think the milk chocolate you used would work better as far as that goes. Either way, they are really delicious. Enjoy them!
Pamela says
Thanks Monica! Glad you also experienced the Hershey Chocolate World adventure! 🙂
Natalie says
Thanks for this recipe! I love PB cups and now I can make my own 🙂
Pamela says
Enjoy Natalie! They are yum!