How to plant and harvest garlic with step by step pictures. Follow our tips to grow GIANT cloves that are the size of your fist! Garlic is planted in the Fall and takes 9-10 months to grow. This is a very thorough post with information on planting garlic, harvest garlic and drying garlic. You might like my how to plant onion sets and how to grow celery posts too!
Grow Garlic, It’s Easy
Garlic is one of my favorite vegetables to grow in the garden. Although it takes a long time to harvest (waiting is not easy!), it’s surprisingly very easy to grow.
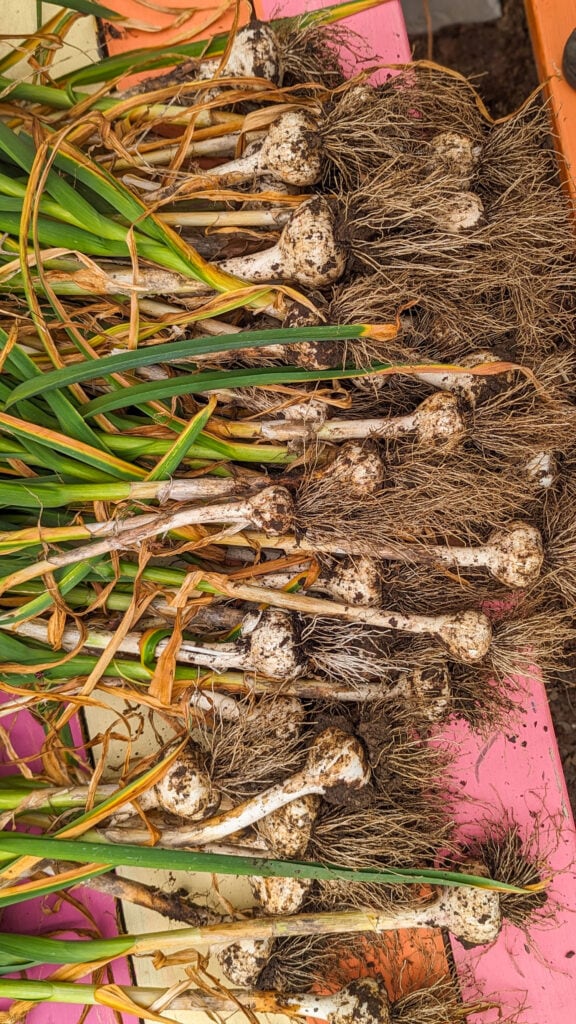
We love when it’s time to harvest garlic in the garden! We make a whole family day out of the event – digging them up, admiring them and then hanging to dry!
This year Proxima helped us dig up the garlic and we made a little video. Hope you like it! 🙂
Why You Should Grow Garlic in your Garden (Even if it’s a Small Garden!)
Easy to grow: Garlic is known for being a relatively low-maintenance crop, making it ideal for beginner gardeners and families. It requires minimal space, and the planting process is simple.
Garlic cloves are planted in the fall, and they typically begin to sprout in the following spring or summer.
That Christmas morning feeling: Growing garlic involves a waiting period, adding a sense of anticipation and excitement I call it that Christmas morning feeling. From the time the cloves are planted in the fall until they are harvested in late spring or early summer, there is an eager anticipation for the day of harvesting.
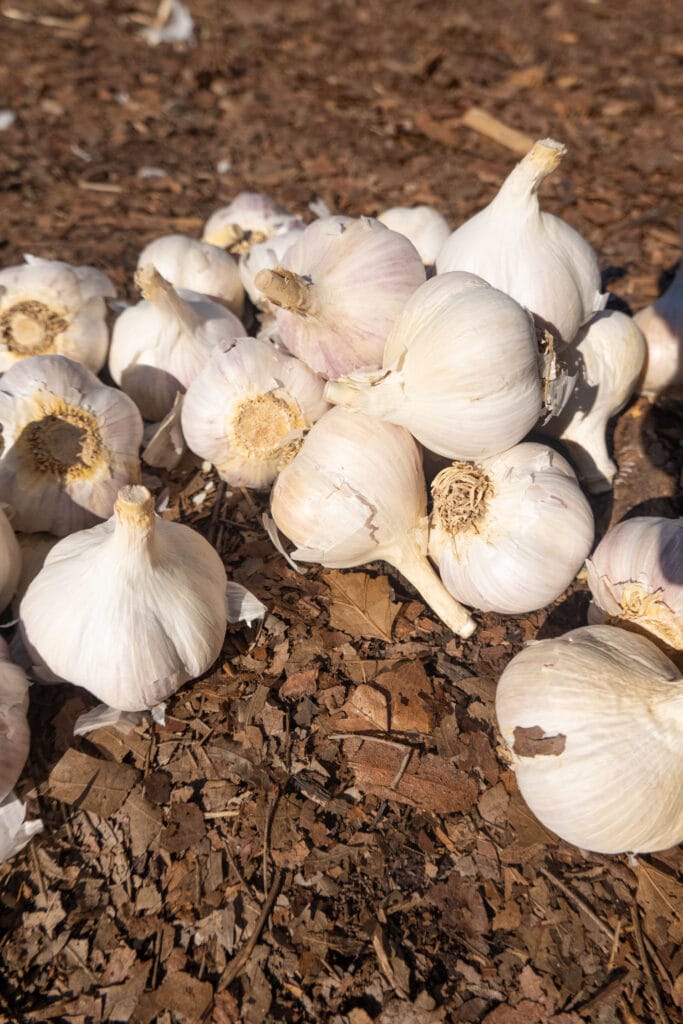
Stores so well: You can store garlic for months in your cabinet, grind into garlic powder, or freeze it for even longer. I have a whole post dedicated on storing garlic for a long time
It’s delicious: Garlic is delicious, incredibly versatile and can be used in so many recipes. For a yummy garlic loving meal try my Butter Garlic Pasta with Broccoli.
What kind of garlic do we grow?
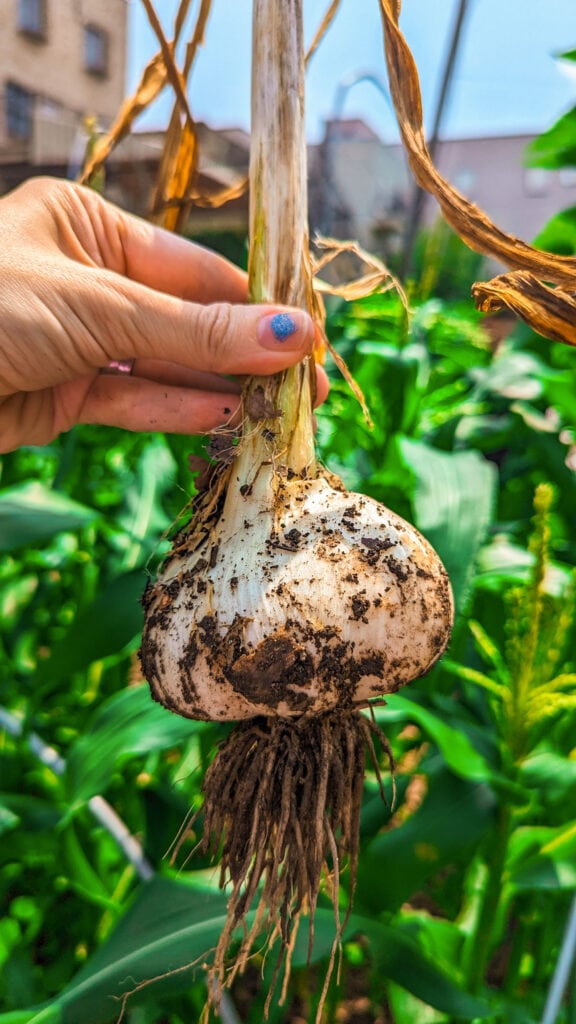
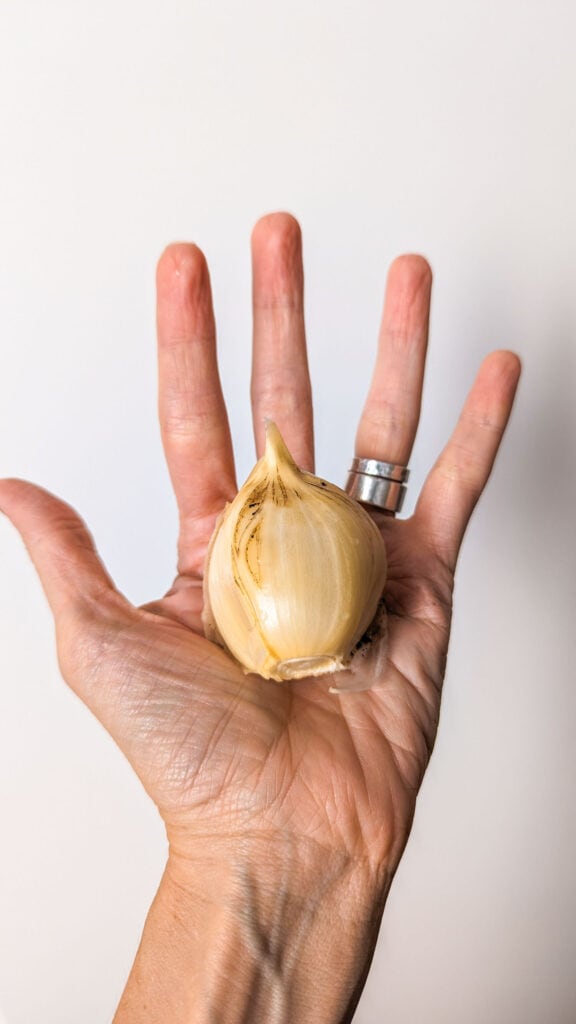
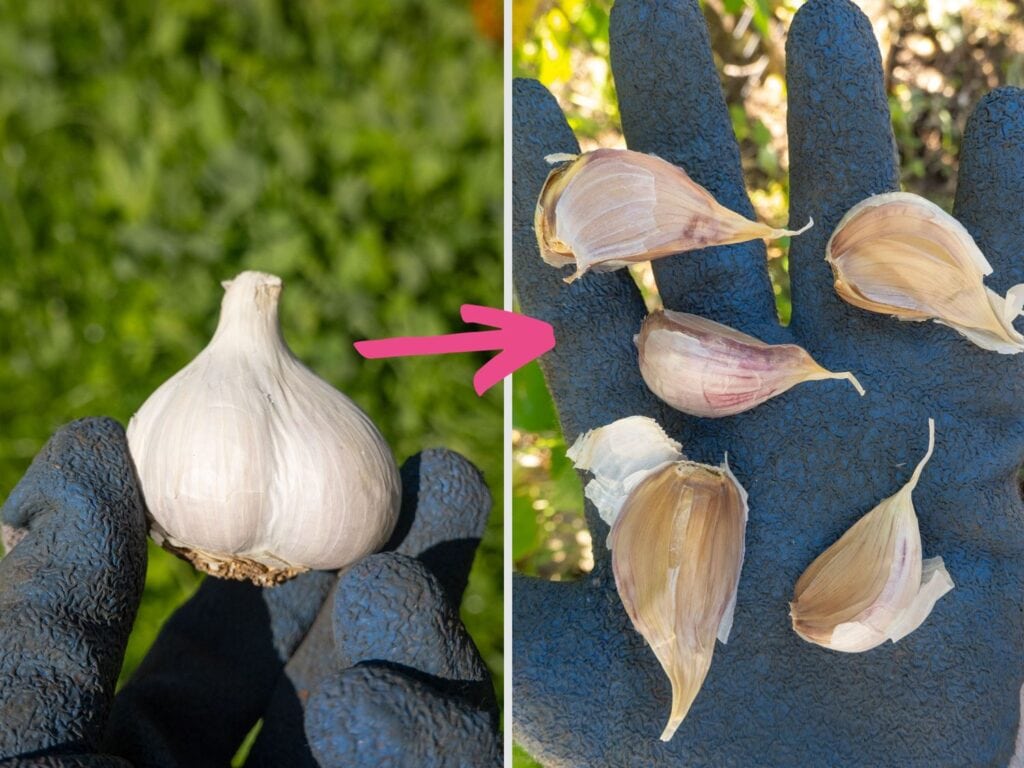
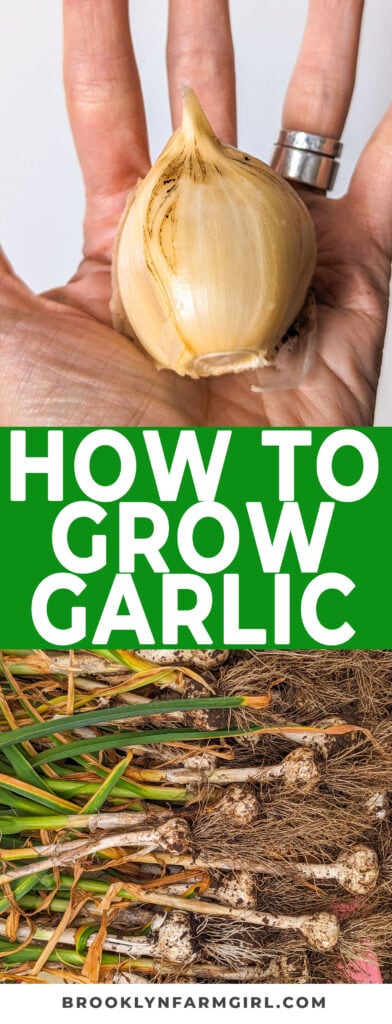
Our favorite type of garlic to grow is German Extra Hardy garlic. This garlic is incredibly reliable, almost always resulting it in a great yield. It does well in cold temperatures and the garlic is HUGE. Look at how big ONE CLOVE is. Wild, right? I wish you could smell it too!
There are two main types of garlic: hard-neck and soft-neck. German hardy is a hard-neck variety, and they tend to have larger cloves and offer more complex flavors. Because it’s more stiff (literally, hard-neck means more hard), it’s not able to easily braided for drying, but that’s never been a problem for us.
When to plant garlic?
After you’ve picked a garlic variety it’s time to plant. In northern climates garlic is planted in the fall about 6 weeks prior to freezing temperatures. This gives the clove some time to get established before winter dormancy. In NYC in hardiness zone 7b we typically plant our garlic in October.
What kind of soil for garlic?
Garlic likes to live in a well-drained garden bed that has been enriched with composted organic matter. Garlic thrives in full sun with at least 8 hours of direct sunlight a day.
Make sure you are practicing good crop rotation to help prevent disease and pests by not planting garlic in the same spot every year or where you’ve planted onions or leeks recently.
How to Separate Cloves From Head
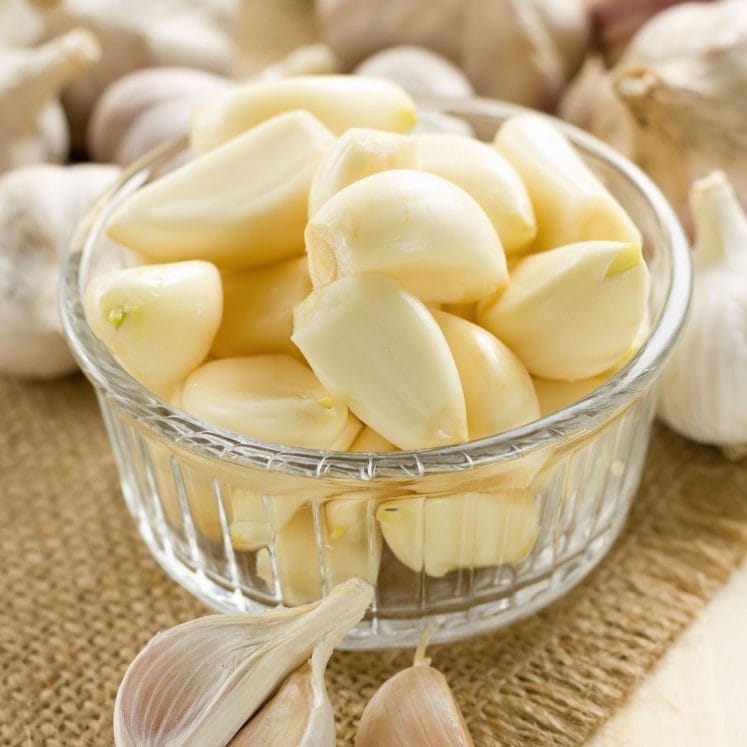
Depending on the variety, a head of garlic will produce about 3-8 cloves each. Garlic bulbs need to be broken into individual cloves when planted. Gently break apart the bulb with your hands while being careful not to damage the papery skin as you separate them.
How to plant garlic
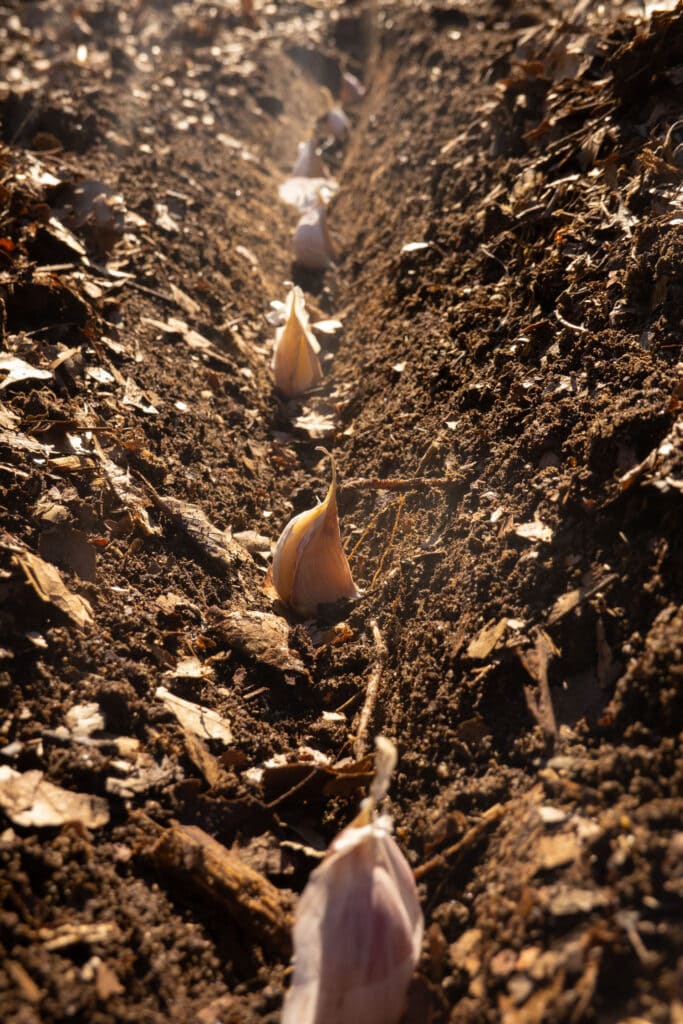
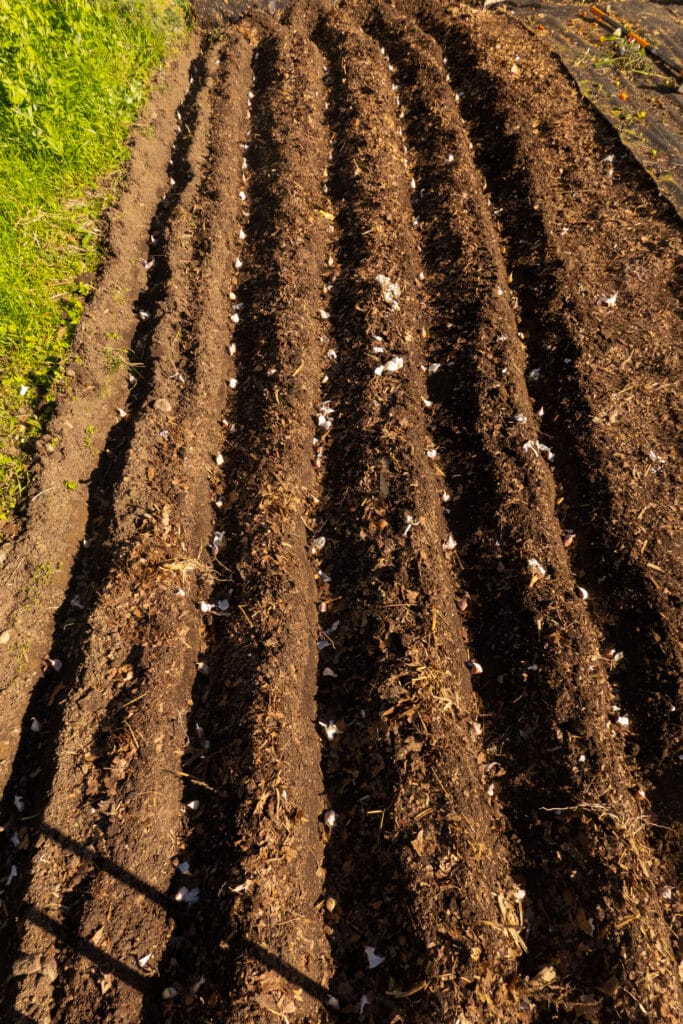
Prepare a well-drained garden bed enriched with composted organic matter. Start to prepare your rows. Generally, garlic cloves are planted 2-3 inches deep.
Plant each garlic clove with the roots down and pointy side up. Garlic cloves should be planted 6-8 inches apart.
Continue until garlic is all planted. Rows are spaced 8-12 inches apart to give enough space for big beautiful bulbs. We are limited in our NYC growing size, so we maximize our space.
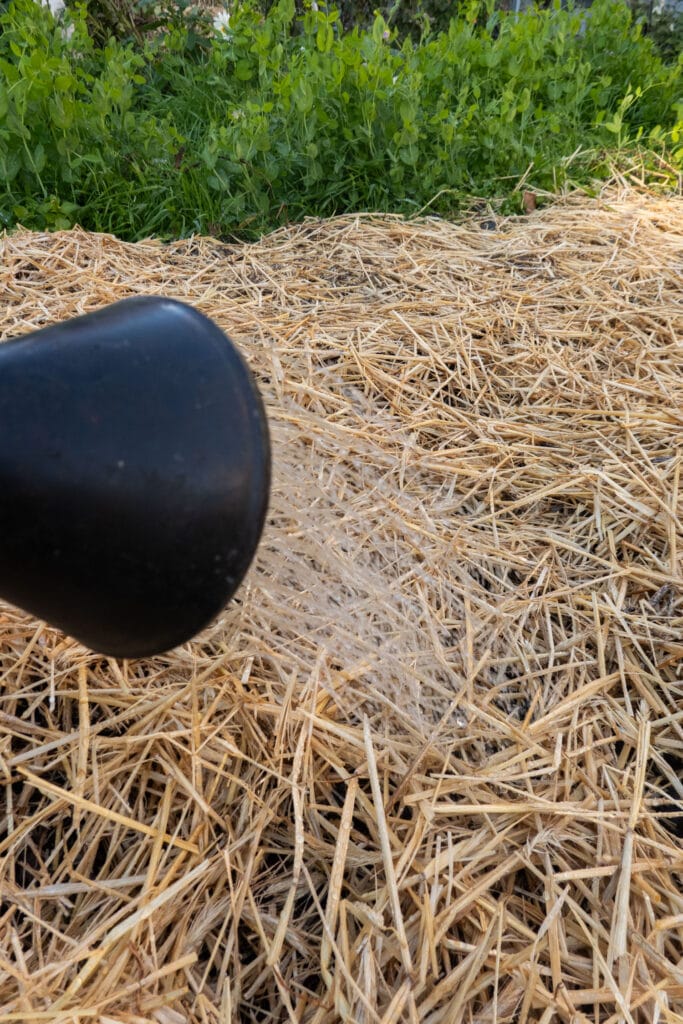
Water the garlic immediately and thoroughly mulch with shredded leaves or straw. The mulch will help the plant survive the winter months by protecting the ground from the cold.
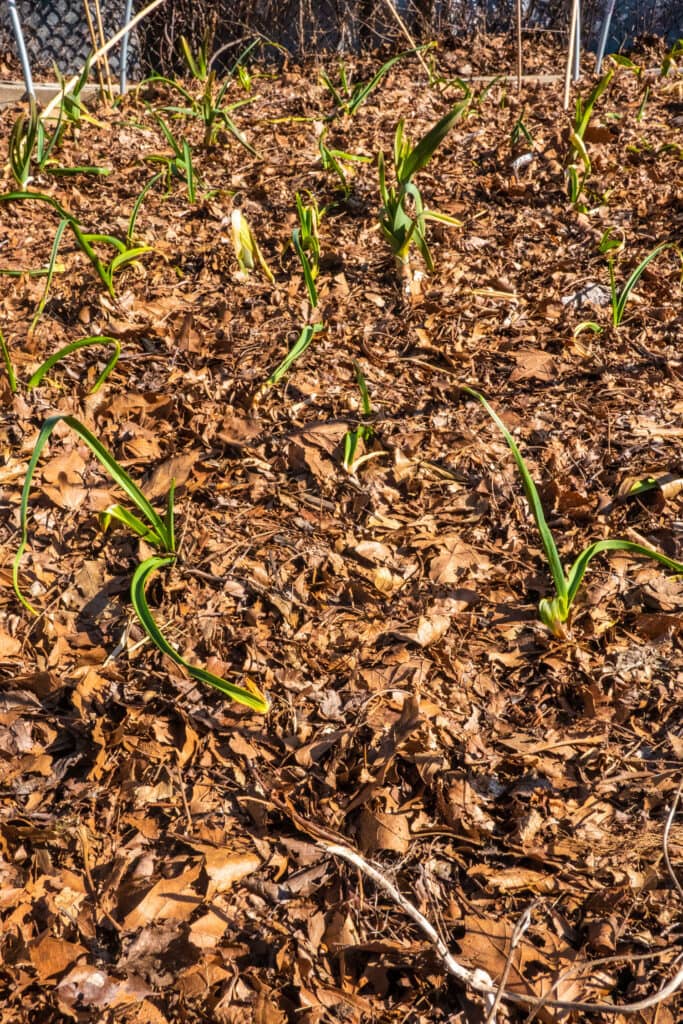
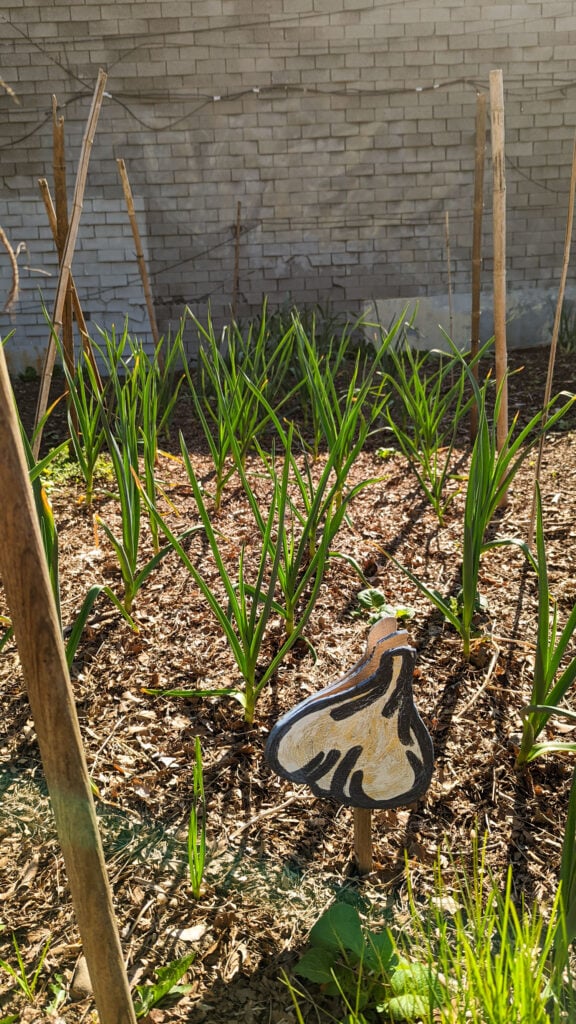
Garlic grows slow, but in a few months you’ll see their stem and leaves emerge from the ground. This is our garlic at 4 months old.
Care for growing garlic
- Garlic enjoys being mulched with shredded leaves or straw. This helps to retain moisture and regulate soil temperatures during the summer.
- Throughout the growing season remove any weeds that pop up with the garlic.
- If you are having a warm fall you may see the garlic sprout before winter. This is ok just keep the garlic well mulched.
- You should regularly water garlic, but too much water can cause growing issues. Garlic needs consistent moisture when young but be careful not to overwater as it can encourage splitting of the garlic cloves and rot.
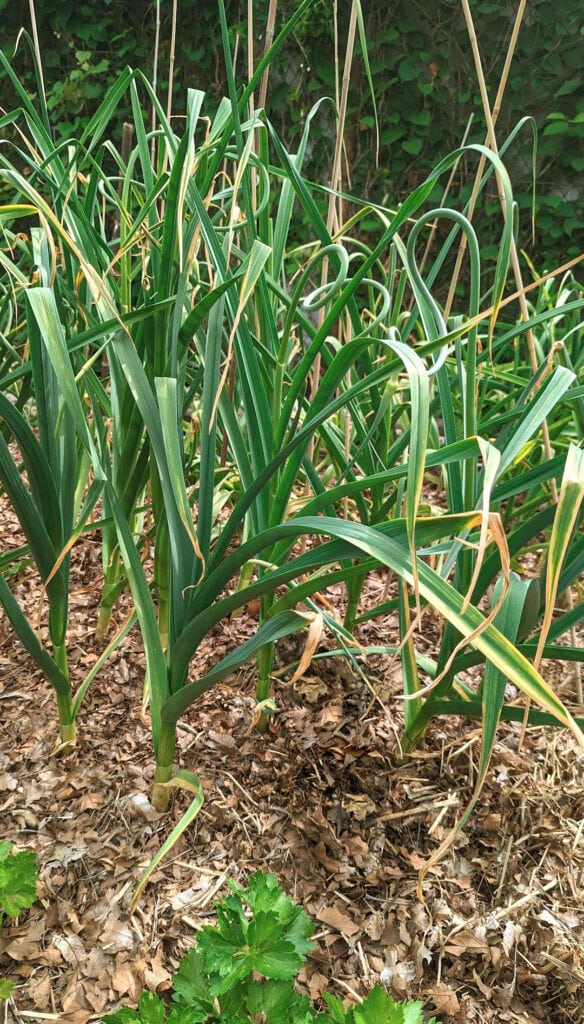
- Hardneck varieties of garlic will produce curly flowers called scapes a few weeks before ready for harvest. Cut the scapes off to redirect the plant’s energy towards bulb formation. The scapes are edible and are delicious to use in recipes.
- Don’t eat all of your garlic. Save some dried bulbs to plant for the next season’s crop.
When to dig up garlic?
Garlic is a slow grower and takes about 290 days until harvest. Garlic is ready to dig up a few weeks after the scapes emerge. When the lower leaves start to turn yellow or brown and there are 4-5 leaves remaining it’s time to harvest.
In northern climates, harvests of fall plantings are usually around mid-summer.
To check if your garlic is ready for harvesting, you can gently brush away some soil around the base of the plant and inspect the bulbs. The bulbs should have developed individual cloves and should be plump and firm. If the cloves are still small and the bulb feels soft, it’s best to leave the garlic in the ground for a little longer to allow it to fully mature.
It’s important to monitor the plants closely and avoid waiting too long to harvest, as overripe garlic can split and not store as well.
How to harvest garlic
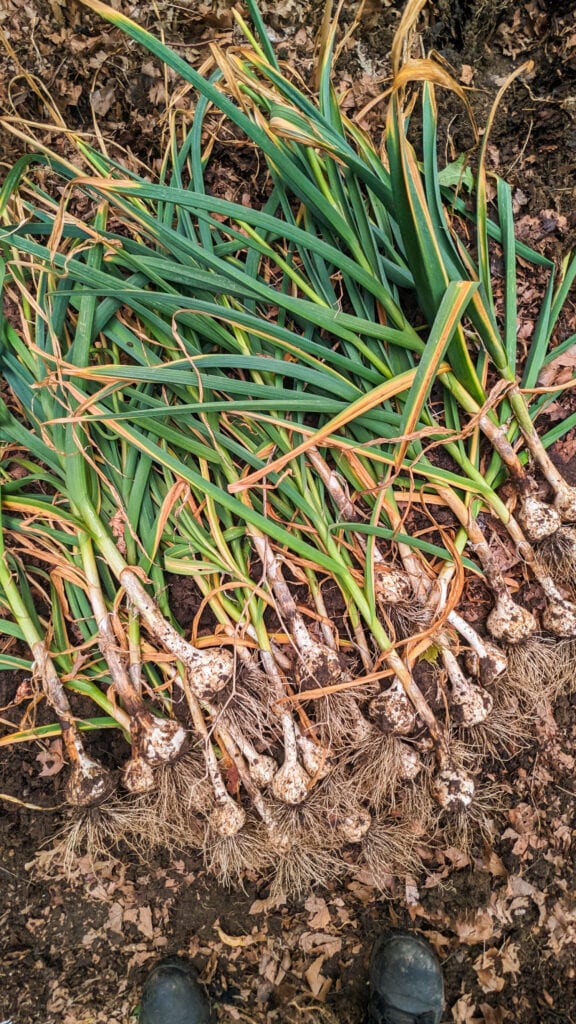
The best way to harvest garlic is on a dry warm day using a garden fork. Dig the fork into the soil and lift around the garlic. If you don’t have a garden fork a shovel or spade is fine. After the soil is loosened, gently lift the garlic out by the base of the stem.
How to dry garlic
- Shake off excess soil gently, careful not to damage the bulbs.
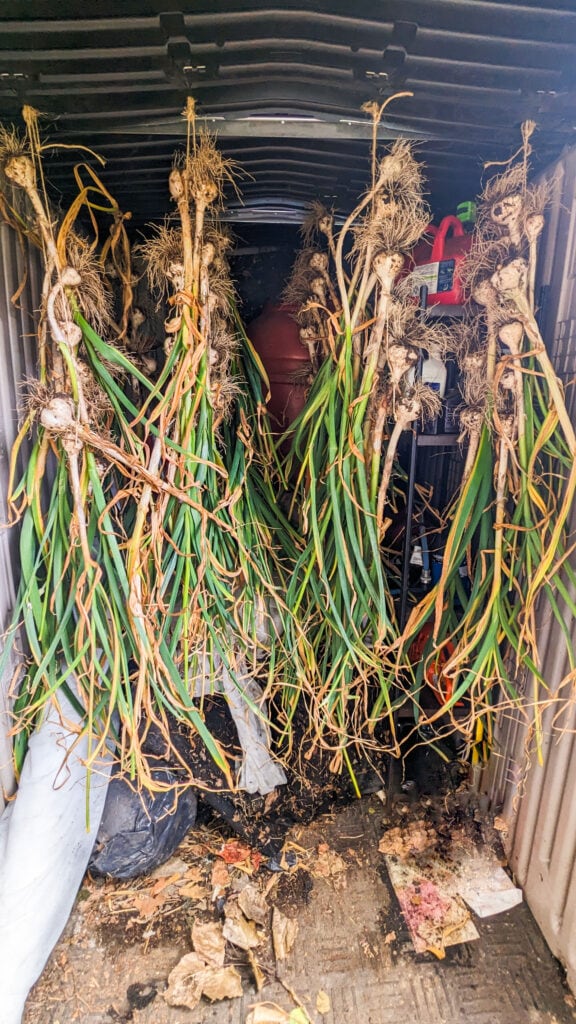
- To prepare the garlic for storing, you need to dry/cure it first. This process allows the outer skins to dry and form a protective layer. Hang the garlic bulbs in bunches or spread them out in a single layer in a well-ventilated, dry area. We hang our garlic in a shed from the ceiling, using twine.
Ideal conditions for curing garlic are a temperature of around 80°F (27°C) and low humidity. Allow the garlic to cure for about 2 to 3 weeks until the outer skins are dry and papery. - Once the garlic bulbs have cured, trim off the excess roots and cut off the stalks, leaving about an inch of stem attached to the bulb.
Where to store garlic
Store garlic in mesh bags, baskets, or containers with good airflow. Keep it in a cool, dry, and well-ventilated location. We store ours in a dark cabinet. Avoid using plastic bags or airtight containers, as they can trap moisture and promote rot.
Avoid storing garlic in the refrigerator, as the moisture can cause it to sprout or become moldy.
Regularly inspect your stored garlic and remove any bulbs or cloves that show signs of mold, decay, or sprouting. This will help prevent the spread of spoilage to the rest of the garlic.
Now go on and enjoy your garlic!
Pin for later:

Leave a Comment