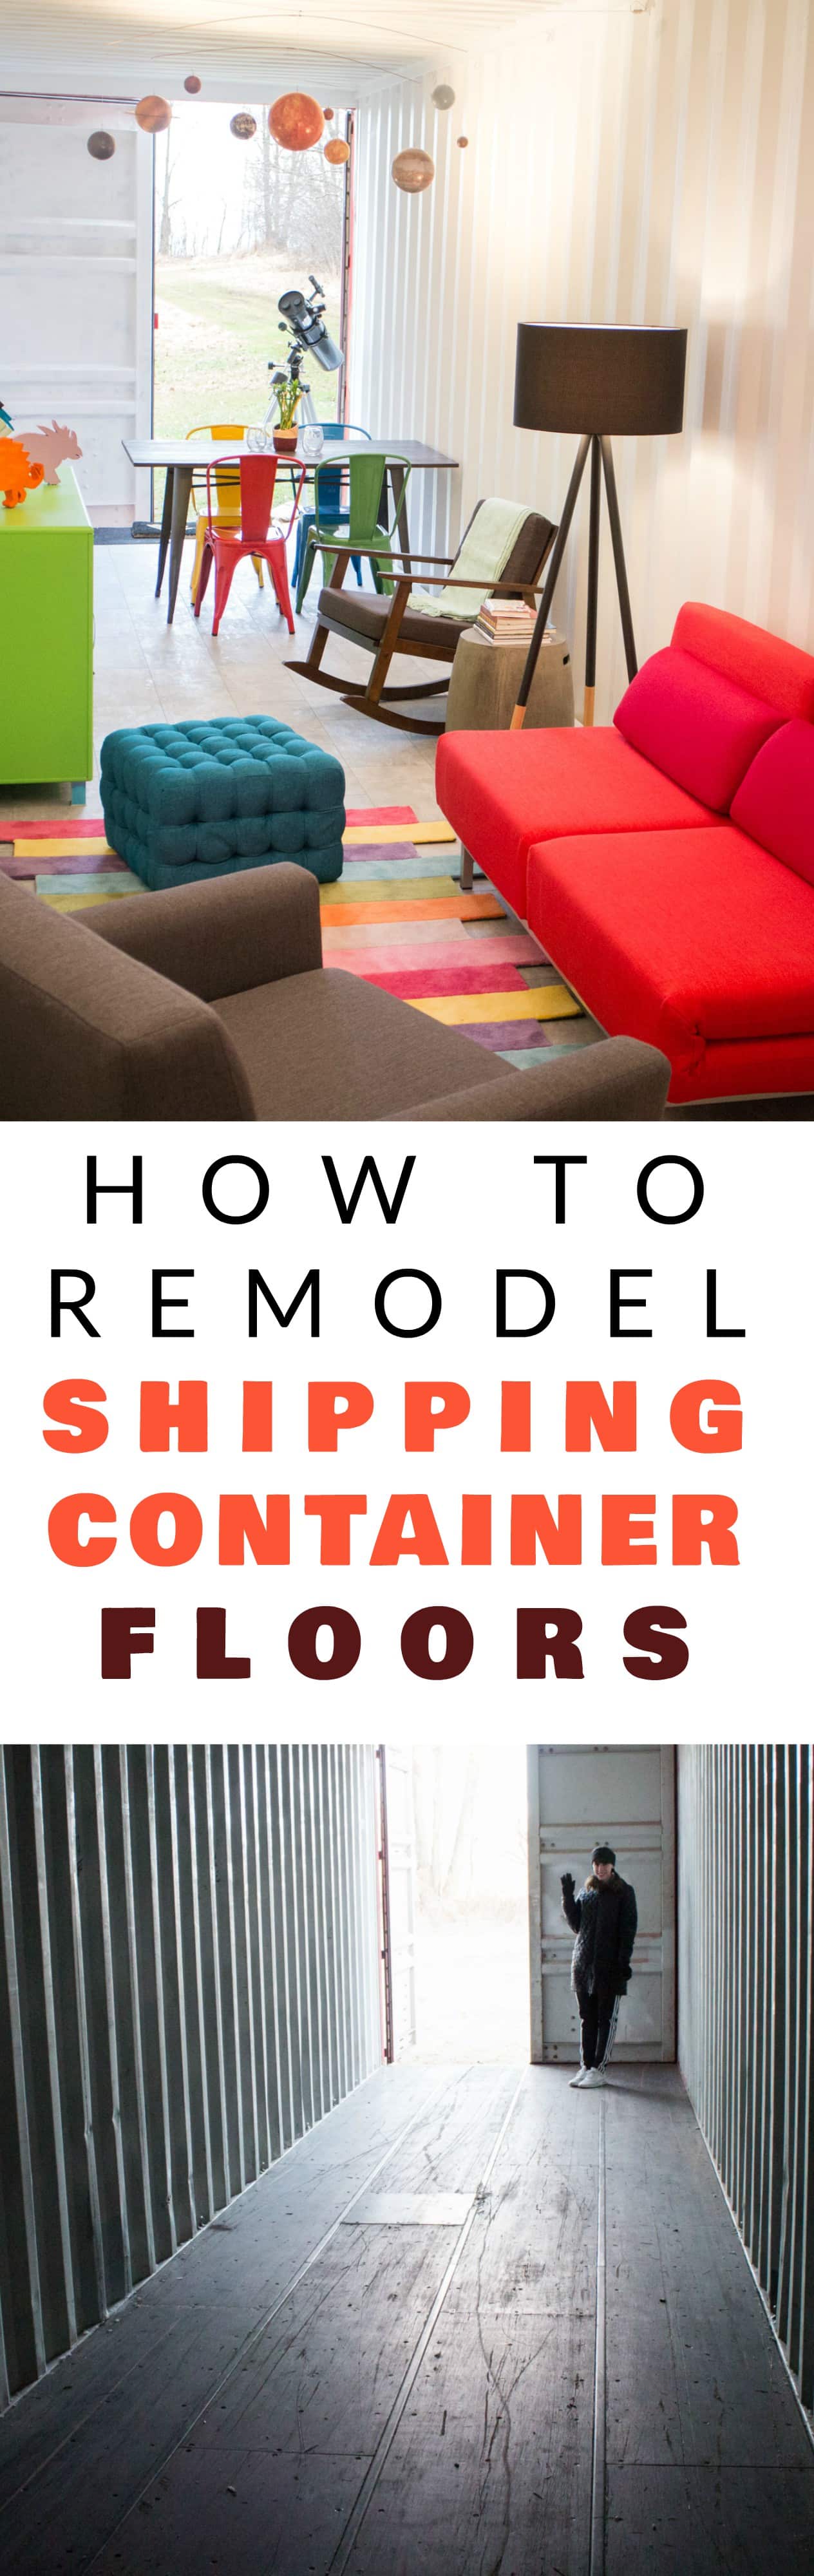
How to remodel a shipping container’s floor to make it move in ready. Find out how to easily refinish the floors on a budget to turn it into your modern dream home! Great design inspiration and cost info for your shipping container house!
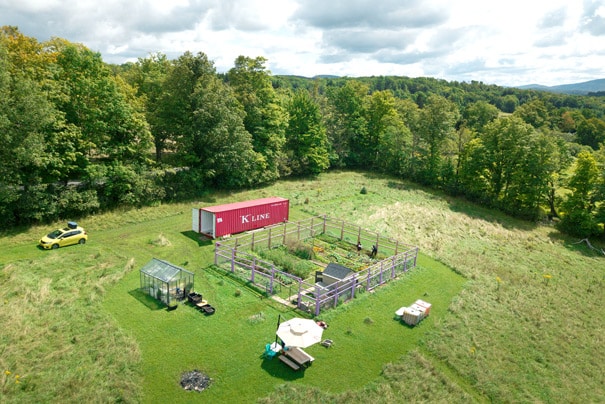
It’s been a few months since I last posted about our Upstate Adventure and what’s going on with our shipping container! As some of you might remember we bought a shipping container to turn into a vacation home. First – we painted the interior – what a difference some white paint makes (life motto!). But how about those ugly original floors…?! Well it’s time to redo the flooring to make it safe and move in ready!
Before and After (can you believe it?!)
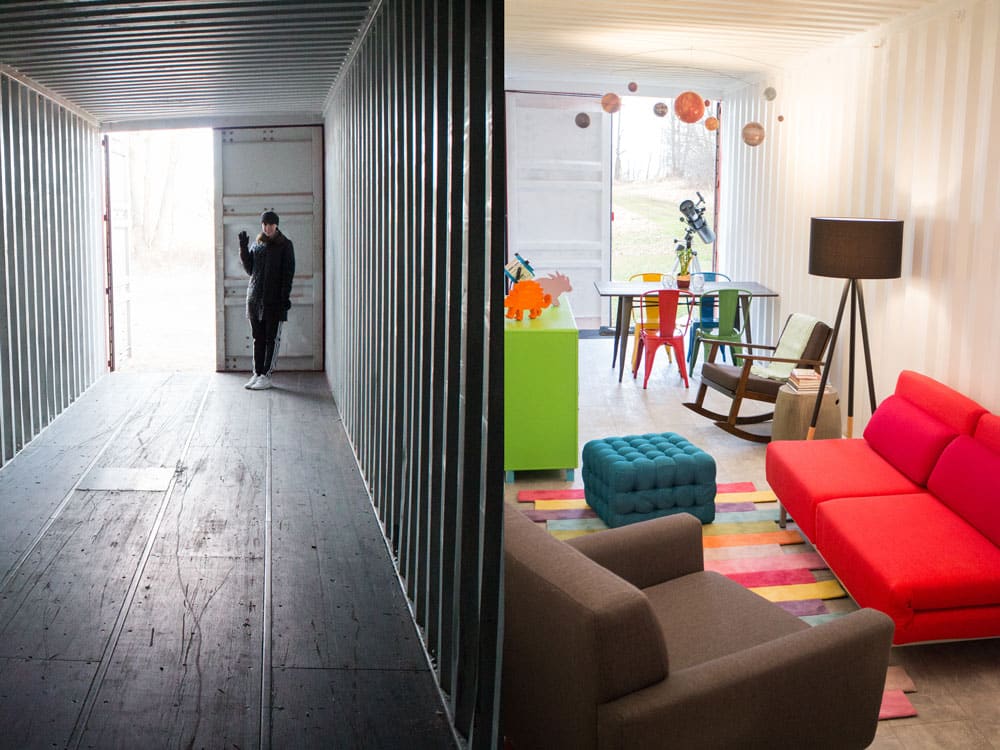
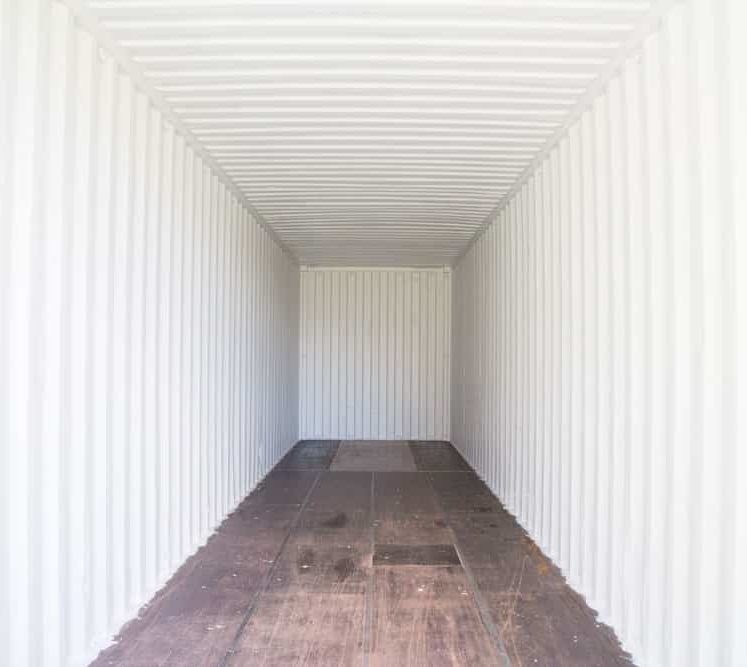
Our container has traveled around the world (literally – you should see it’s travel logs that I downloaded) so you can imagine the flooring had some wear and tear to it. We decided to go with a used shipping container instead of getting a brand new one because we were on a budget and we aren’t scared of DIY projects. In fact you might even say we like DIY projects and look forward to our weekend escape of getting our clothes dirty.
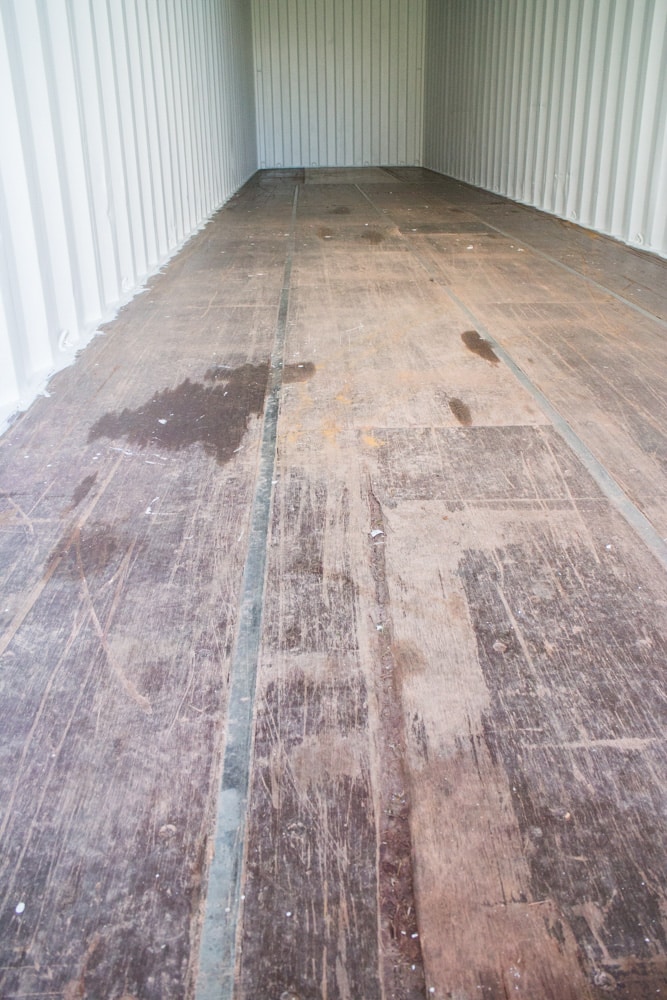
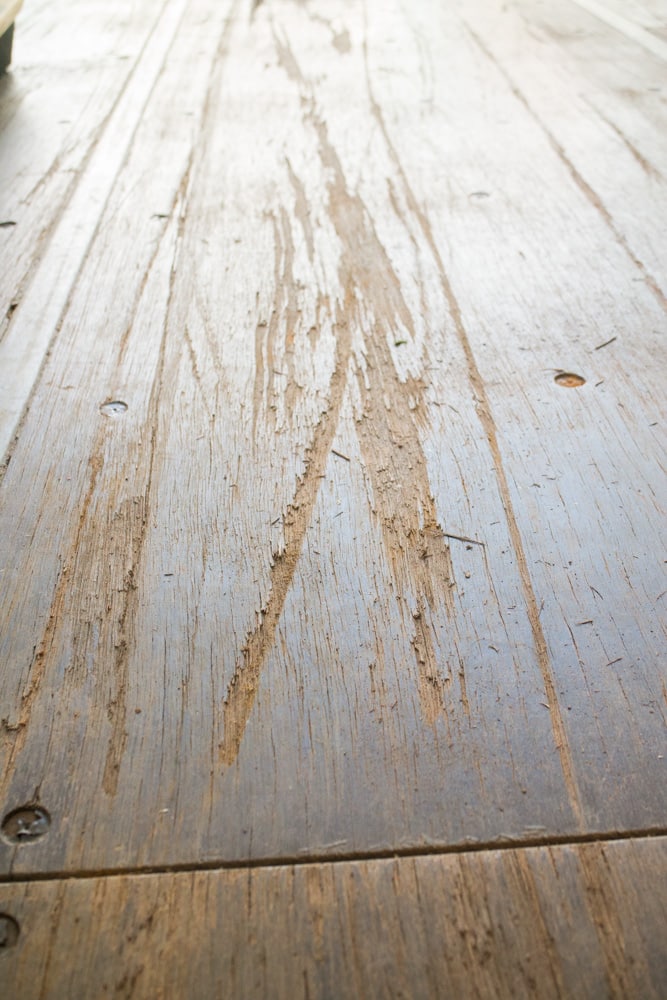
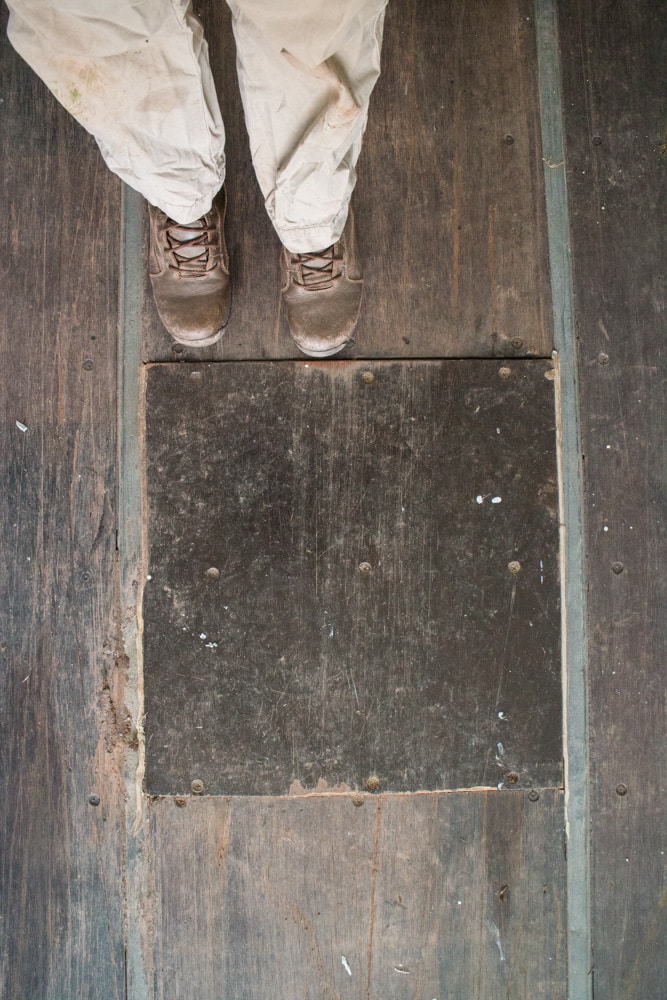
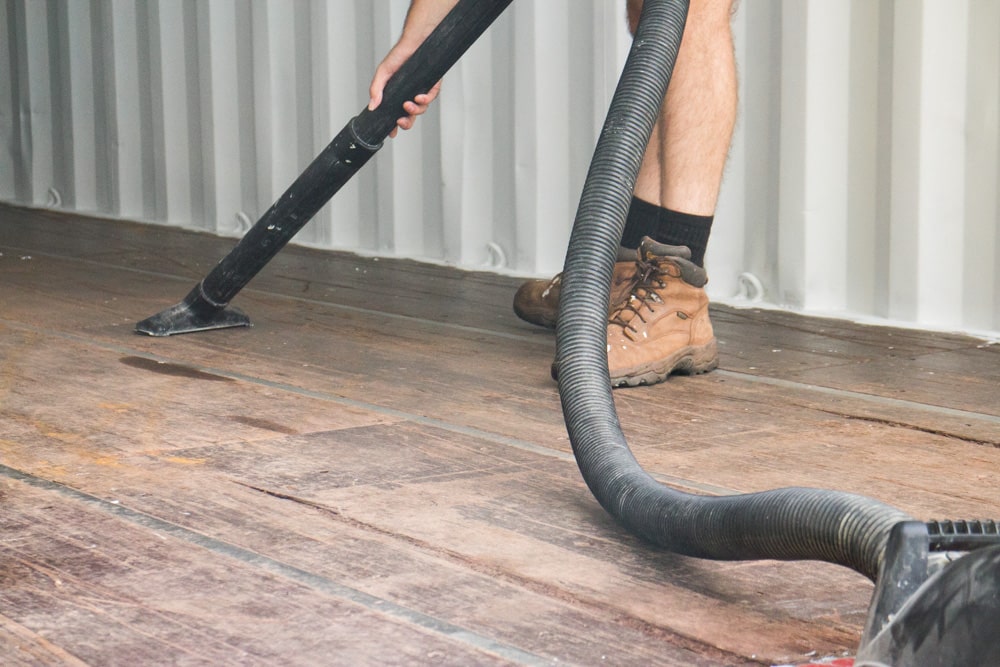
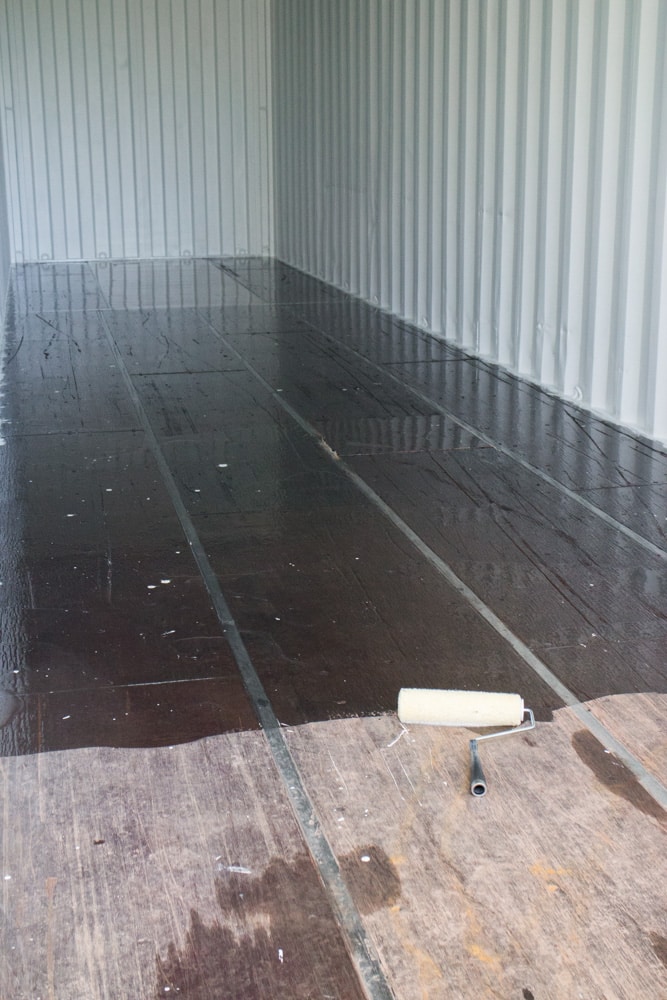
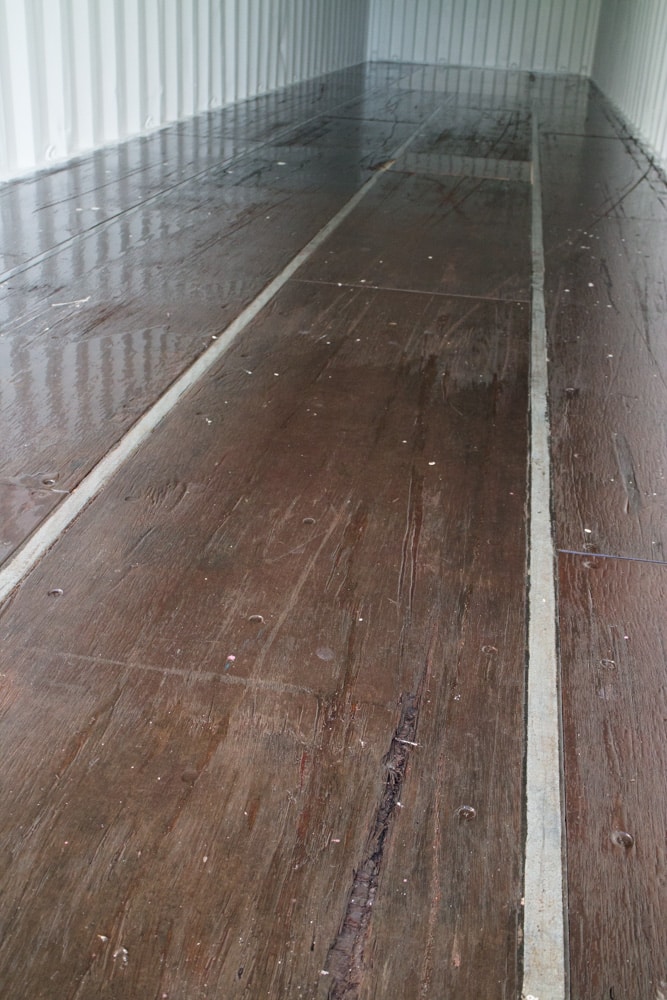
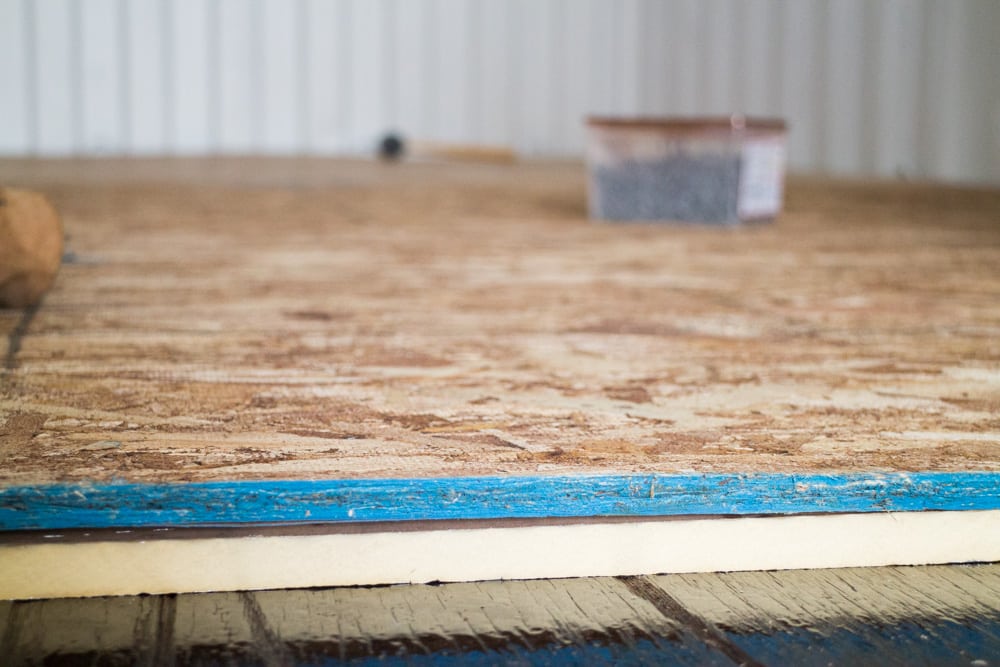
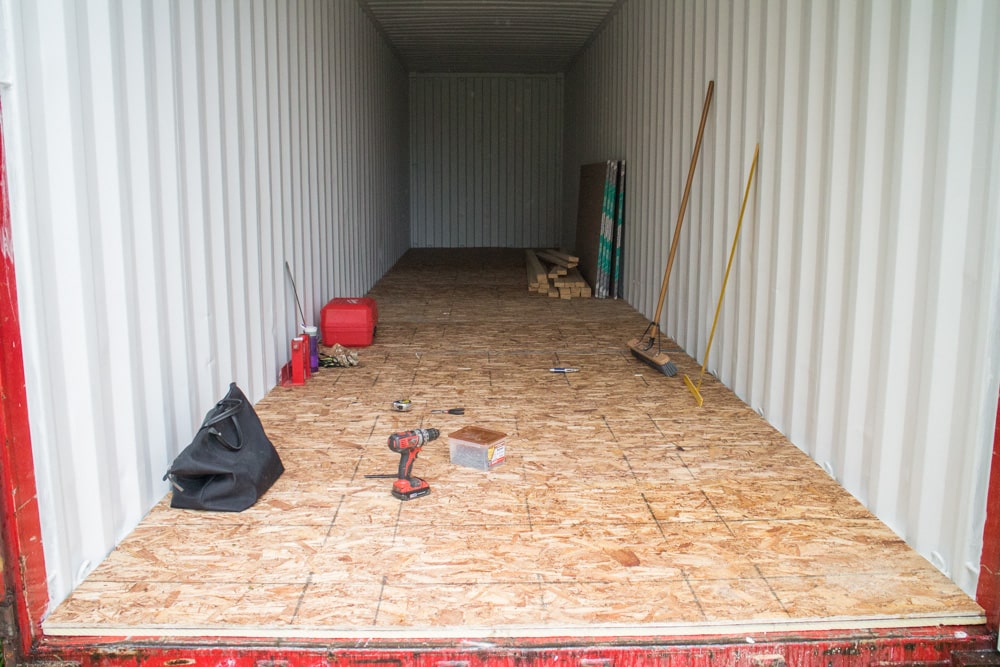
As you can see from these pictures, the flooring was a mess. Besides being dirty, there was scratches in the wood and adjustments pieces added on top.
First thing first – vacuum up the dirt all over the floor and remove any loose wood. Be careful of splinters! This is the easy part but it’s important for the next step.
Let’s talk about the shipping container floor first. We don’t know what was shipped in the container – it could have been boxes or it could have been chemicals. Either way, the original flooring was probably treated (pesticides) and wasn’t safe to use as is. When redoing a container floor you pretty much have 2 options. 1) Rip out the entire flooring and redo 2) Seal up the original flooring and cover it up. We went with Option #2. Some people rip out the floor with shipping containers and create a vapor barrier with blown-in insulation for the walls if they are extremely worried about chronic exposure of existing pesticides, but this is pretty pricey and you might want to think twice if a shipping container is best for you when you start to calculate costs. If you are buying a single use container you may be able to specify a “safe” flooring.
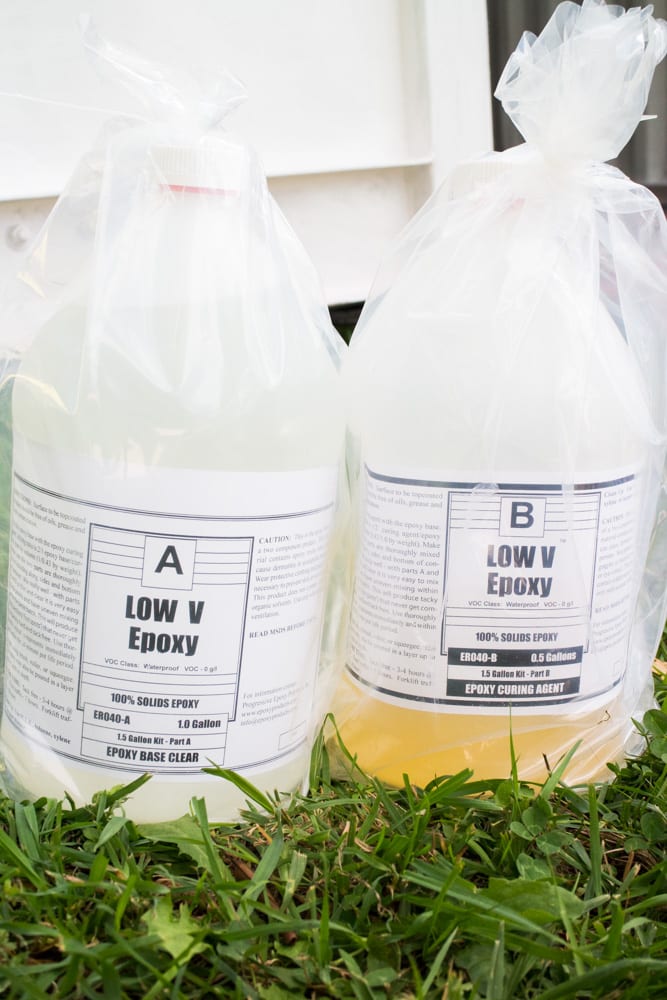
We did a lot of research when it came to the flooring and what products we should use to seal it up. We wanted the floors to be safe. Eventually we would be sleeping here on weekend trips, and one day there will be a baby (babies?) crawling around causing madness. We decided to mix Epoxy Clear Base and Epoxy Curing Agent together to create a sealing effect on the container flooring. We bought these products off of this horribly designed website and they were helpful in deciding what products would be best. They focus on redoing boat floors, decks, swimming pools and nuclear reactors (seriously) so they know epoxies. (Note: the total for these epoxies + shipping was $339.55 ).
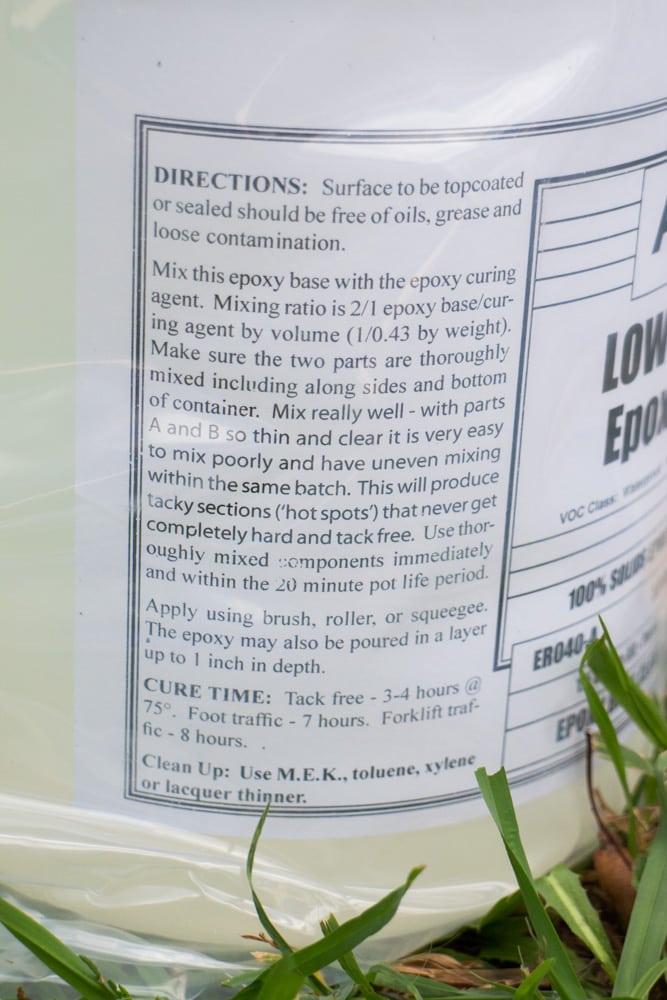
When the epoxy is mixed with its hardener a chemical reaction is set off and you can feel the heat from the reaction coming off. Don’t worry if it gets hot as it’s supposed to. Remember to wear gloves though to keep the splashes off of you. 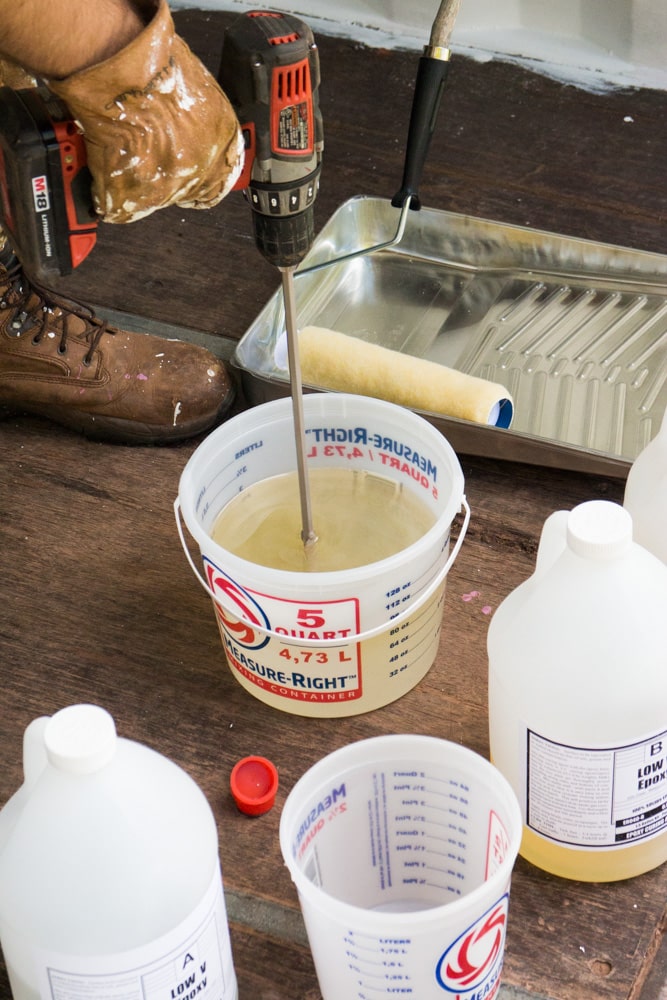
After you’re done mixing then you’ll want to apply directly to the clean floors. We used an ordinary thick nap paint roller to be able to get into the uneven surface. Depending on the temperature and mix epoxies can harden fast so work quickly. Start from the back and move forward.
Now let the epoxy dry (about 7 hours, but to be safe just let sit over night).
After it dries it will be very shiny and look wet… but it’s dry!


After the epoxies dried then we added 1″ foam sheet insulation and 3/4″ OSB wood on top of the sealed flooring. The underside of the container is open so this is the only insulation that the floor will have.
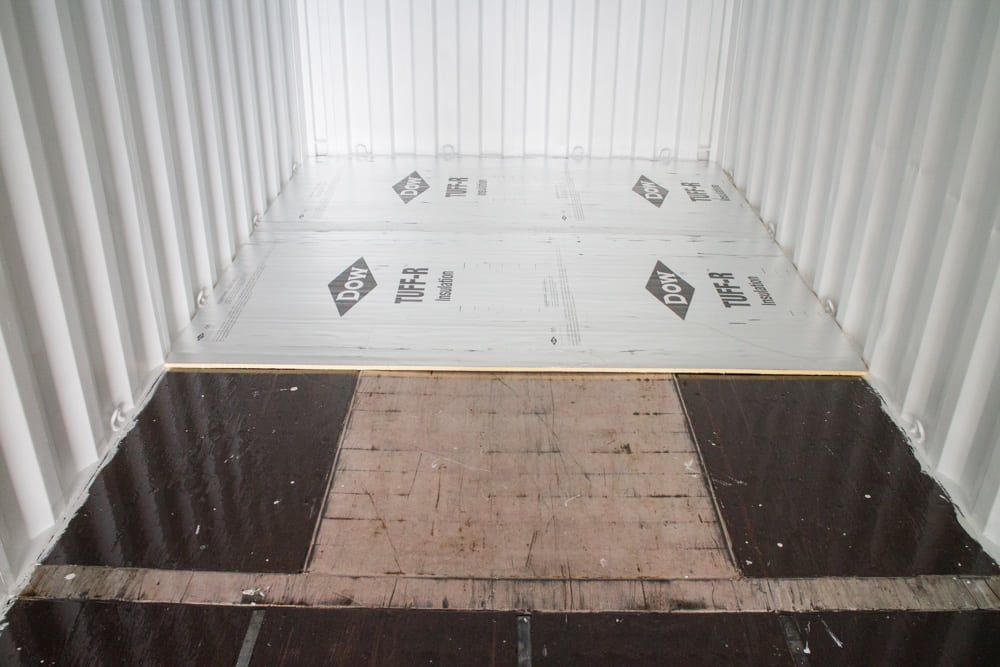
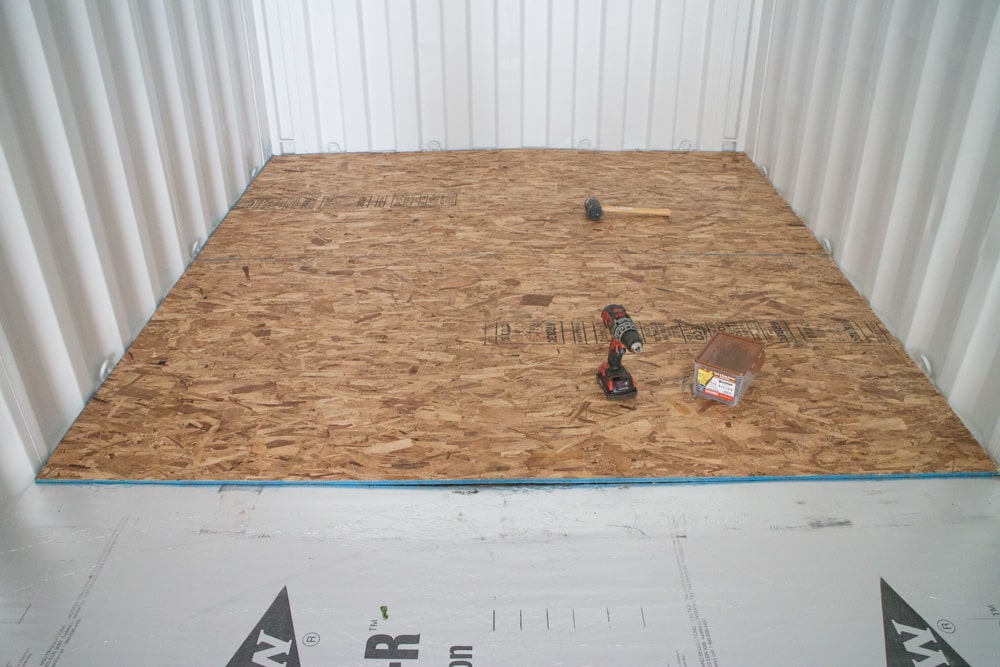
3″ wood screws were used to secure the OSB and sheet insulation to the original flooring. 
This didn’t take long to do at all.
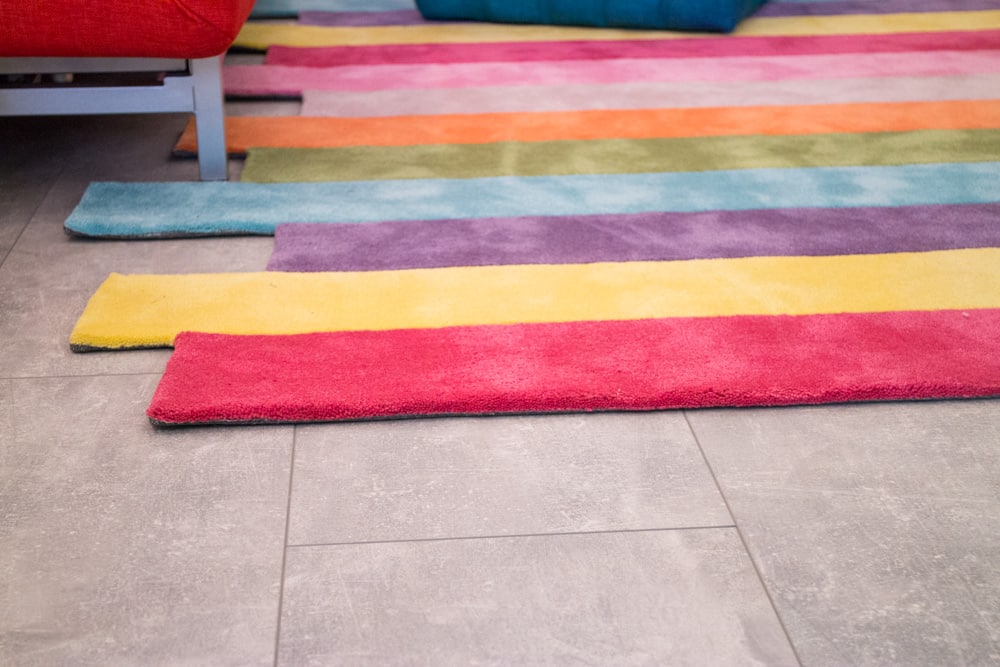
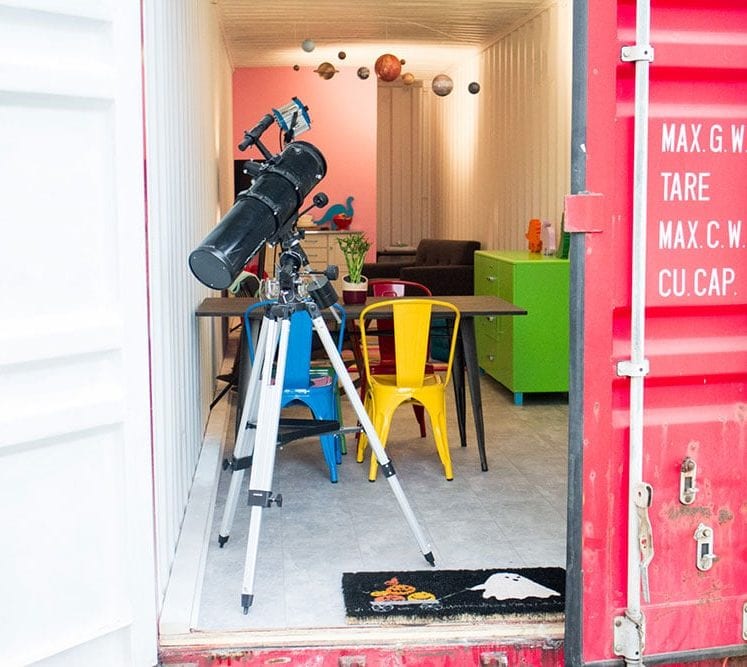
So now that the original floors were completely covered it was time for us to approach this project just like we would remodeling our NYC apartment. We wanted the container’s look overall to be bright, white and have touches of color with the furniture. For the flooring we went with a modern concrete floor laminate. We originally were going to go with white plank wood floors but we kept coming back to the concrete look and thought it looked more modern. The flooring, to cover 320 square feet was a total price with delivery of $610.22. 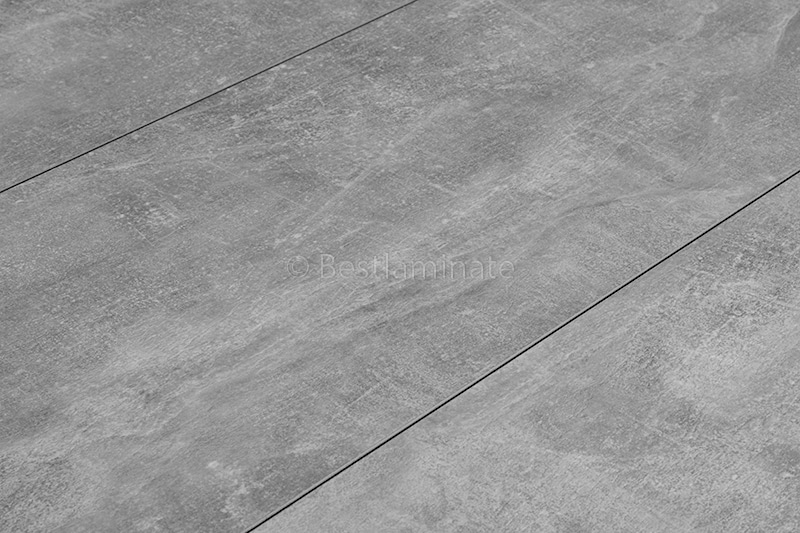
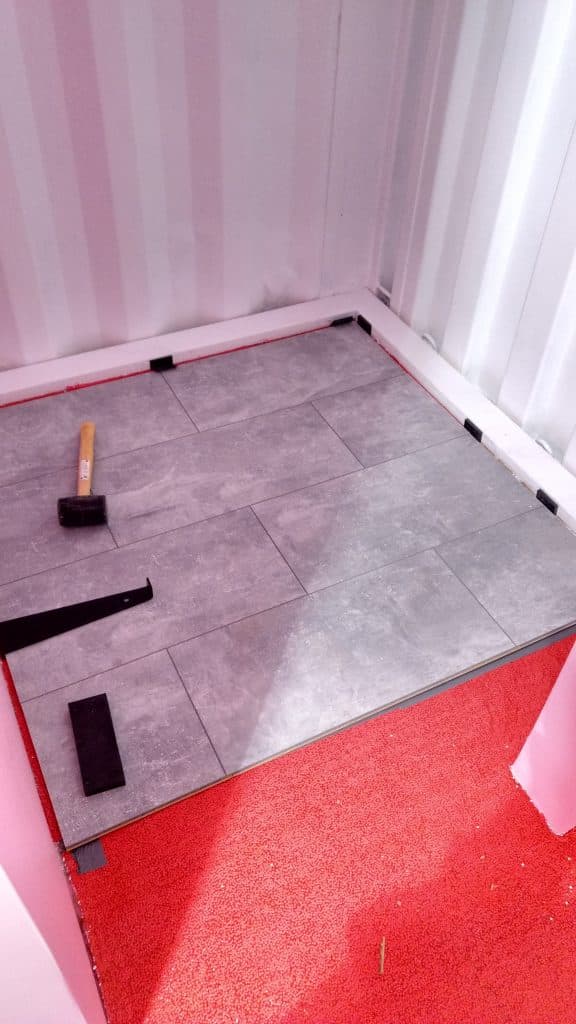
First we put Underlayment with Microban under the laminate floor tiles to keep the moisture out, as well as helping to flatten the floor incase it wasn’t even. If your floor has uneven spots in it you may feel them as the laminate flooring shifts as you walk over it.
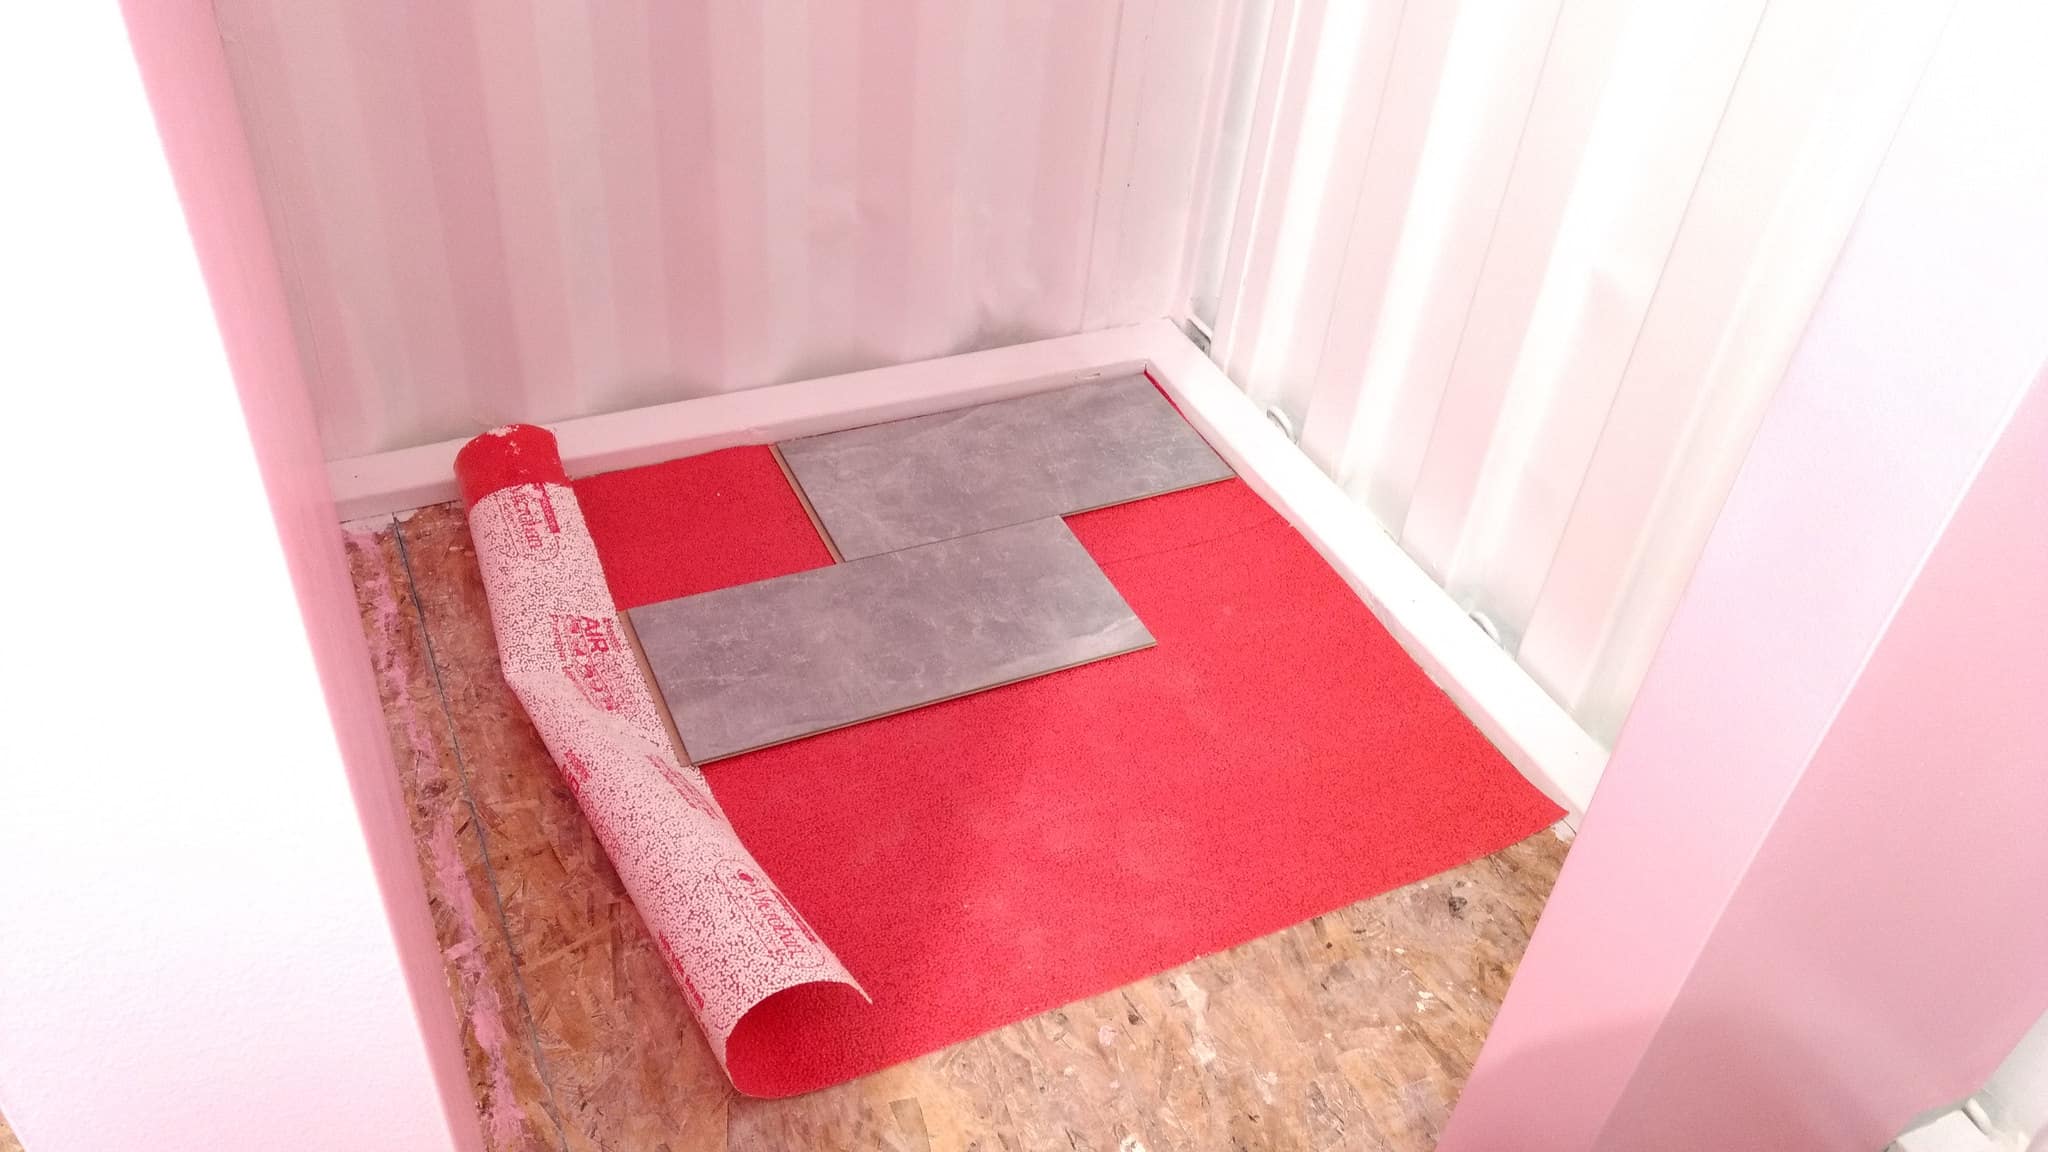
After that we started putting the tiles down. Since the tiles lock together it was pretty easy to do. Must haves when laying laminate flooring are a rubber mallet, a pull bar, a plastic block, and plastic spacers. You can buy kits that include everything but the mallet. These kits are usually located in the flooring aisles of your local home improvement store. Laminate flooring snaps together by wedging the ends of two pieces together and then pushing down to snap them in. Then you take your rubber mallet and pound on the plastic block to force a tight seem between the two pieces. A pull bar is used around walls where there is no room for the plastic block or for you to swing your mallet. The spacers go around the edges of your flooring against the walls to keep everything nice and even. Having a gap around the edges of your flooring is important because it will expand and contract with temperature changes. If you don’t leave a gap your flooring will buckle and you will have big problems. The gap eventually gets covered by molding.
And just like that the floor was all done and ready to be Swiffered clean (dirty boots!).


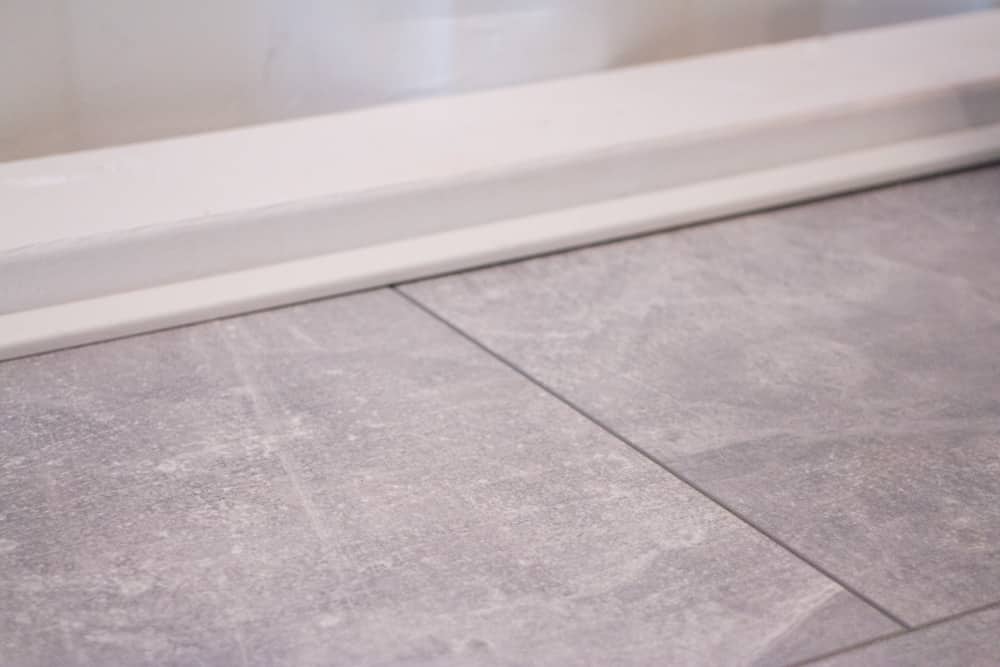
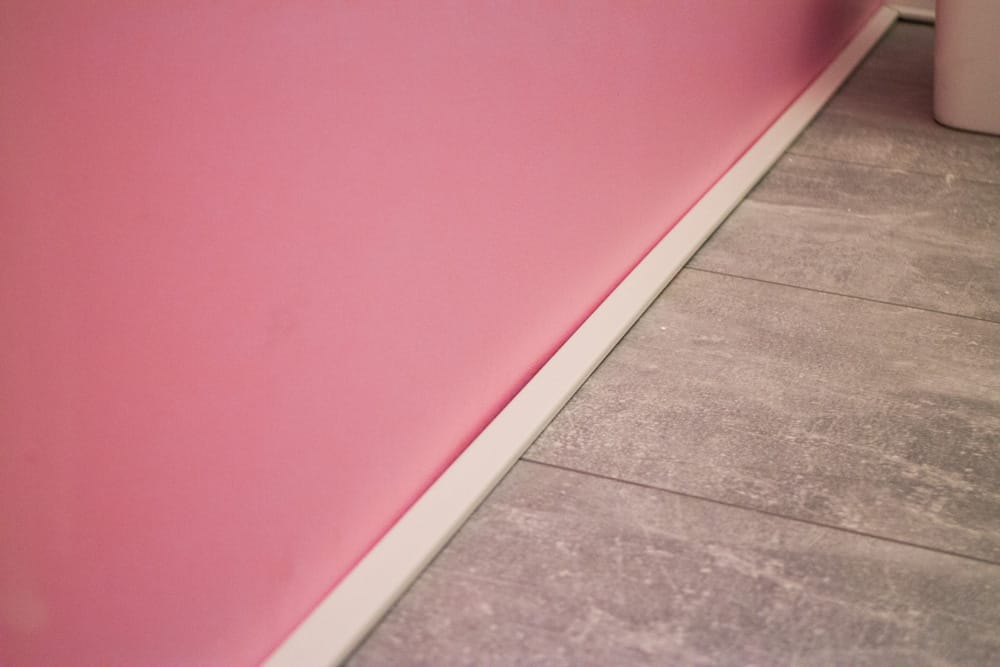
One thing to point out. If you notice on the sides we put down painted white 2x4s and molding. The long-term plan is to frame, insulate, and drywall the metal walls and even though we are doing this in the future we had to put the base of the frame wall down before we could do the floors. Most people are going to be doing things in the “proper” order (seal, frame, insulated, drywall, flooring) so this won’t be an issue.

Molding hides the ugly gap that is left for the laminate floor expansion. There are many styles of molding that can be a bit over the top but we went with something minimal that matches our style more.
Overall I’m really happy with how the floor turned out. By painting the container and redoing the floor it looks brand new now! I can’t wait to reveal to you the entire furnished container… but you’ll have to wait a little longer!
Hope you enjoy reading about our little Upstate Adventure! I can’t wait to show you what’s next… furniture… skylights…. and more!

epoxy lantai says
So cool!!! I can’t wait to read the next in the series.
Mark Matthews says
Did you use all of the epoxy on the 320 sq.ft. floor? My project is 1280 sq.ft.
Pamela says
Yes Mark, we used the epoxy on the entire 320 square feet. Hope this helps!
Ellie says
Thank you so much for sharing your experience. My husband and I are also considering building a home from shipping containers. This is very helpful. Quick question: did you have to use a special paint for the outside? Just wondering if the container will rust over time?
Pamela says
Hey Ellie, you can use a marine grade DTM paint for the outside of the container – this will help it through tough weather elements! The big question – what color!? 😉 Have fun with your project!
Liz says
Are you safe if lightening strikes the container or comes through the ground?
Jack Spratt says
Yes, just don’t be a better conductor of electricity than steel.
Jerome says
Nice description. Thanks, Jerome
Leo says
Did you guys do anything to degrease or clean the floor further than just sweeping and vaccuuming?
I just ordered the same epoxy for my container!
Pamela says
Hey Leo – that’s all we did! Good luck with your container project!
Leo says
Awesome, thank you! Epoxy goes down on my floor tomorrow evening!
Anu - My Ginger Garlic Kitchen says
Wow, 70 degrees already? How lucky you are. We are still struggling with winter here. And woah, you guys are really creative. So much in love with that pretty and bright colors. 🙂
Jeremy Watkin says
So cool!!! I can’t wait to read the next in the series.
Karen (Back Road Journal) says
You two are so creative and are certainly going to inspire others to think outside the box, in your case a shipping container. Love what you have done and can’t wait to see the end result.
Kathy @ Beyond the Chicken Coop says
That has turned out beautifully! I love the floor, but I really love the entire space. So bright and inviting. Nice job!!!
Jamie | The Kitchenarium says
This is so dreamy. I love the snapshots of your apartment so I knew you would slay this shipping container. I can’t wait to see more!
Cara says
Wow this is so interesting and very cool. Do you have other posts about this shipping container? Id love to learn more about the idea, how you decided on it and how can it be used as a vacation home. Ive never heard of something like this being done. PS your before and after photos are REALLY impressive!
Cecile says
Wow – it’s AWESOME!! You two are just something else – AND – it seems ‘you two’ are soon gonna be ‘you three’!! Congratulations. Any chance that your carrying twins… like I did? ; o )
Question – do you have windows… or ‘will you have windows’?
Pamela says
I didn’t know you had twins Cecile! Only one here, a girl! <3 We are getting 2 skylights installed this Summer and will be doing glass doors in the opening to bring in natural light!
Jersey Girl Cooks says
Wow! Its so awesome! I love all the colors.
Debbie - Mountain Mama says
Holy smokes you’ve done so much with that shipping container – I must have missed the previous post, I didn’t even know it was livable yet!! Are you eventually going to put in plumbing and a bath and kitchenette?
Looks like spring is finally coming to the mountains, starting on Sunday – let the planting begin!
Pamela says
I can’t wait to see what you’re planting! We started our seeds inside here! It has a little kitchen section now – basically just a island since our Summer cooking is usually outside, but no plumbing. I think it’ll come with time, but we’re unsure of what we want the container to turn into so holding off!
Phi @ The Sweetphi Blog says
This is SO impressive!!! I am going to go back and look at adventures with the shipping container because it sounds so awesome!
Nicoletta @sugarlovespices says
I am amazed at your DIY skills! I am not at all good at that, but luckily my husband is, and I can at least “pass some tools” 😉 . Your container floor is stunning, agree on the concrete look, goes well with the white and splashes of color! I can’t wait to see the finished look!
Sue Mcknight says
As always…. an amazing “armchair” adventure for this old lady. I am an old dog learning new tricks thanks to you two ambitious, idea-filled & hard working youngsters! Hope baby is learning as she grows (from the inside out) from her multi-talented mama!
Blessing to all of you….
Pamela says
Aww thanks Sue – that’s so nice! I can’t wait to show baby how to garden and for her to help out! <3
Austin says
Lots of good recommendation. Lot to consider. Thanks for your experience on the do it right way.
Kelsie | the itsy-bitsy kitchen says
Ummmmm what? I can’t believe that’s a shipping container! (And wouldn’t believe if you didn’t have all the before photos.) You did an awesome job and I’m so impressed :). I’m excited to see the skylights. Have a great weekend, Pamela!
suzanne says
Looks great, shipping containers are very cool. Is there going to be a bathroom and kitchen?
Pamela says
We have a little bathroom section now with a slick little portable toilet, mirror, etc, but no plumbing so its not very extravagant! For now it gets the job done! I would love a full tub looking out over the view – maybe one day! 🙂
Al says
We are in the process of building out a container and I need to epoxy seal the floors. Everything says to use isopropyl alcohol to clean the floor first. Did you do this?
If so is the alcohol mixed with anything? If not what if anything did you clean the floors with.
Pamela says
Hey Al, we didn’t clean the floors, we just swept and sealed them.
[email protected] says
This is incredible! The before and after is amazing. I would never have known that you could do that with a shipping container!
Wendy says
I am having such fun reading this series and really look forward to the next installment! I had never heard of using a shipping container as a home until your series. Of course now that I am aware, I have read more in several places! Your project and abilities are amazing! I am in awe, truly!
Anna says
It’s fantastic!!! 🙂