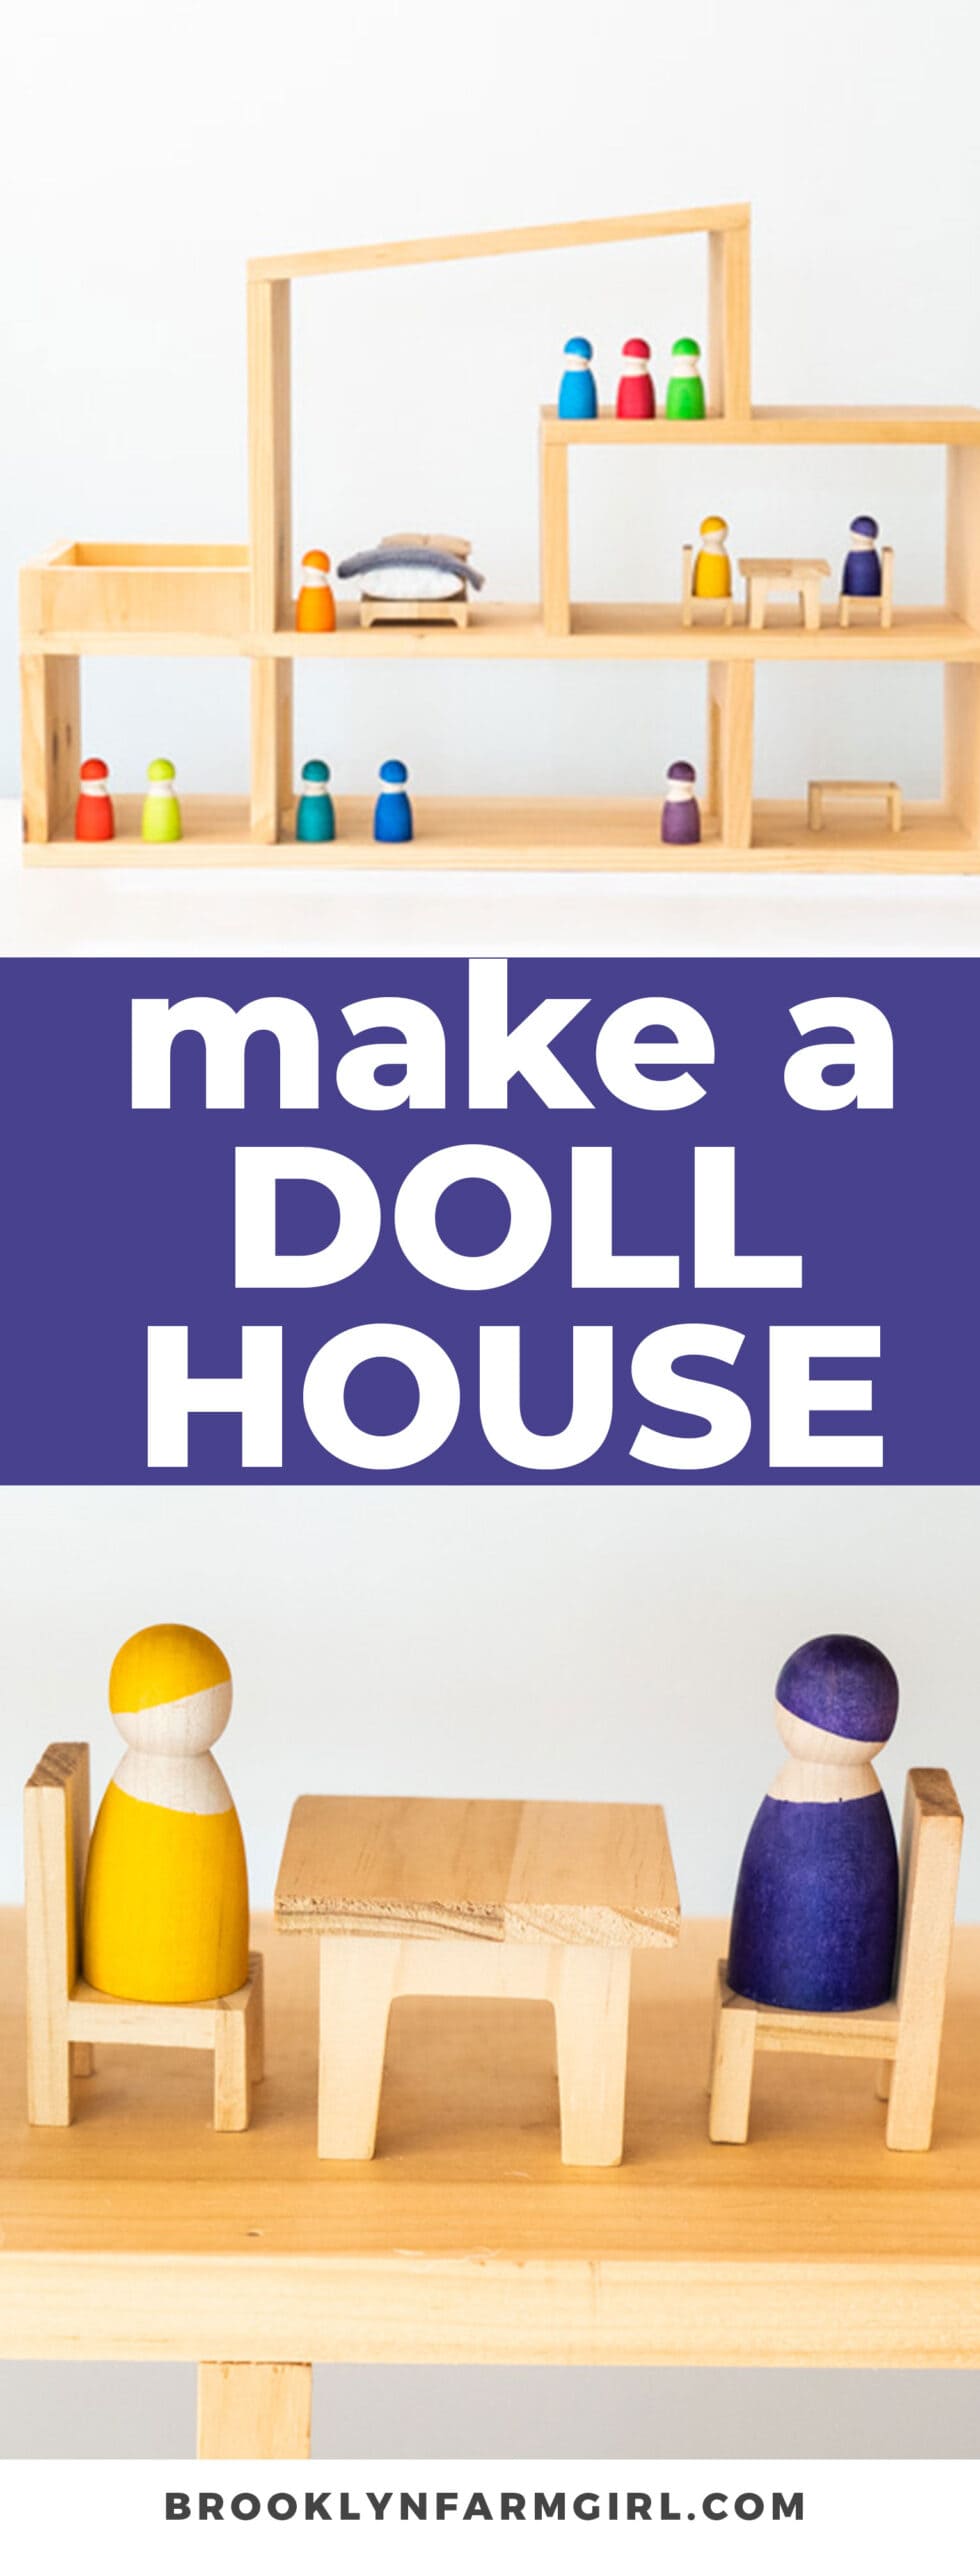
Step by step instructions on how to build a modern dollhouse for your kids. Easy to make DIY plans and can be completed in 1 day. Final cost is $35 for a life long toy that can be passed on for generations.
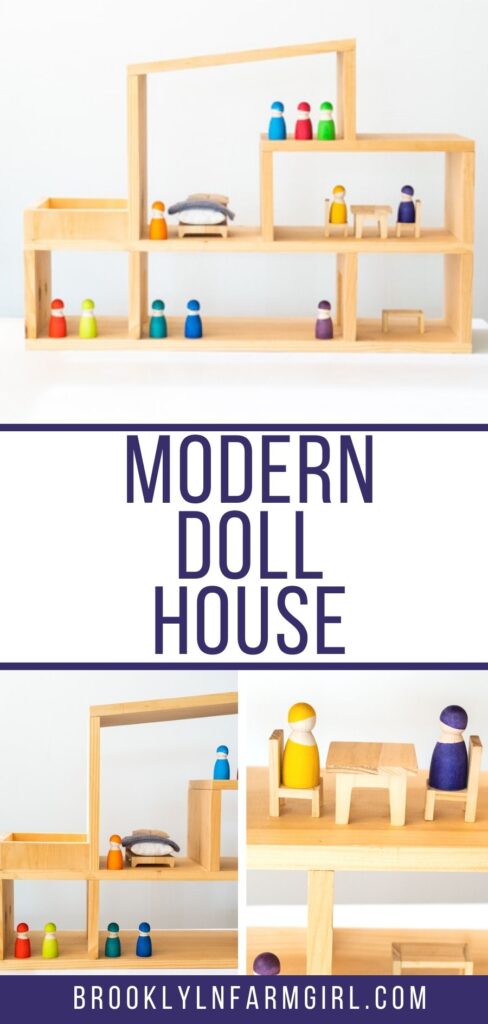
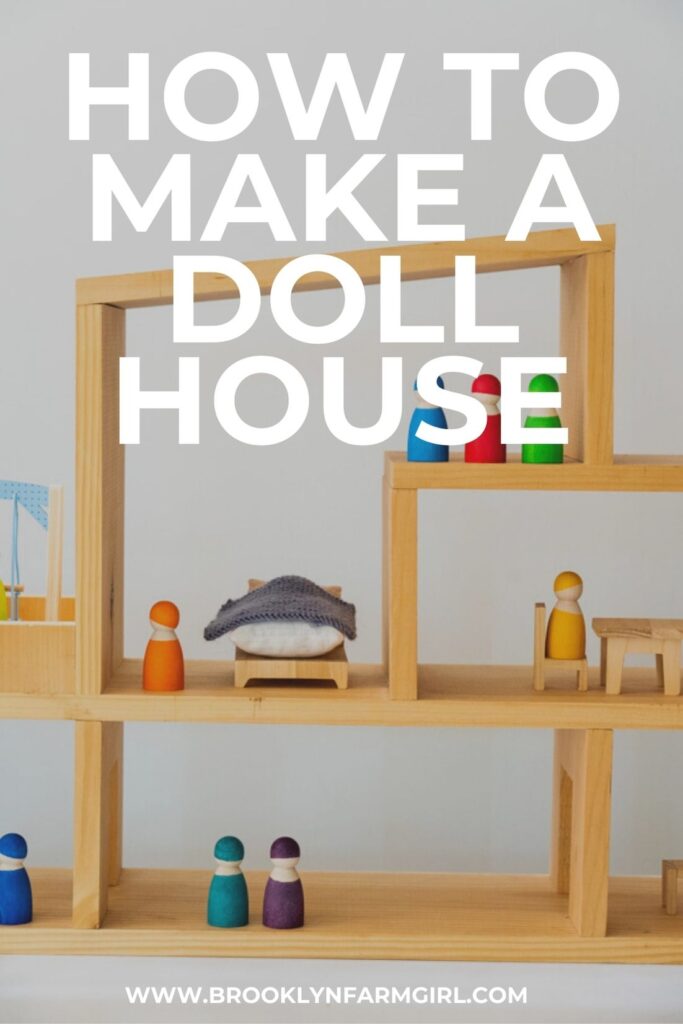
How To Make a Modern Dollhouse
One of the most exciting things about being a Dad is getting creative and building things for my daughter Enceladus. She recently started to discover her imagination when playing with her toys so I thought it was the perfect time to build her a dollhouse for her little people and animals.
Let’s be honest. Most dollhouses are hideous plastic monstrosities that break easily and clash with everything in your home. For this dollhouse I wanted something modern, simple and made of wood. Searching the internet for inspirational dollhouses proved challenging and the only one that we really liked (Funkis dollhouse) was from a pricy Finnish toy company.
Real talk, we weren’t going to spend $200+ on something she may end up not even caring about. I like to build things so I went into the wood shop and made a remix of the Funkis Dollhouse myself.
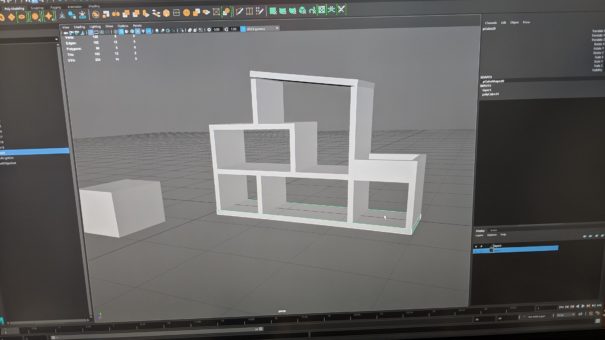
Designing A Dollhouse
The first thing I did was make a quick render of the design in 3D to figure out my measurements and visualize how everything fit together. I wanted something a little more sturdy so I decided to use 1/2″ pine board instead of thin plywood. Toddlers are clumsy and have tremendous strength, so this design was built to be tough.
Dollhouse Plans
Here are the exact dimensions of the dollhouse I made if you want to make it. Click to enlarge the picture.

Materials for Dollhouse
I decided to keep things cheap and used inexpensive pine board from Home Depot. This wood is fairly soft so if you want it to hold up against dents and scratches I’d suggest using a more expensive durable wood. The wood was put together using finishing nails and wood glue. Having access to a miter saw or even a circular saw will make you life easier and more accurate but if you are careful even a hand saw will work.
- 2 – 8′ x 8″x 3/4″ pine boards (These are typically sold as 1″ Common or Select Pine Board)
- 1 – 50 pack of 1 1/2″ finishing nails (The smaller the nail head the cleaner the look)
- Wood Glue
- Miter, circular or hand saw
- Optional: Clamps
Pieces for Dollhouse
There are two parts to this dollhouse build, the house and the balcony. All main pieces except for the balcony are 3/4″ thick and 8″ wide.
Walls and Floor Lengths:
- 2 – 30″
- 1 – 15 1/4″
- 1 – 14″
- 1 – 11″
- 7 – 6″
Balcony Lengths:
The balcony uses the same 3/4″ thick board and the three pieces are 2″ in height.
- 1 – 8″
- 2 – 6 1/4″
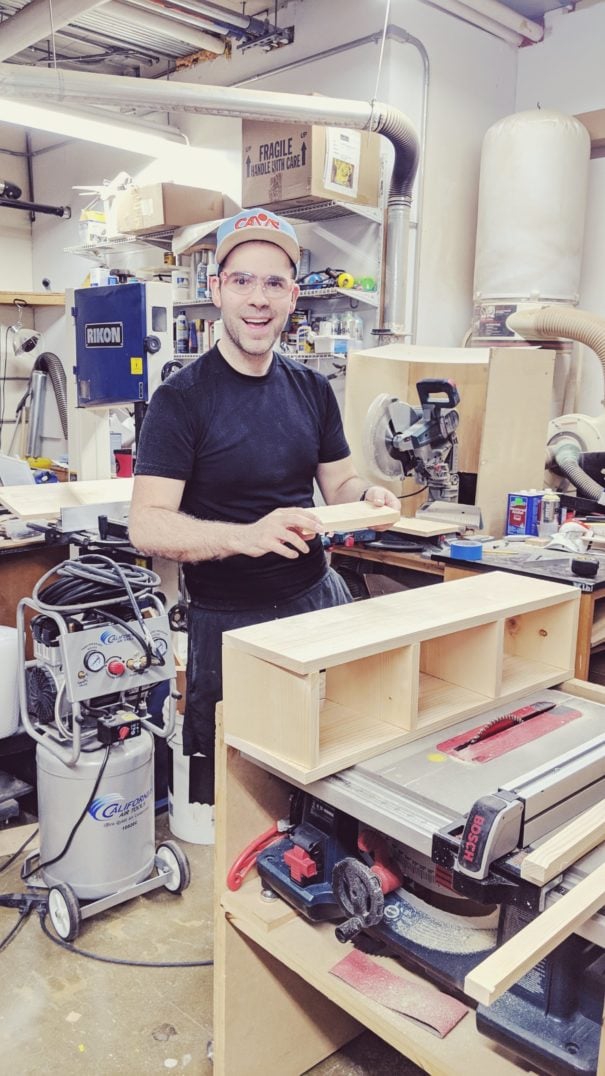
How to Build A Dollhouse
Now that we have a design and our materials we can start building. The first step is to make all your cuts. We used a miter saw for our cuts because it is more precise. After you have all of your cuts made you can start putting the pieces together.
We built the dollhouse from the bottom up starting with the lower rooms sandwiched between the two 30″ boards. Use wood glue on the ends of the boards you are assembling and hammer in the finishing nails for extra strength. If you have some clamps it is a good idea to clamp the joints and allow the glue to dry for a bit before you move to the next part.
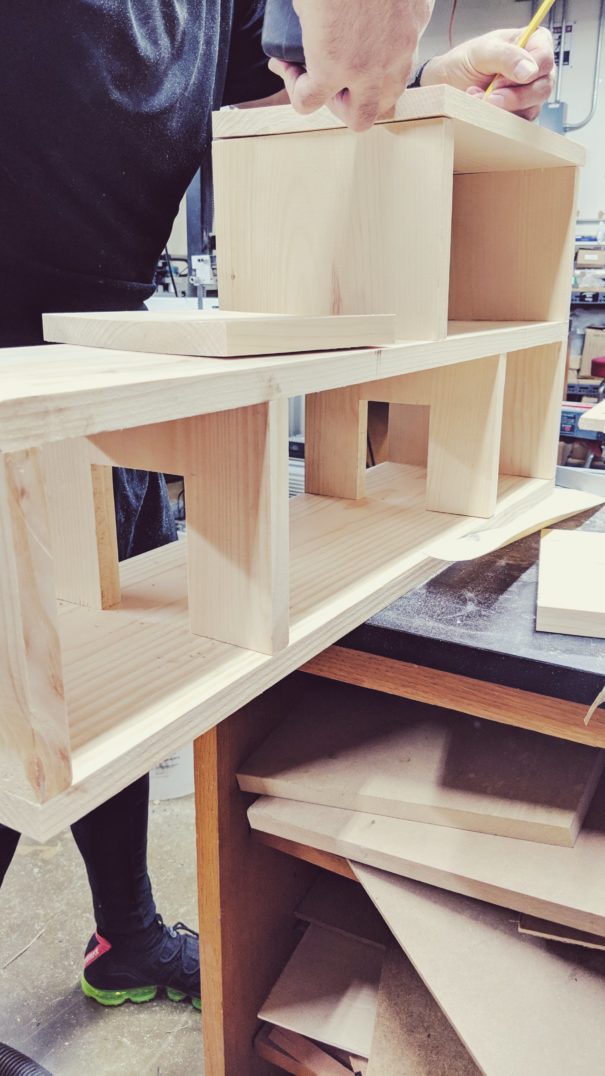
Continue adding walls and floors until you’ve used all the pieces. Leave the dollhouse to dry overnight and that’s it. We chose not to paint ours but if you wanted to you could paint or stain the wood to a color of your choice.
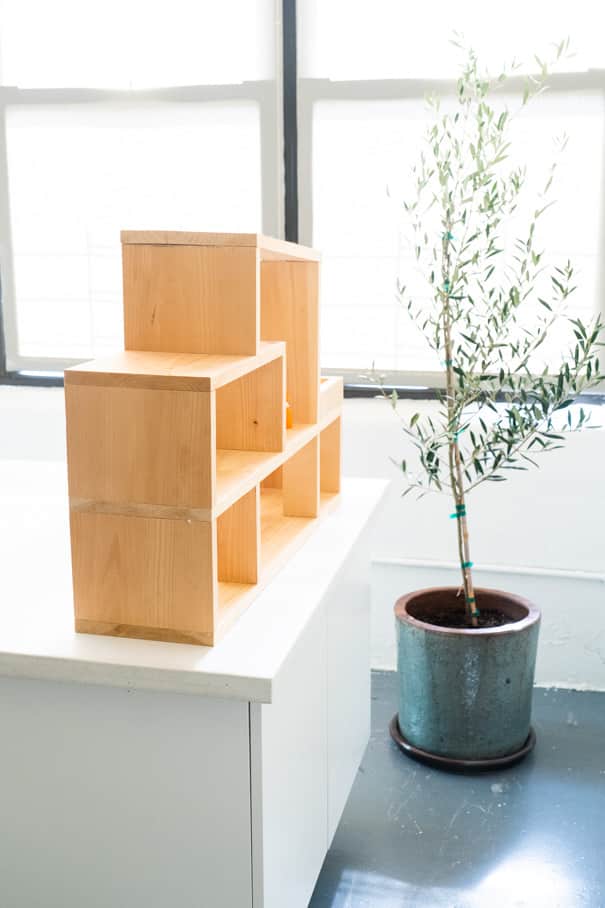
Congratulations! You’ve built a beautiful dollhouse for your child to play with!
Cost for Building Dollhouse
The total costs for materials for this dollhouse cost about $35. This is a great price considering comparable pre-built modern dollhouses cost hundreds of dollars!
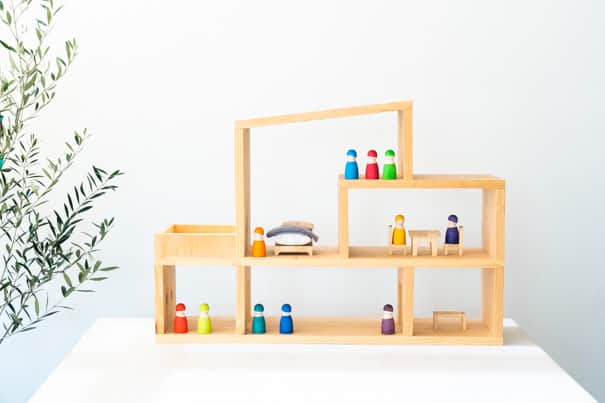
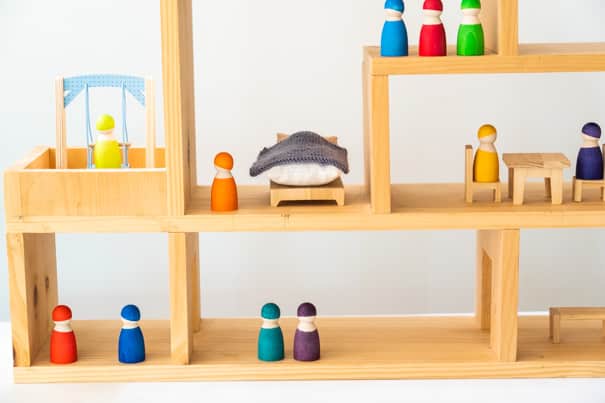
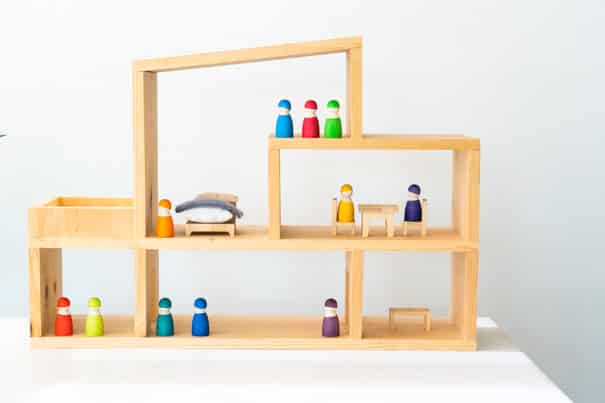
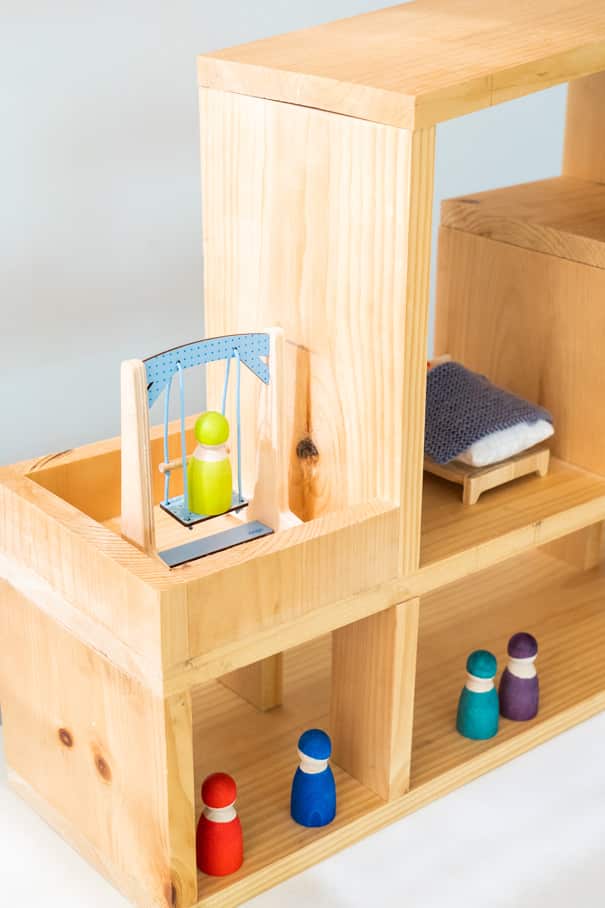
Let’s check out the dollhouse!
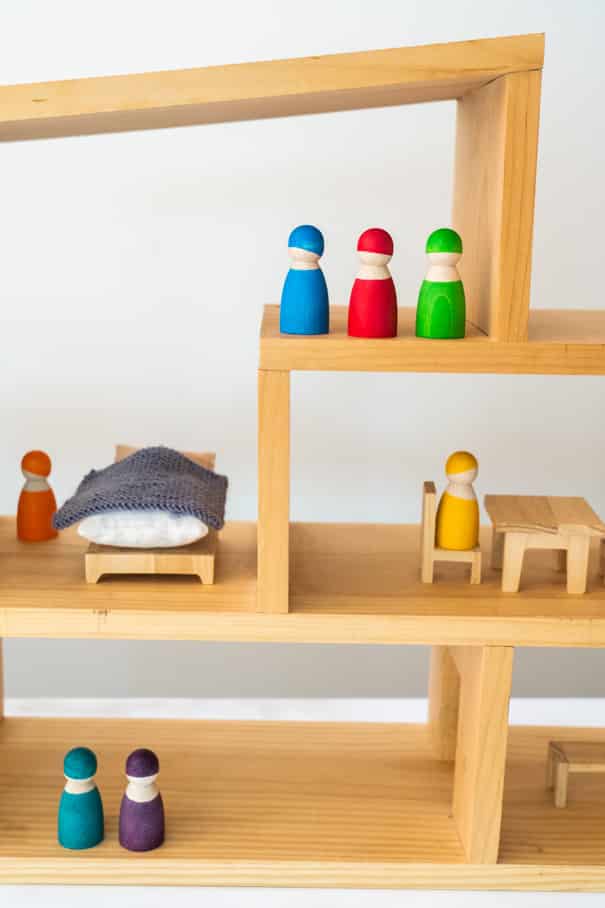
Here’s some more photos if you want to see detail shots.
If you’re interested in a dollhouse furniture post, please comment below. We’re always looking for new project ideas!
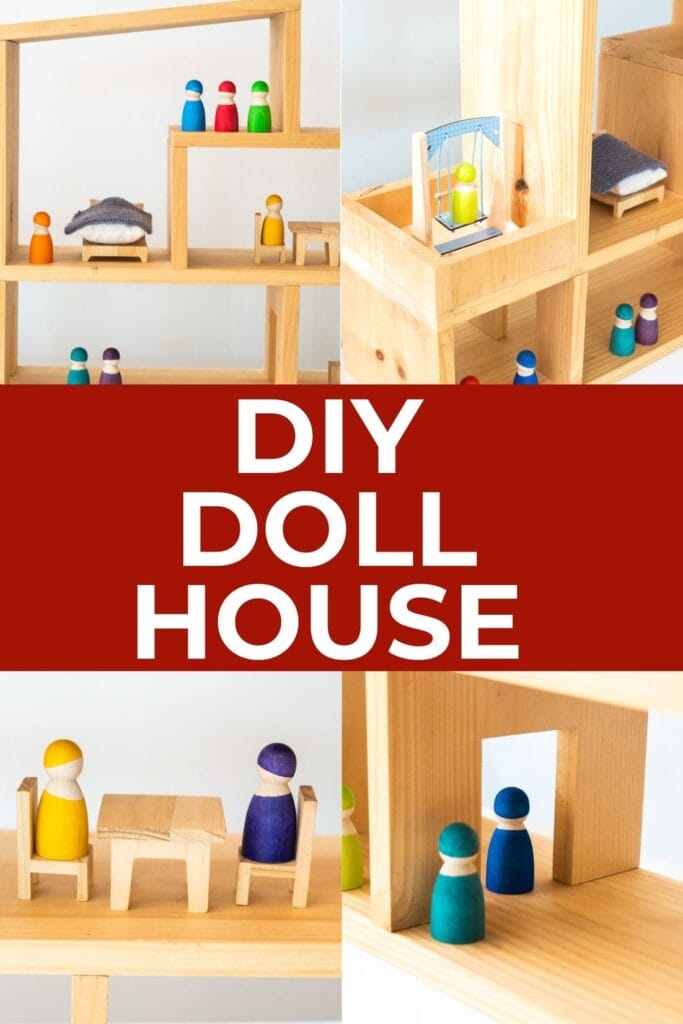
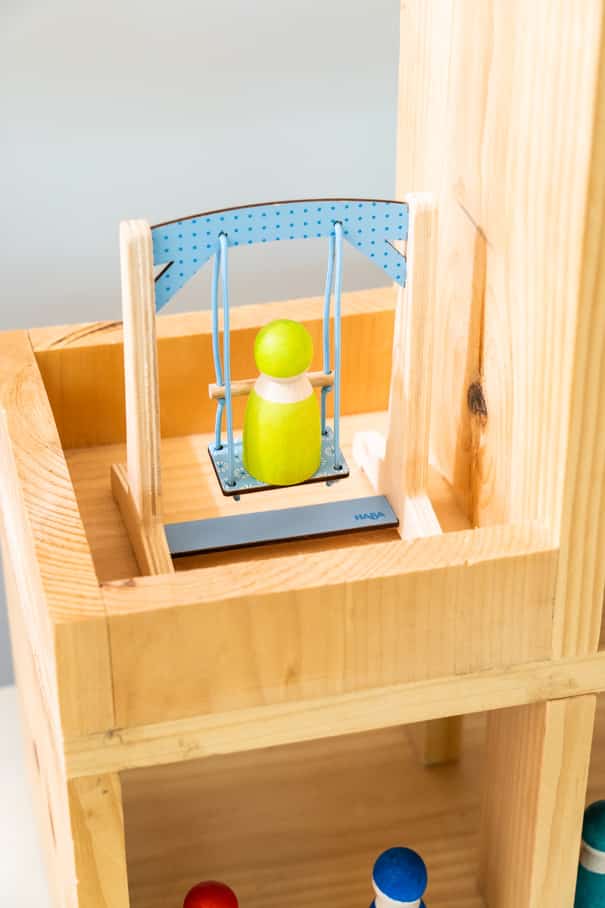
Here’s the outside patio area. A doll is swinging. 🙂
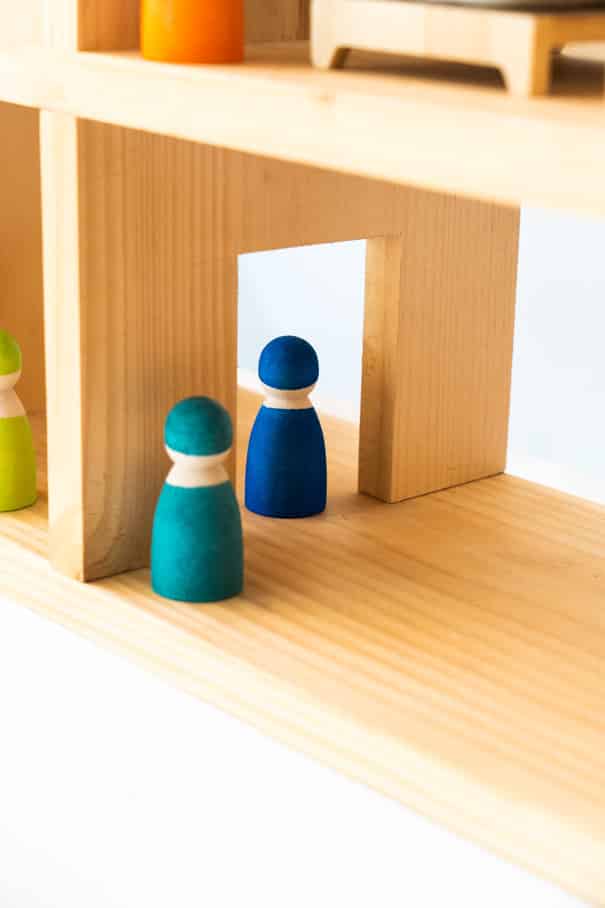
There are 2 cut out doors on the bottom level, allowing your little one to walk their dolls around.
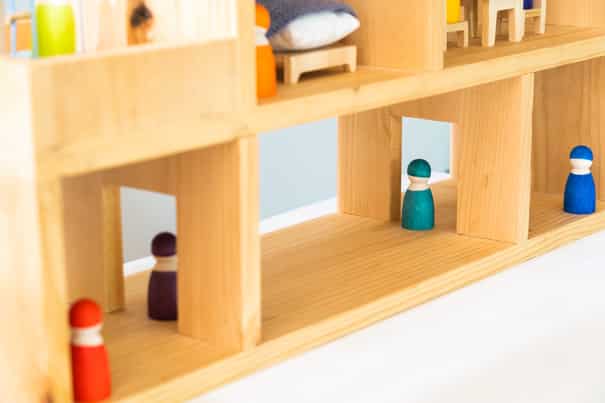
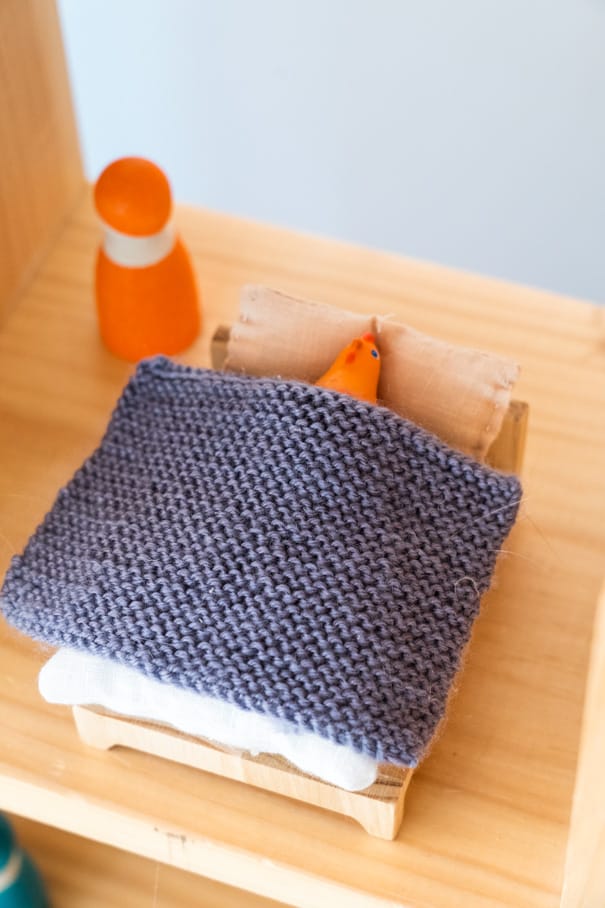
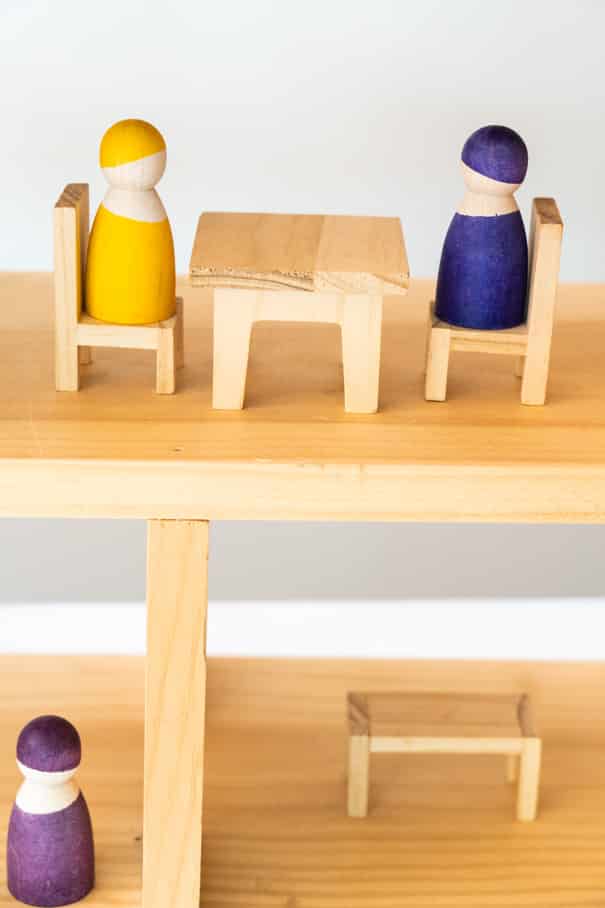
Lots of rooms to add furniture, like beds, tables, kitchens, etc.
Our daughter put the chicken to bed for this photo. 🙂
I hope you liked this dollhouse tutorial!
Pin for later:
Post written by: Matthew
Other Baby Posts You Might Like:
Osprey Poco AG Plus (best baby carrier for hiking!)
The Best Baby Bike Seat
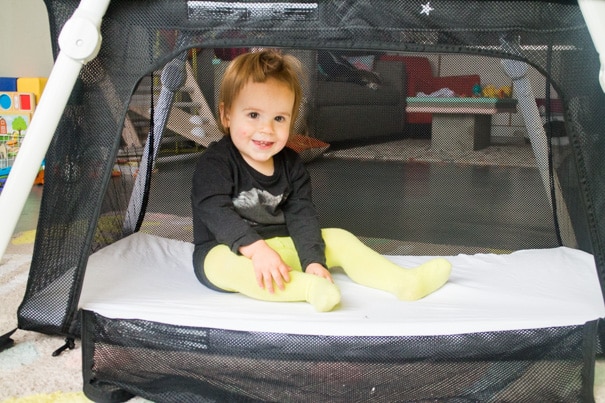
The Best Travel Pack and Play
The Best Earth And Garden Books For Kids
Nicole B says
This is so cool. Definitely want to make this for my daughters 4th birthday. Thank you so much for sharing your plans.
I’d love to know where you got the cute furniture. Could you share, please? Thank you!!
Alex Bowling says
Love this! I’m inspired for sure.