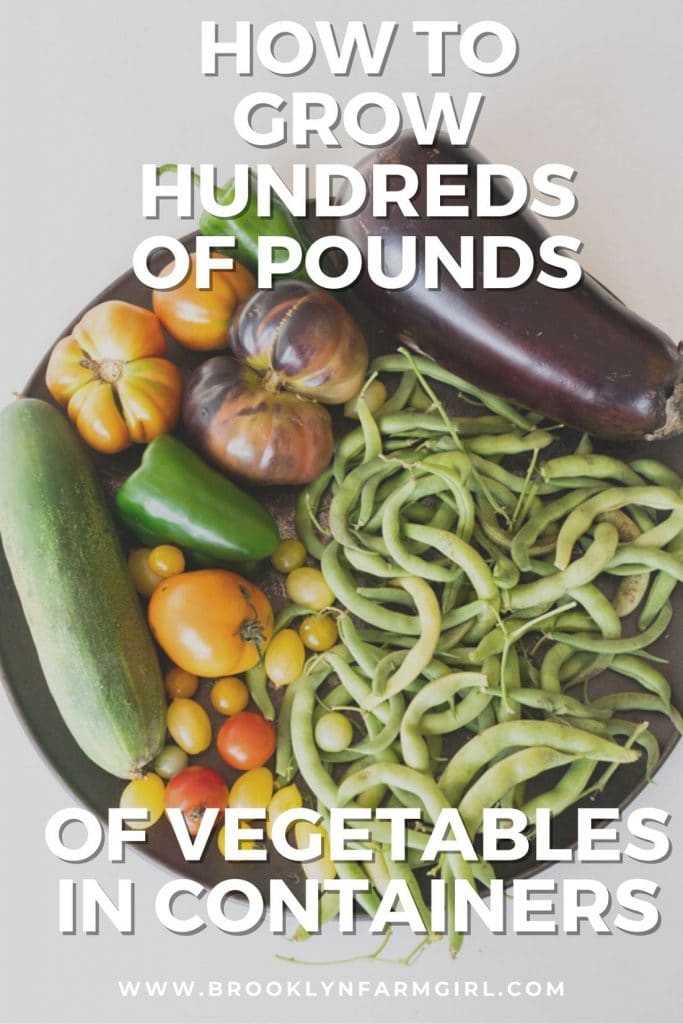
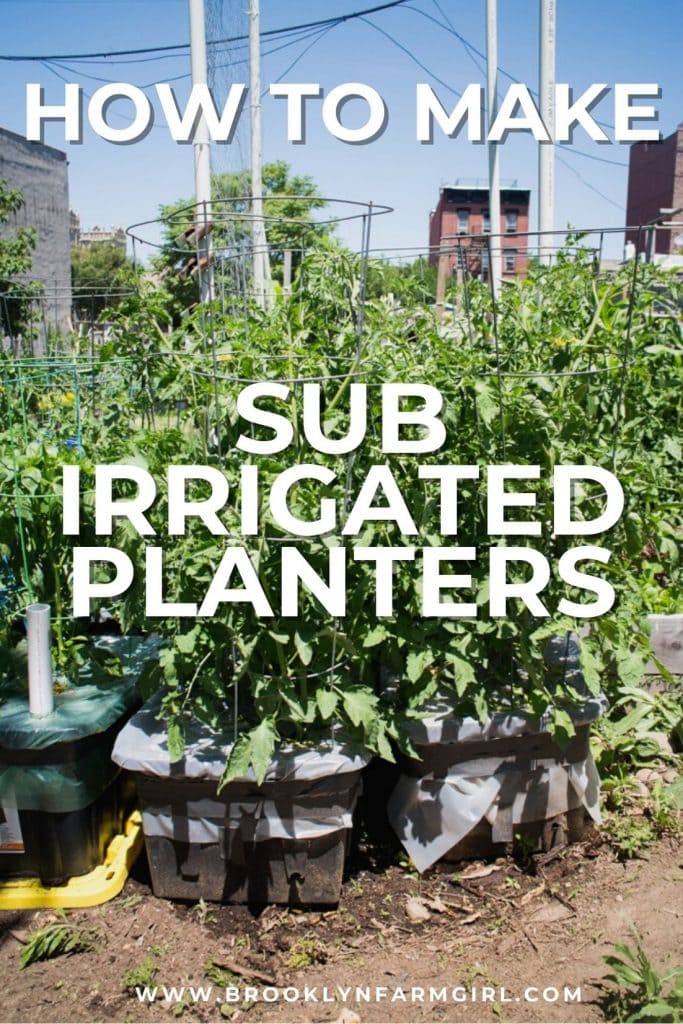
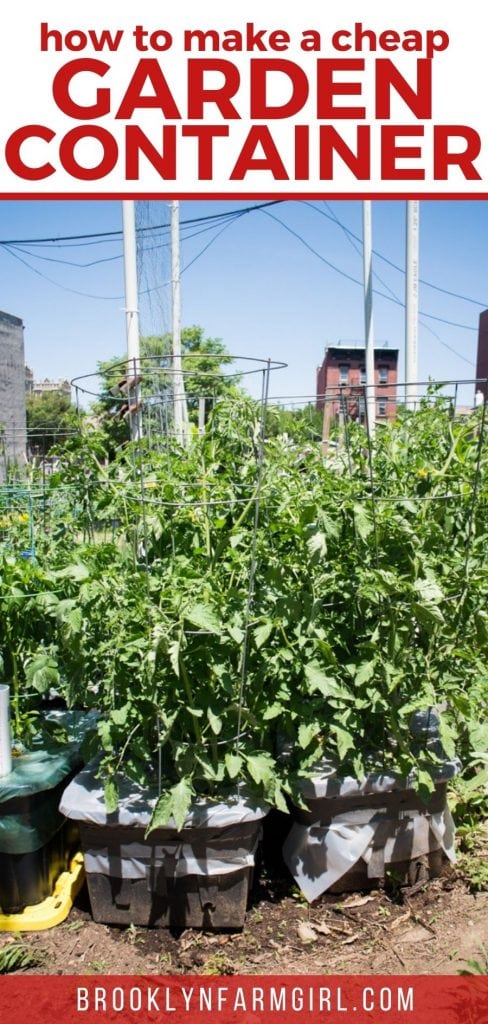
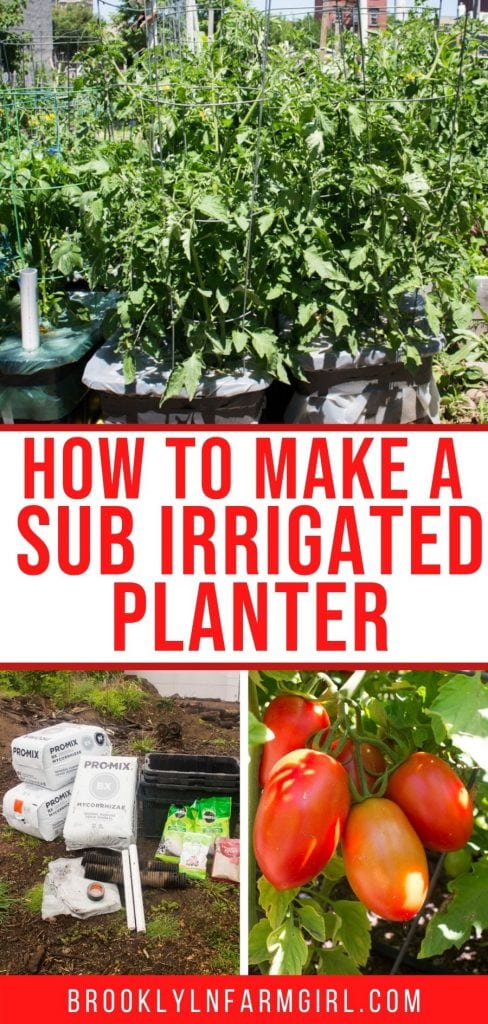
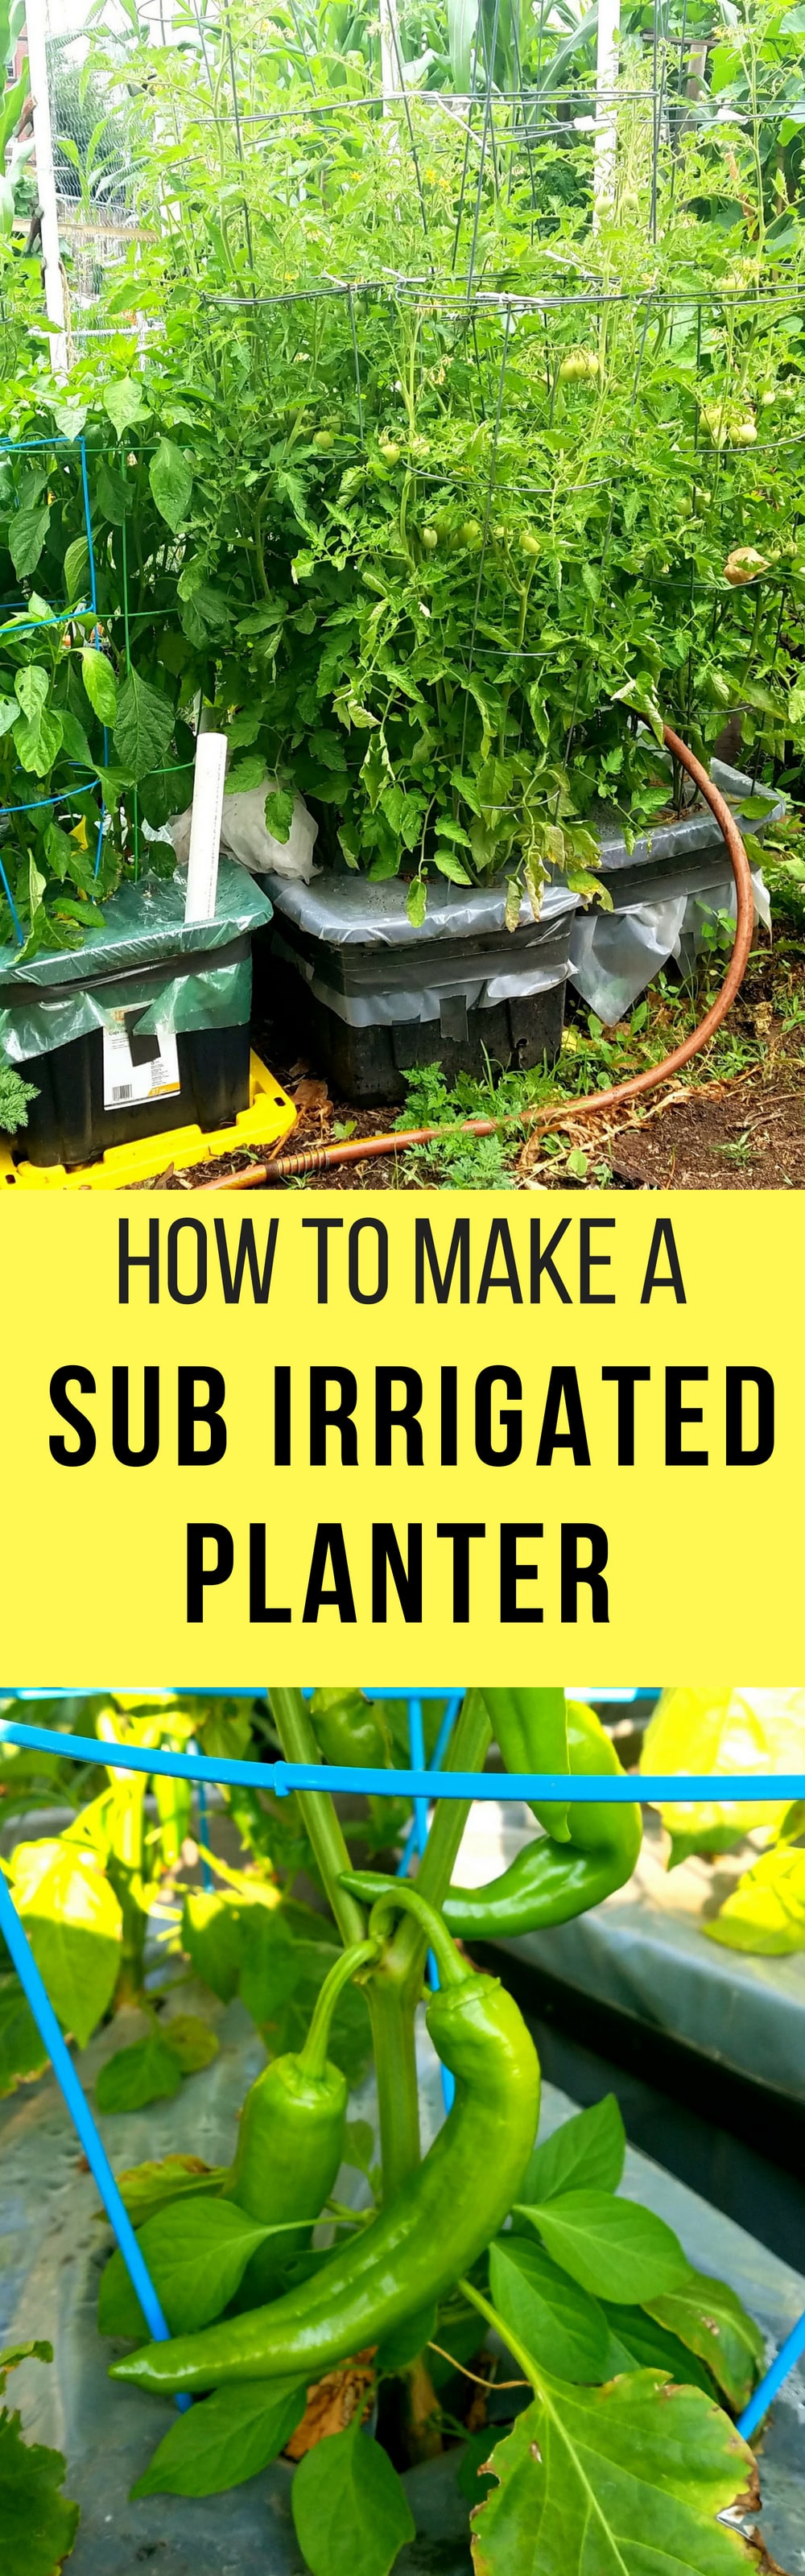
How To Make a Sub Irrigated Planter! We grow HUNDREDS of pounds of vegetables in our planters! Follow these easy DIY step by step instructions on how to make your own container garden. These planters are perfect for gardens of any size, and they’re cheap to make!
What is a Sub Irrigated Planter?
Sub-irrigated planters (SIPs) have been a game changer for us since we started using them almost 10 years ago. The main difference between them and traditional container gardening planters is that with SIPs water is introduced from the bottom and is absorbed up through the growing media via capillary action. This method conserves water and makes sure that moisture stays where your plants need it most – their roots.
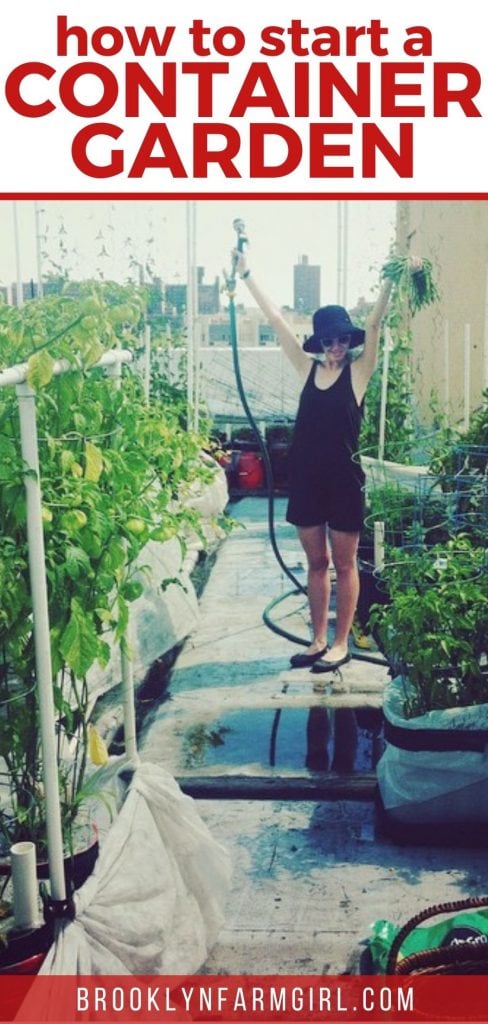
We originally learned about building SIPs when we used to garden on our NYC rooftop (and grew hundreds of pounds of vegetables!). Watering had become a daily multi-hour chore and we were looking for solutions to combat the hot and windy conditions that quickly evaporated water from the garden and always left our plants looking thirsty.
There are numerous premade SIP solutions to buy but they can get expensive and didn’t really fit the level of production we wanted so we decided to build our own. Our two favorite resources are Earthtainers and Global Buckets. The first summer we used SIPs we were in love. Our evaporation woes were over, watering wasn’t a constantly required chore and best of all the plants looked great – especially our 8ft tall tomato plants that were giving us pounds (and pounds!) of vegetables a day!
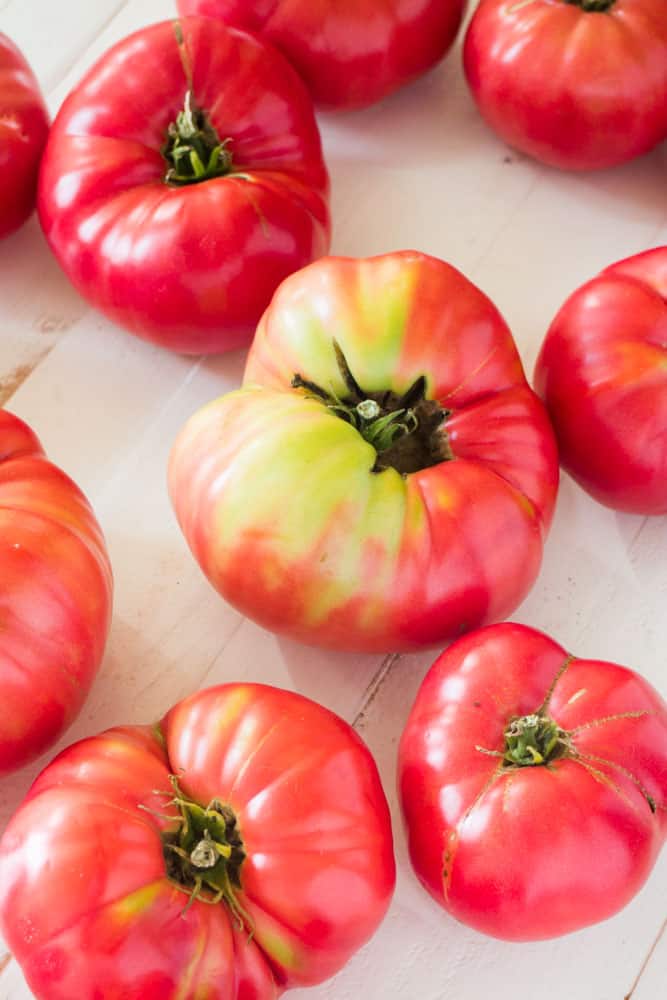
(btw need tomato recipes? You NEED to try my stewed tomatoes and cherry tomato sauce!).
How To Make a Sub Irrigated Planter Plans
Below is the supply list that we use but after you feel comfortable you should feel free to experiment and modify as you see fit.
Recommended Supply List:
ProMix BX Growing Medium 3.8 cu ft (makes about 2 27 gallon containers)
27 Gallon HDX Container
24″ 2″ PVC Pipe
Perforated 4″ Drain Pipe
7mil Plastic Sheet
Perlite
Garden Lime (Not Hydrated Lime)
Vegetable Fertilizer (An N-P-K higher than 10-10-10 can burn plants)
Roll of Gorilla Tape
1/2″ Drill Bit
Hand Saw
Growing Medium:
The most important thing to remember when making SIPs is that you need to use potting mix for your growing medium. Not garden soil. Not potting soil. If you don’t use a potting mix the wicking capillary action that makes the whole process work will fail. For best results we prefer to use a growing medium from Premier called ProMix BX. However, a cheaper and more readily available solution like Miracle Gro Potting Mix can work well too – just make sure not to use the kind with Moisture Control.
Container:
We like to use 27 gallon totes by HDX that you can find at Home Depot because they are cheap (about $12) and durable. You should spend a few more dollars for a rugged style tote rather than going for the bargin bin purchase at the dollar store. Cheap plastic totes do not hold up to the elements well and will usually crack and shatter into many pieces after only one season. These HDX containers hold up for many years!
PVC Pipe:
PVC pipe is used to fill the water reservoir of your container. It can be as tall as you want but 24″ should be fine for a standard height tote and 2″ wide will give you enough width to easily stick your hose down it. Bonus tip: You can buy these precut to 24″ at Home Depot but if you are making more that one SIP it makes sense economically to buy a 10′ long pipe and cut it down to size.
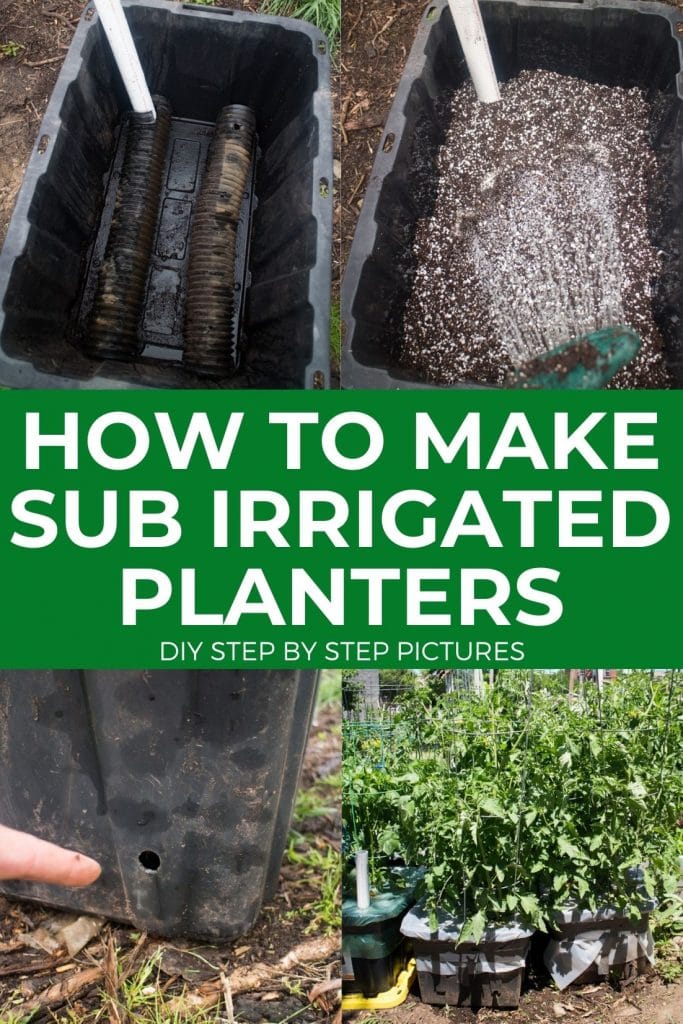
Perforated Drain Pipe:
SIPs work because there is a reservoir of water underneath your plants at the bottom of your container. In order to create this reservoir you need to create a hollow cavity for water to fill beneath your growing medium. You can do this any number of ways but the easier and cheapest way that we have found is to buy 4″ corrugated drain pipe. You can buy it perforated otherwise you will need to cut/drill holes into it.
Plastic Sheeting / Tape:
After your SIP is built and filled with a finished growing medium you need to cover it with plastic sheeting. The plastic serves a few purposes. First it helps to retain moisture and second it keeps weeds from growing. We usually use clear 7mil sheeting to minimize heat buildup and for durability. Garbage bags will even work if you want to keep things cheap although they are less durable.
Garden Lime:
Mix a few cups of Dolomite Lime (not hydrated lime) in the top couple inches of your SIPs to help prevent calcium deficiency and a condition called blossom end rot that can sometimes afflict container grown tomatoes.
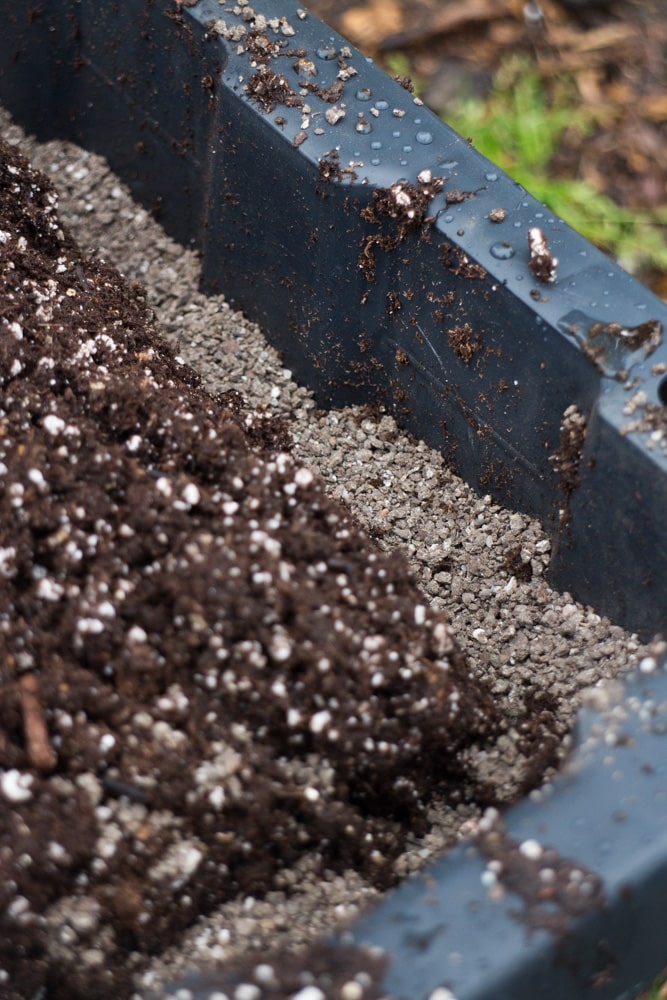
Perlite:
Perlite is a porous volcanic rock and helps prevent soil compaction in containers allowing quick drainage and good oxygen flow that is essential for healthy plant roots. Most growing mediums you use will already include some level of perlite in them we like to add a bit more to our growing medium.
Vegetable Fertilizer:
Choose a granulated N-P-K fertilizer no higher than 10-10-10 or you may burn your plant’s roots.
Step by step instructions for making a sub irrigated planter
Supplies are all ready to go!

Your container needs a drainage hole located about 2-3 ” from its bottom. 1/2″ – 3/4″ are ideal sizes for your drainage hole. The idea is that you want to create a water reservoir and the drainage hole prevents you from flooding the entire thing with too much water.
Bonus tip: When you are watering your container (every day or every other day during peak summer weather) you can tell it’s full when filling when water spills out the drainage hole.

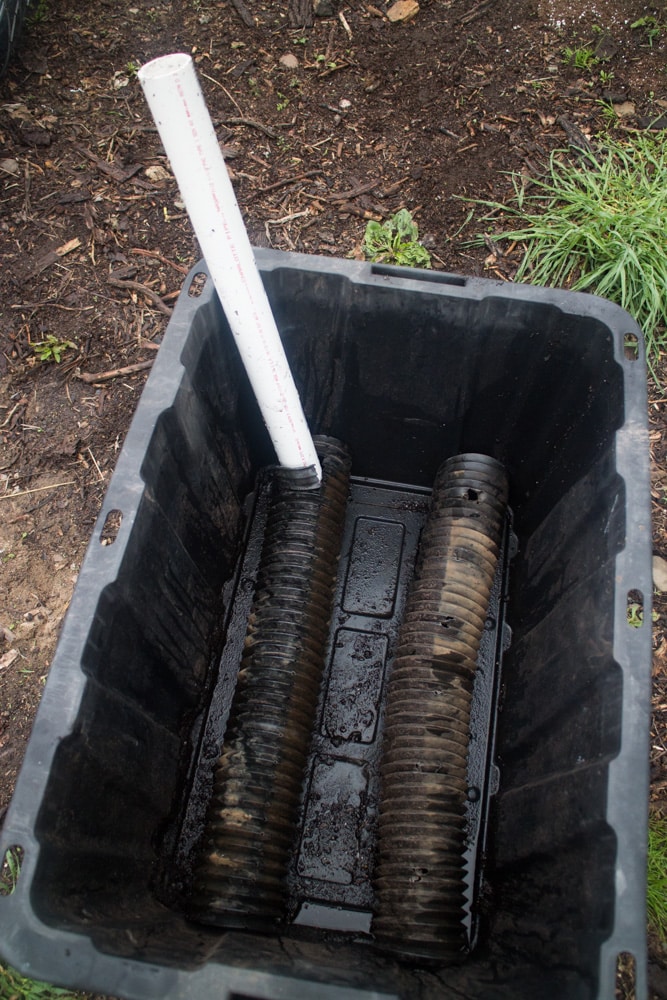
There are numerous ways to create a water shelf in your SIP but we like to use 4″ corrugated perforated drain black drain pipe. The perforations in the pipe allow moisture and oxygen to circulate with your growing medium. Inserted into your drain pipe is the feed pipe. We use 2″ 2′ PVC pipe and stick it into a cut on the drain pipe.
Bonus tip: Optionally you can cut a 45 degree angle on the bottom of your feed pipe so that it doesn’t sit flush with the bottom of your container and water is dispersed more quickly.
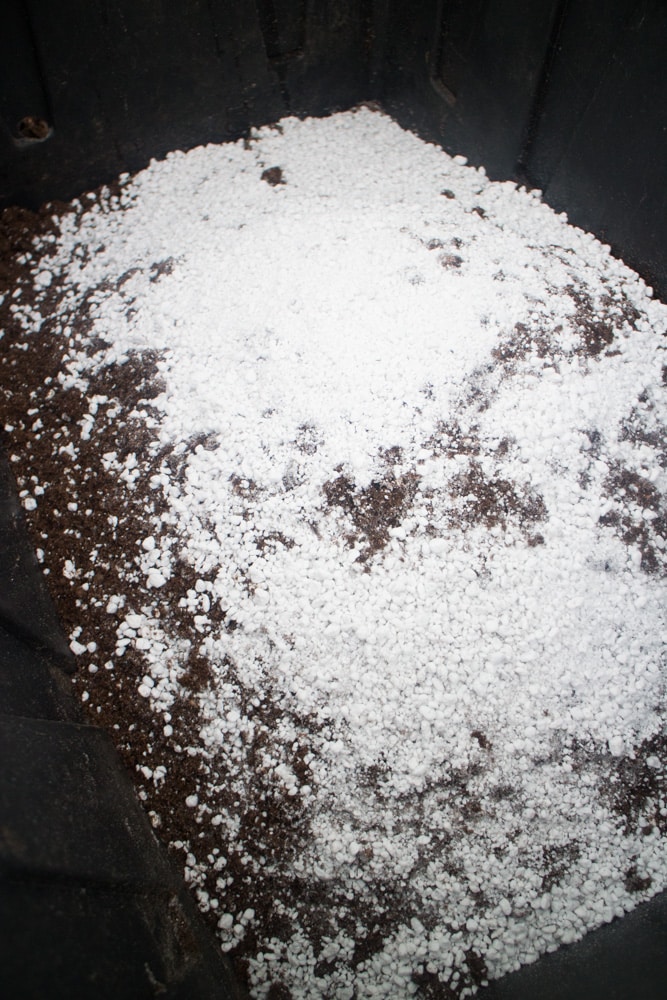
It is good to have a separate area to mix your growing medium together. Another container, bucket, or wheel barrel works great. The ratio that we use when mixing up our growing medium is 5 scoops of Pro-Mix to 1 scoop of perlite.
This is not an exact science so experiment and see what works best for you especially depending on the potting mix that you are using.
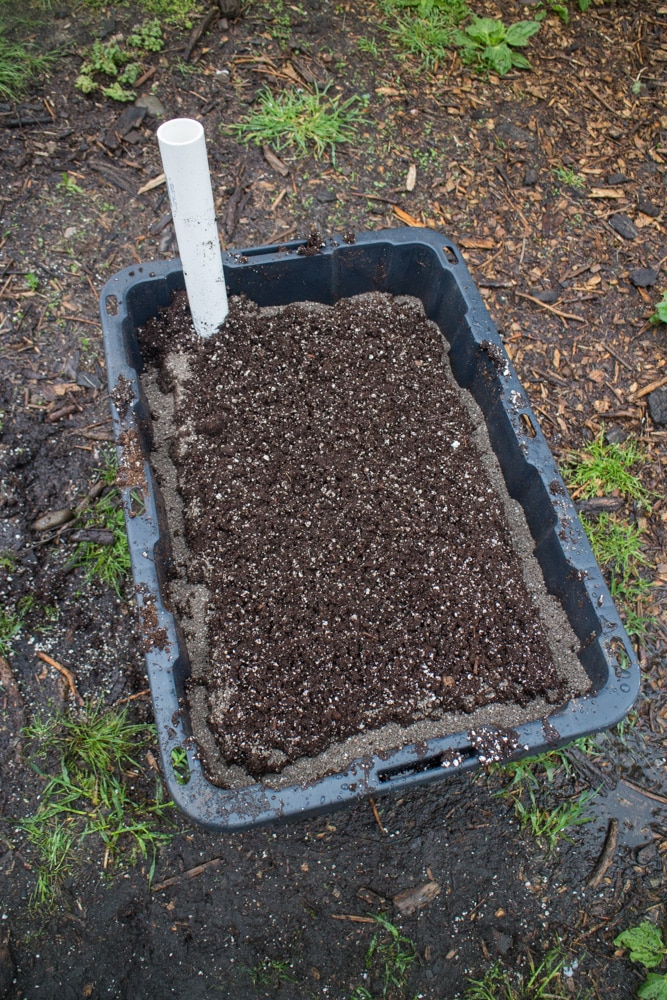
The first layer of your growing medium is the most important when making a SIP. This foundation establishing the wicking process that makes the whole thing work. First, mix up a batch of growing medium with your potting mix and perlite. Next water this batch until it very wet but not so wet that it cannot hold it’s form.
Then take it and pack it around your drainage pipe slightly packing it in. In the middle mound up your wet mix to create a little long volcano shape. This mound is what transfers moisture from your water reservoir to the growing medium in the rest of your container.
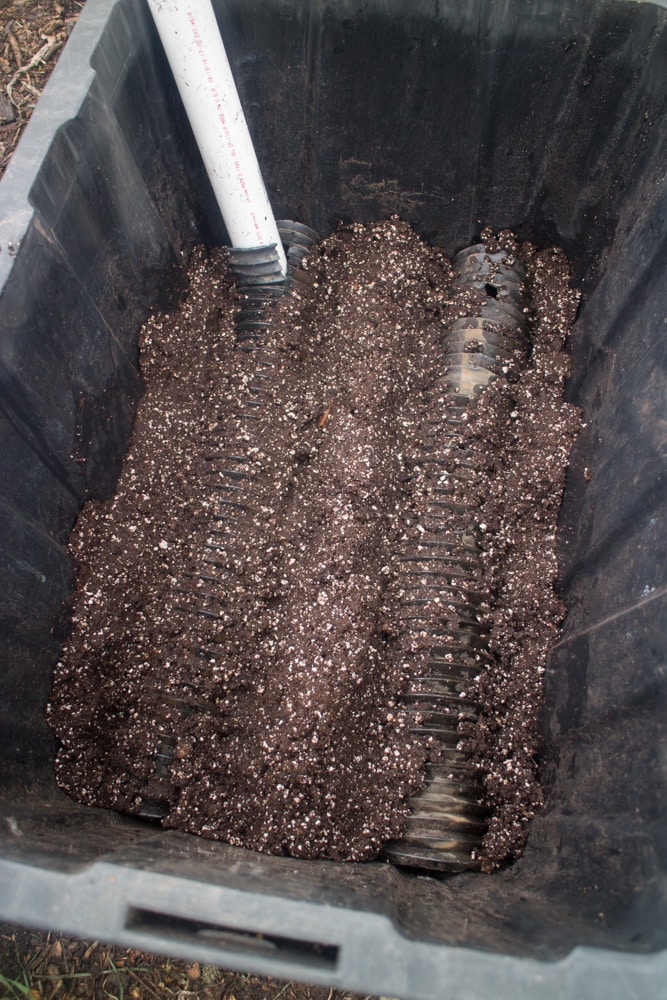
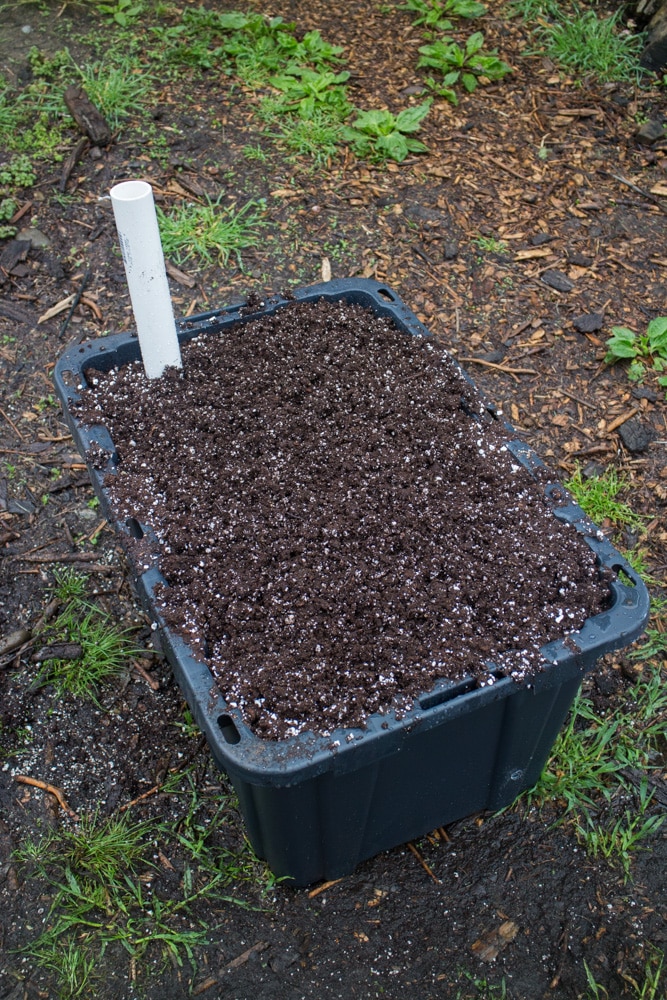
Continue making batches of growing medium and adding them to your container until you are 5″ from the top. Be sure to water each batch so that it is damp (but not as wet as your first batch).
When you reach 5″ from the top of the container you can mix in 3 cups of dolomite lime (2 cups for other vegetables) to help prevent blossom end rot and calcium deficiency.
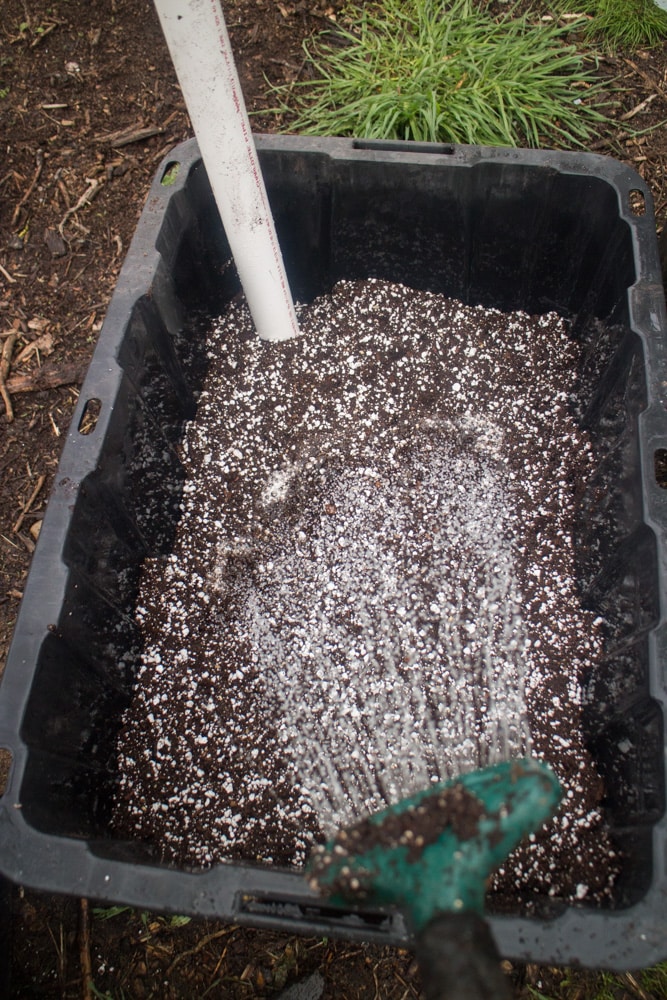
When your growing medium fills the container to the top you can dig a small trench along the perimeter and add a N-P-K vegetable fertilizer. Remember not to use anything stronger than 10-10-10 or you may burn your plant’s tender roots.
Cover the fertilizer trench with one last batch of growing medium. The growing medium will settle after a few days so you should add a bit more to the container so that it appears over flowing.
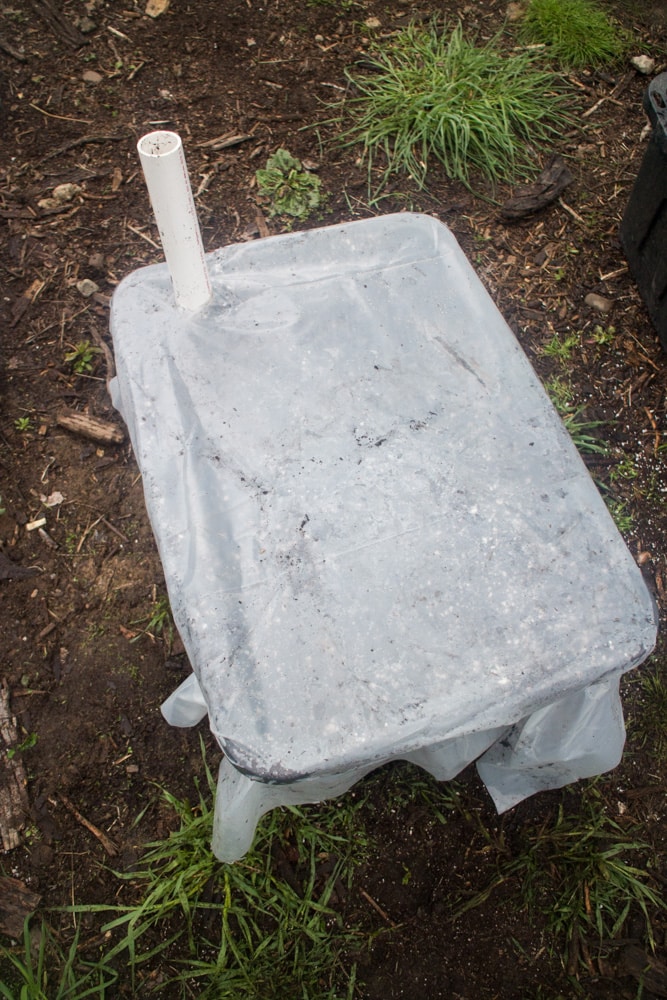
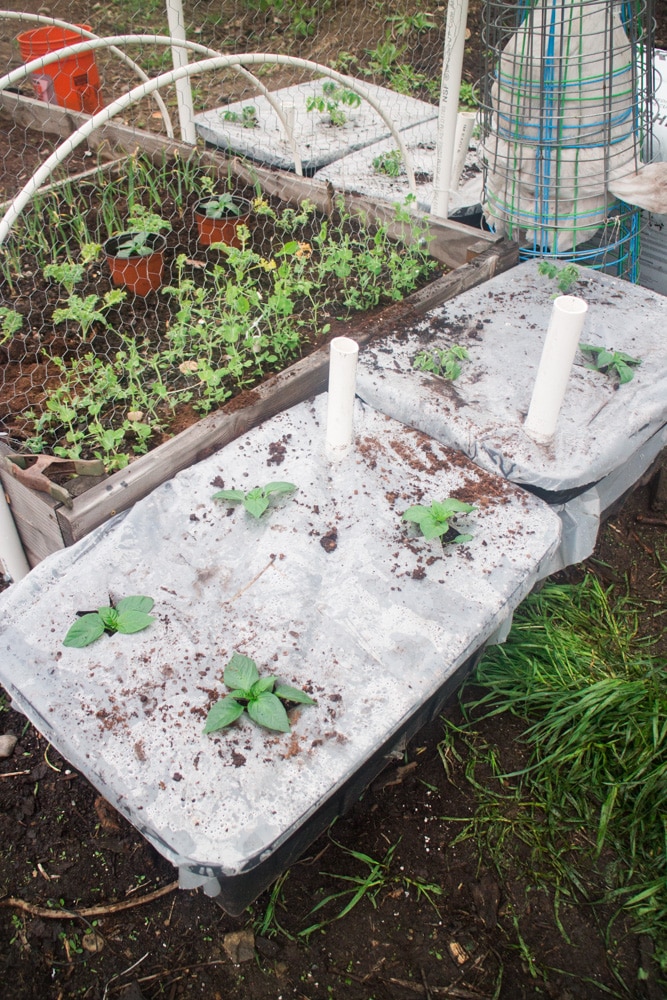
Next cut a 2×3′ (your size will depend on your container dimensions) piece of plastic, wrap it around the container’s edges and tape is down with some heavy duty tape like Gorilla or T-Rex tape.
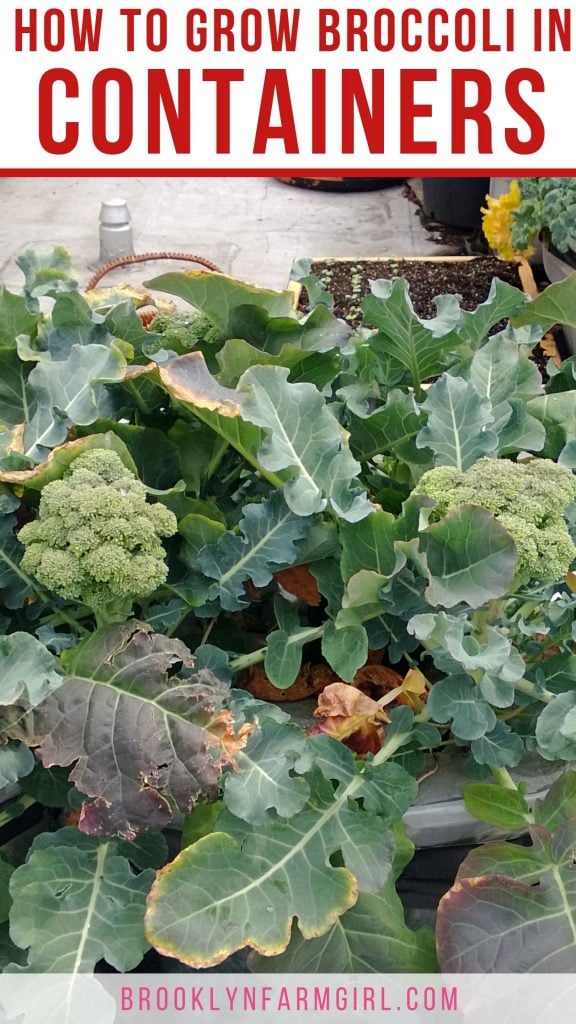
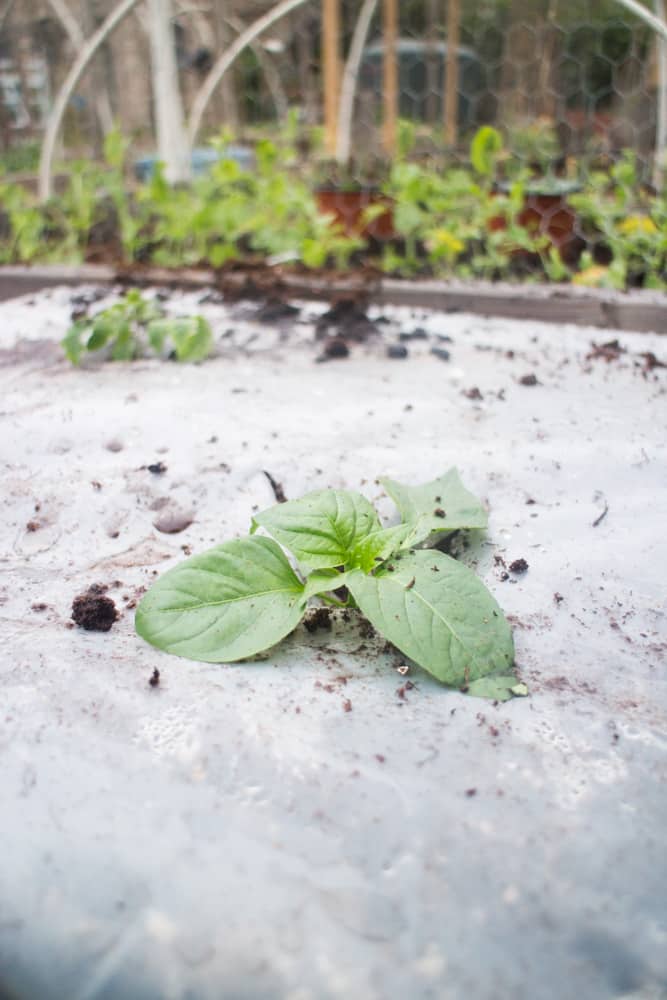
After the plastic is wrapped on the container you can arrange your plants. We mostly grow pepper and tomato plants in our SIPs and we tend to be a little aggressive in cramming three tomato and four pepper plants in each. Experiment and use your judgement based your plant species preferences.
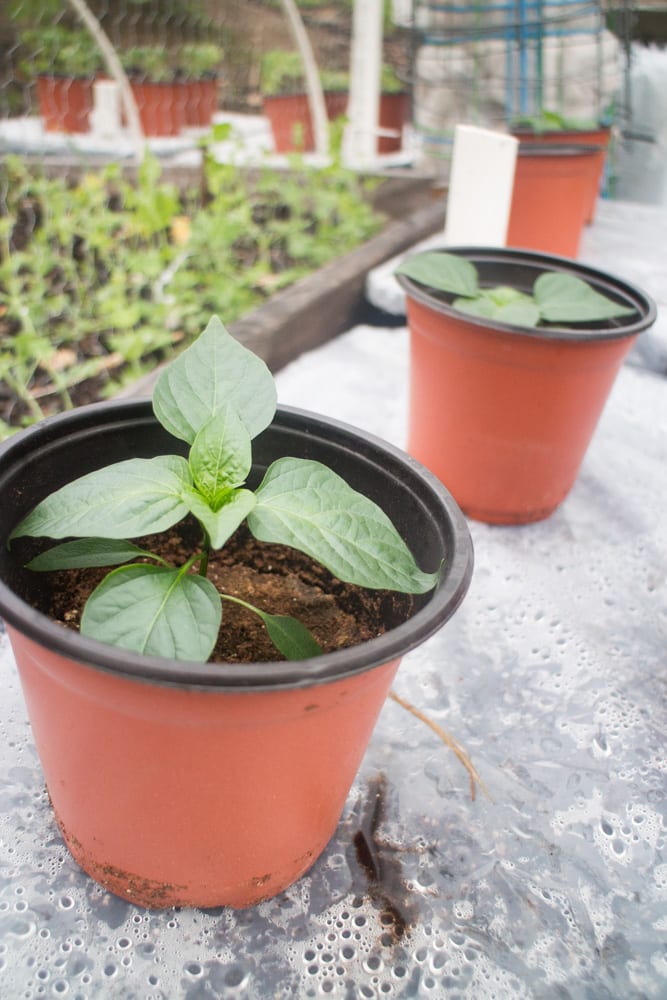
With a knife slice a small X in the plastic where each plant will be planted. Your hole only needs to be large enough for you to fit your hands in and do the planting. Poke your freshly planted plant’s leaves out from the plastic and you are all done.
Sub Irrigated Planters have changed the way we garden and have led to incredible results. Whether you are new or old to gardening and regardless of your hardiness zone sub irrigated planters will change your life.
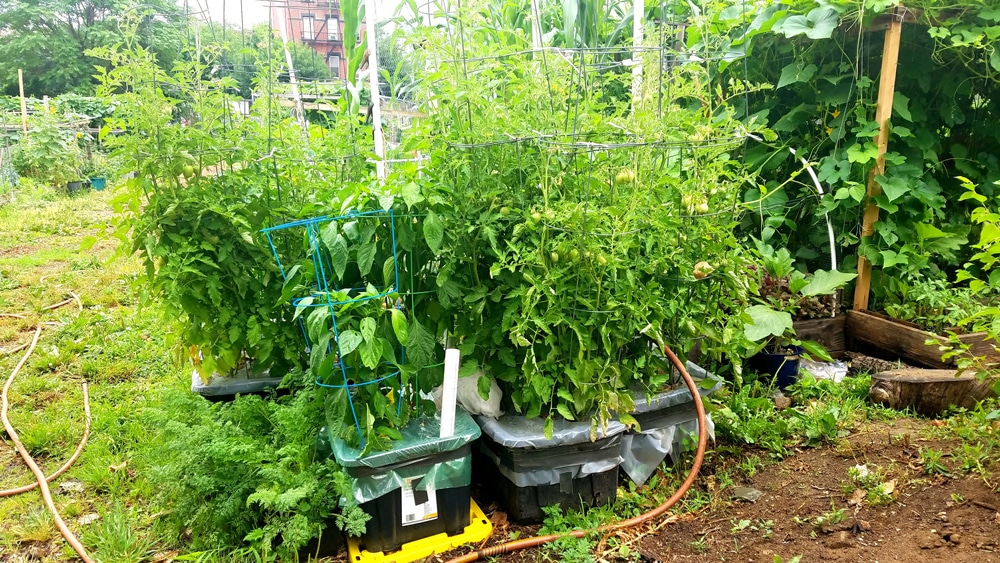
Sub Irrigated Planter Results
And now 2 months later and our tomatoes are already so tall they’re double caged!
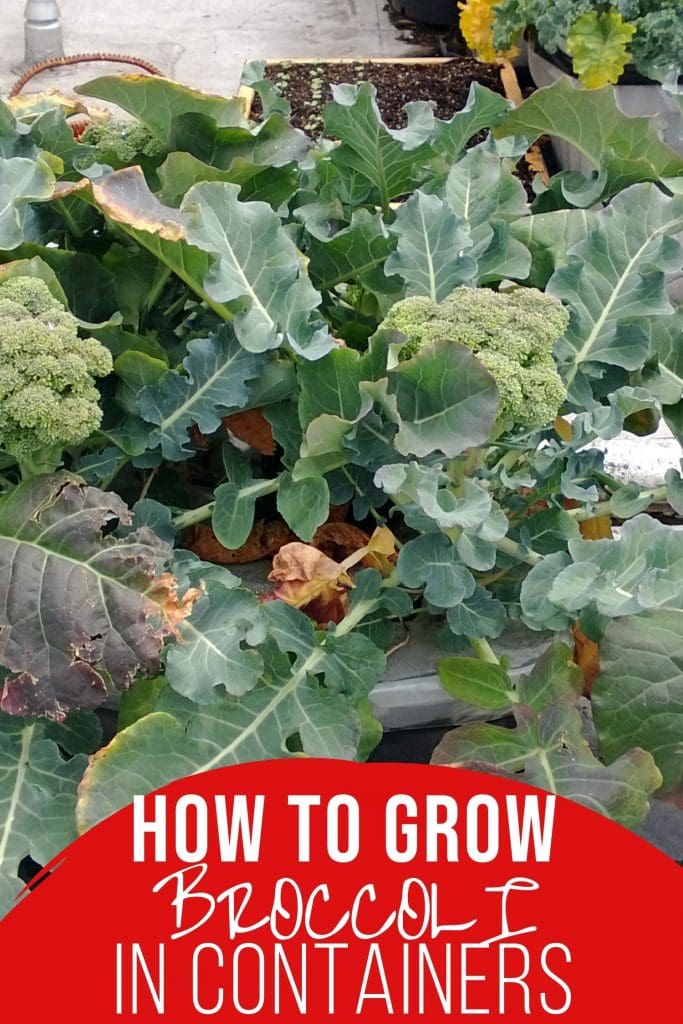
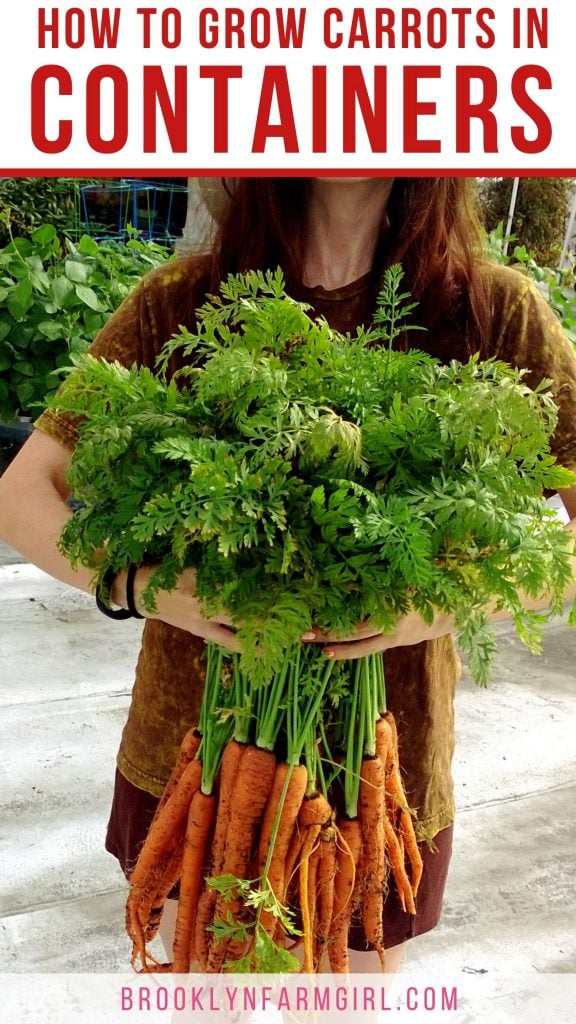
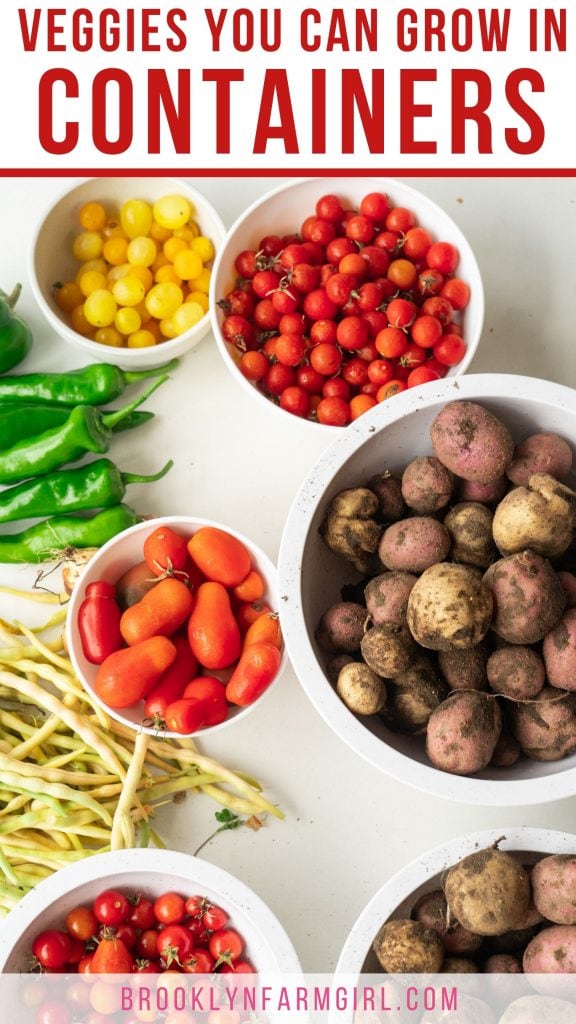
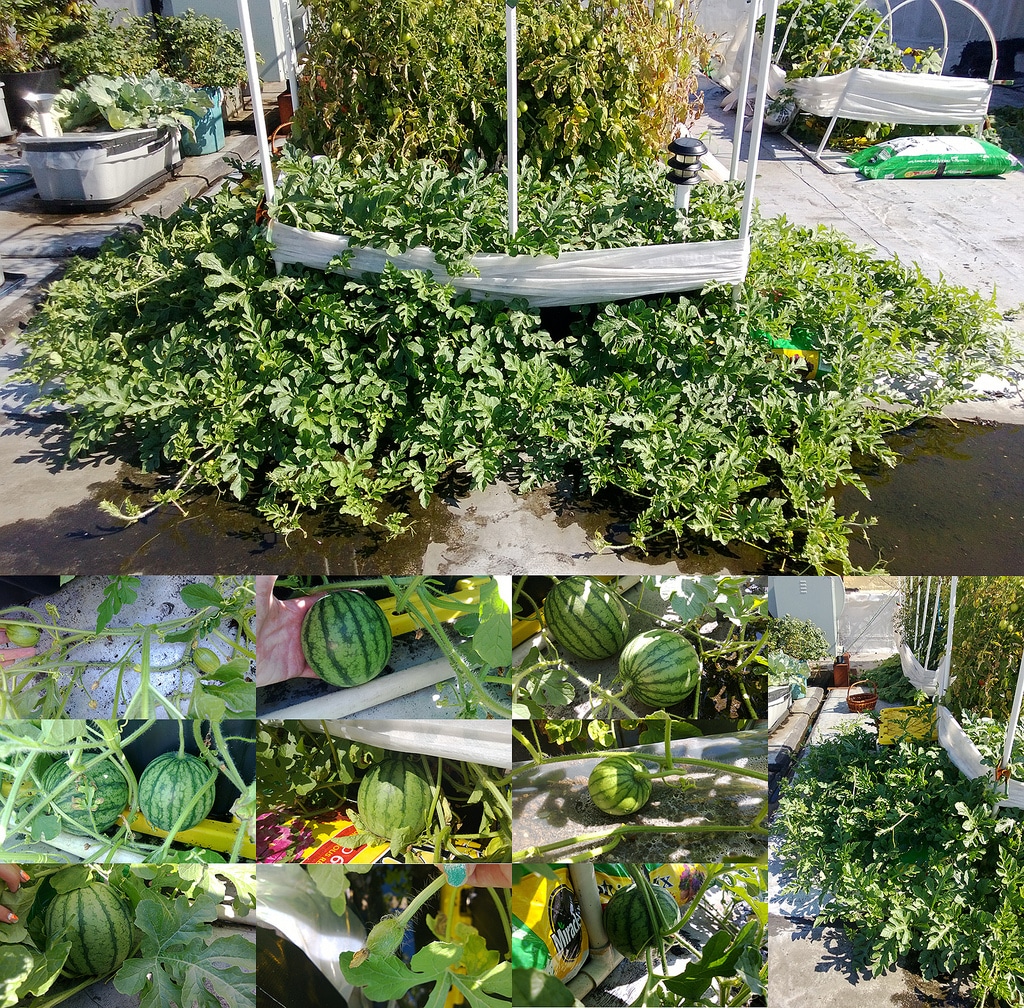
What can you grow in Sub Irrigated Planters?
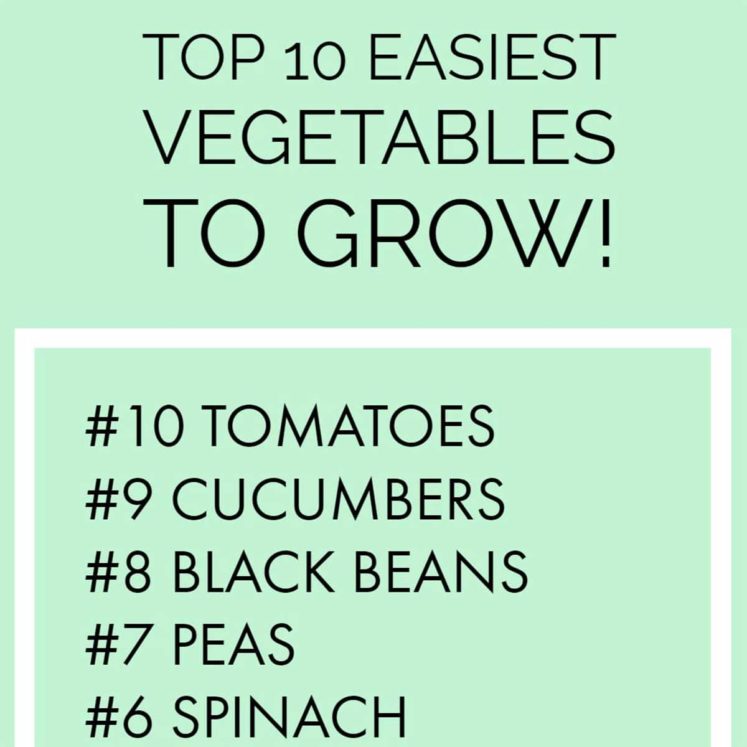
Pretty much everything! We’ve grown everything from tomatoes, peppers, tomatillos, beans, lettuce, bok choy, watermelon, pumpkins and everything between!
Here’s a look at our watermelon patch we had growing on our roof in sub irrigated planters!
Happy Gardening everyone! Hope you found these How To Make a Sub Irrigated Planter instructions helpful!
More Garden Tips
How to Presprout and Grow Sugar Snap Peas
Spring Garden Planning for Zone 7
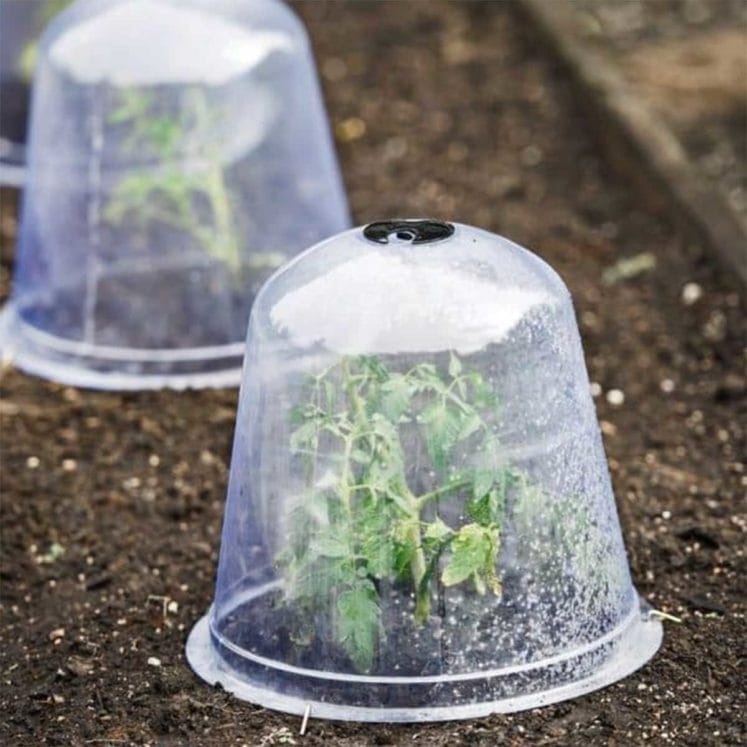
How to Protect Plants From Frost
How to Grow Tomatoes From Seed
Pin for later:
Marianne says
This is so great! I also have a (small) rooftop garden. Do you find you can typically get away with watering your tomatoes once every few days in the peak of summer with this system? Thanks!
Alaina Davis says
Do you deconstruct and then reconstruct each year (or growing season) or, once set up, do you use year after year by just augmenting soil and plant food/fertilizer at the top?
Pamela Reed says
We de/reconstruct them every year just to clean out the roots and clean out the water reservoir.
Joe Geheb says
I have made a huge (4 foot by 8 foot long) raised garden bed and put a floor in it to use as a sub irrigated planter. I plan on using your suggestions with the corrugated pipe. I have read else where to use a fabric sleeve over the pipe to keep soil out and does it make a big difference whether the pipe is connected as one or cut to fit in rows and is covering the planter make the process work or can I do without the top cover?
Pamela Reed says
Hi Joe. Using one pipe will allow it to fill faster but using multiple disconnected pieces works too. The downside to using multiple is that you are only filling water in one and it will take time for the water to soak through the soil into the other pipes. The fabric sleeve is a neat idea and should work – we never had that much of a problem with soil coming through the holes though. The plastic covering the top is optional, but really does help to retain moisture. Hope this helps!
Jerry Bendiner says
Hi Pamela, love your post! Question for you: You place 2 drain pipes at the bottom of the container but only one of them with a feed pipe. Shouldn’t both have a feed pipe? If not, how does the one with no feed pipe get full of water ?
Pamela Reed says
Hey Jerry. Good question. Even though the pipes are not physically connected the pipes have holes in them and the water crosses over through the potting mix to the other one. The pipes aren’t just water reservoirs but also act as shelves to allow oxygen to circulate. You could add a second fill pipe but it would introduce more evaporation into the system which is what sub-irrigation is trying to prevent. You could physically connect the pipes underneath which may make watering faster but that is an added expensive and not worth it in my opinion. Hope this helps!
Kathy Grant says
What’s the smallest container that can be used in a SIP. Example is a 5 gallon tote to small.
Pamela says
We’ve grown strawberries in 5 gallon SIPs with no problem. Hope this helps!
Jason R says
Does the corrugated/perforated pipe line up with the drainage hole then? It would have to, right? Sorry I’m having trouble visualizing the mechanics. Should there be another hole drilled at the end of the other corrugated pipe to allow oxygen in on the non-feed side? And I guess I’m confused about the wicking, as well. Making the medium tighter at the bottom influences the un-packed looser medium on the top? Thanks for posting this tutorial!
Pamela says
Hey Jason, it should be close but it doesn’t have to line up perfectly. If there is too much water it will find the hole. You don’t need a second hole because the feed tube is doing that job. The tightly packed medium ensures that there is medium in contact with water in the bottom to wick to the rest of the container.
Chet Bliss says
Hello – do you start over with new growing medium each season?
Pamela says
Hey Chet, you can reuse the growing medium just refertilize and use perlite again. Have fun!
Kimberly Bennett says
This is wonderful! Thank you so much! I have never planted a thing before but am about to start and I feel like with this I could be successful! Can you plant any veggie this way?
Pamela says
Hey Kimberly, I hope you give it a shot… it makes gardening easier in my opinion because you know when it’s just the perfect amount of water! I can’t think of a vegetable that you couldn’t grow this way!
Antique Collector says
This is wonderful for areas where water for gardening is hard to justify. I am going to give this a try, thank you for a way to have fresh vegetables on limited water supply.
Pamela says
Happy to hear! Have you tried collecting rain water for additional supply? This post might help you: https://brooklynfarmgirl.com/2016/06/02/how-to-build-a-rainwater-catchment-off-a-roof/
Carol says
I think when you share knowledge of how to do something that requires time and patience to learn , you are making the world a nicer place to live. You have been successful and love to grow things, I really value this information.
Pamela says
Thanks Carol, that means a lot! It’s been fun gardening and learning together!
Tess says
What about the heavy metals in the potting mix and the bpa leaching from the containers and pvc? I really don’t know, I’m just asking.
Thank you!
Tess
Pamela says
Hey Tess, we aren’t concerned with the bpa in the PVC/containers. The potting mix we use is food safe and non-toxic. On many commercial organic farms, there’s plastic used from pipes for greenhouses, to plastic for covering crops and row cropping. Some farms even use plastic mulch! All research I have done shows that it’s safe. If this is concerning to you, it would be hard to get around, as the majority of planters (not just sub irrigated) are plastic. So many people use treated wood for their garden beds – I would be more concerned with that! Hope this helps!