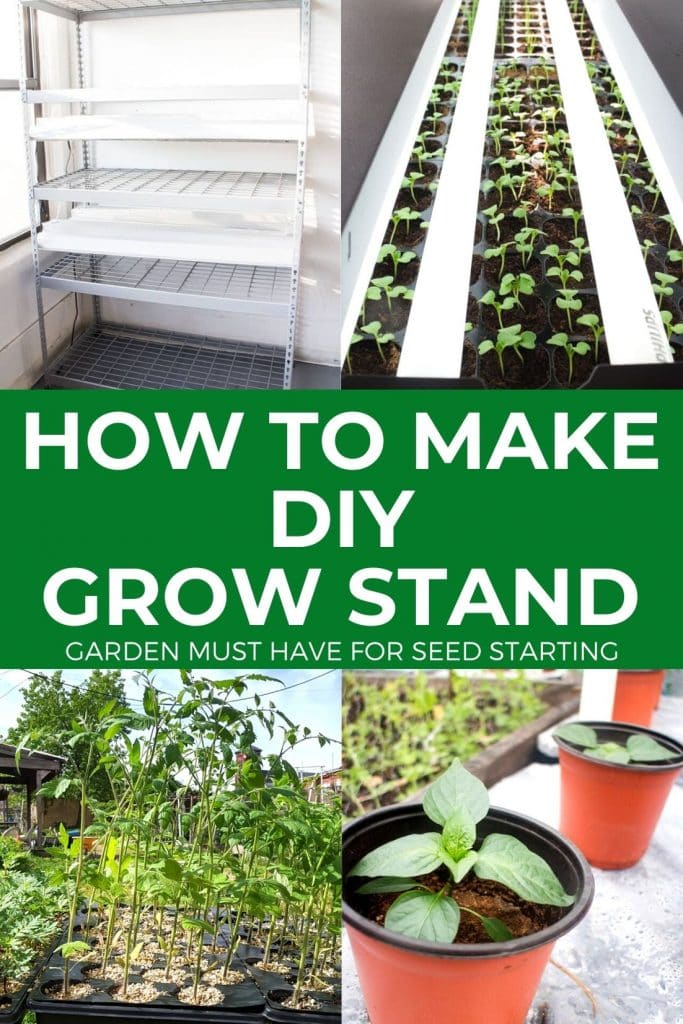
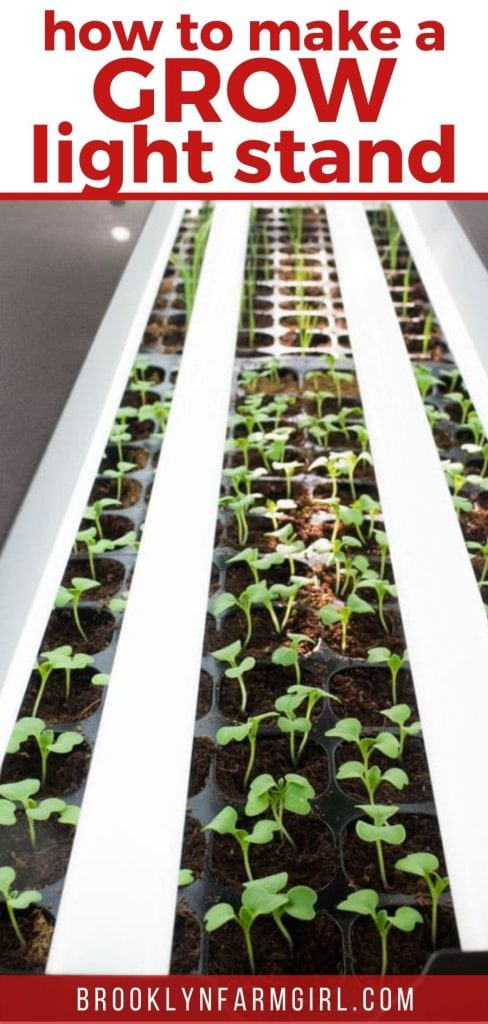
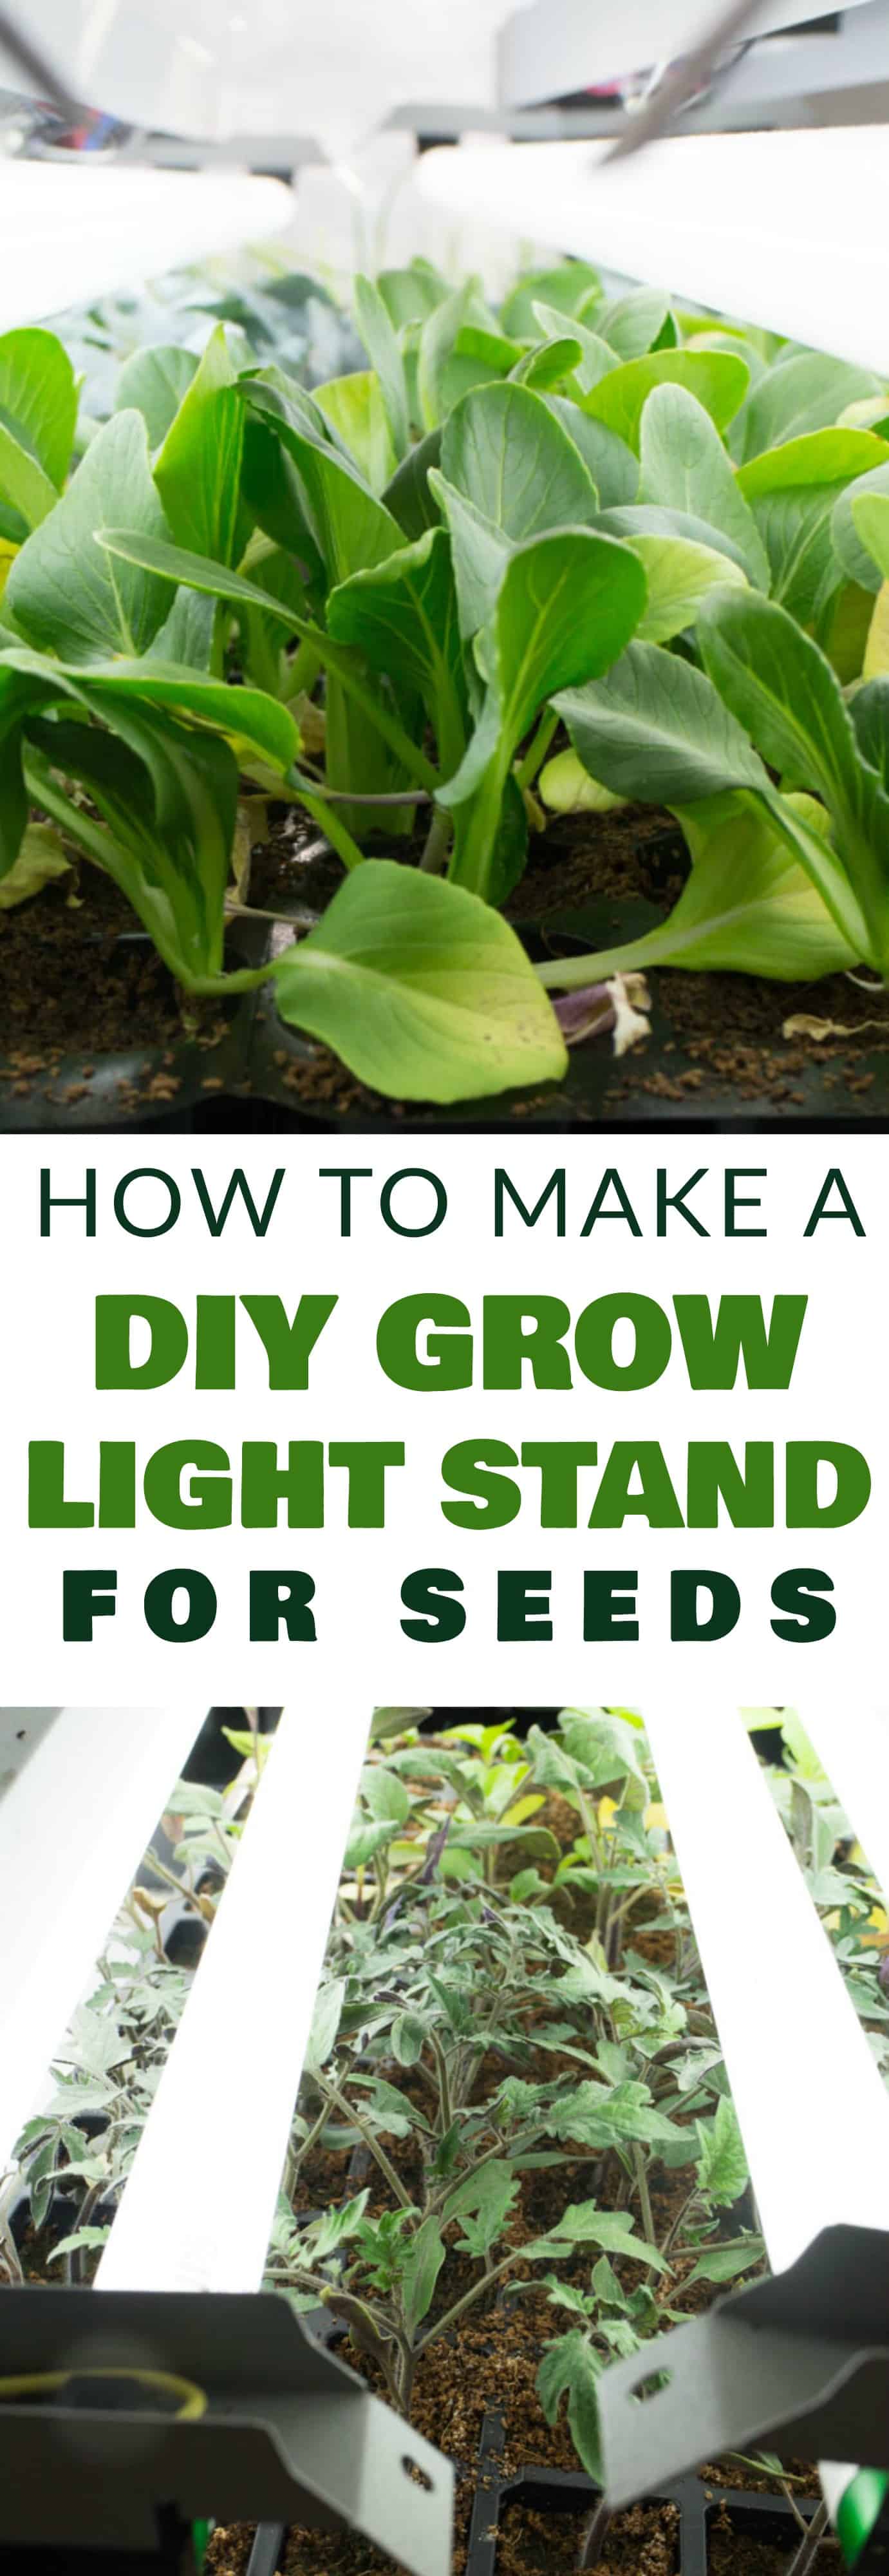
Garden MUST HAVE for starting your vegetable seeds! With just a few supplies from the home improvement store you can make your own DIY Seed Grow Light Stand. This is a easy project to make instead of buying a store bought light stand – saving you hundreds of dollars! We use this for our seeds and they grow amazing – last Summer we picked over 1,000 pounds of vegetables!
This year we wanted to upgrade to a larger space for our seedlings to grow. In the past, we had a large shelf with grow lights, but with the garden getting bigger this year, that means we need more space to grow seedlings. (Tip: Check out my post on how to germinate seeds).
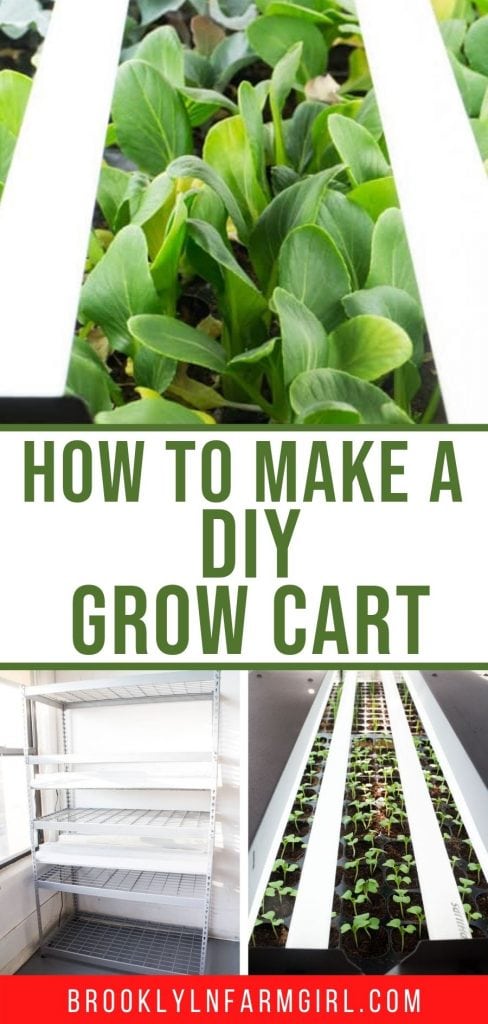
We began to look at premade grow carts from all the garden suppliers and were shocked by how much their grow carts cost. They were anywhere from $700-$1300.. and sometimes more! Not being ok with spending that much money on a growing system that we knew we could make for a lot less, we set off to our local home improvement store to make our own!
Why Grow Lights Mean Bigger Plants
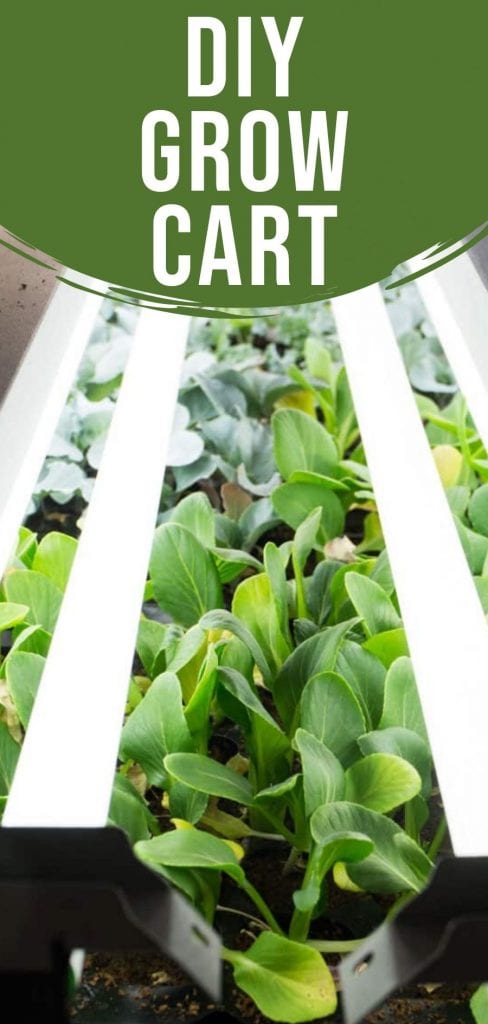
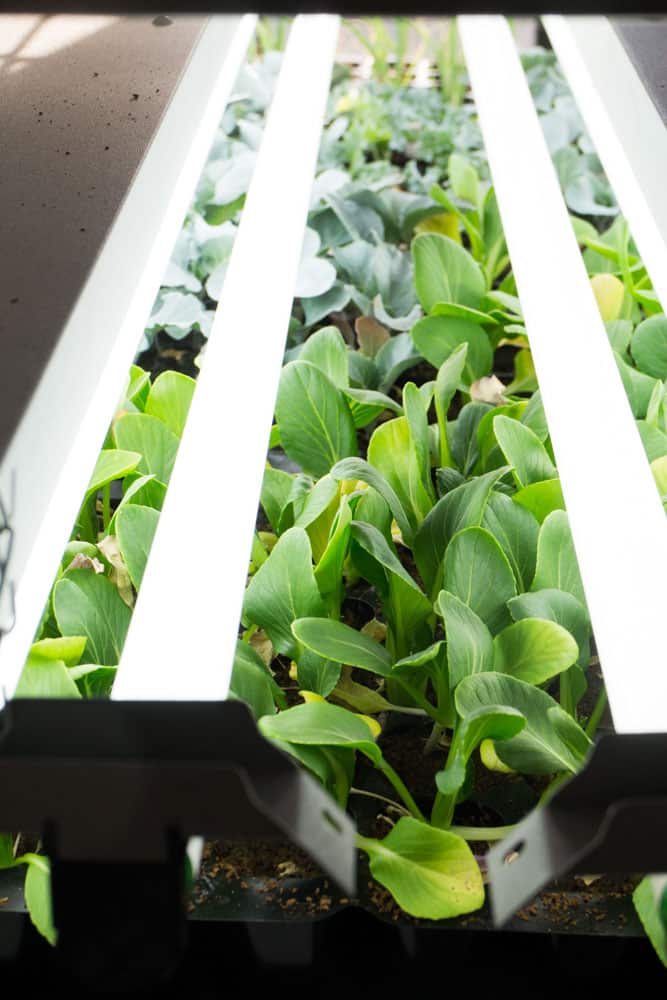
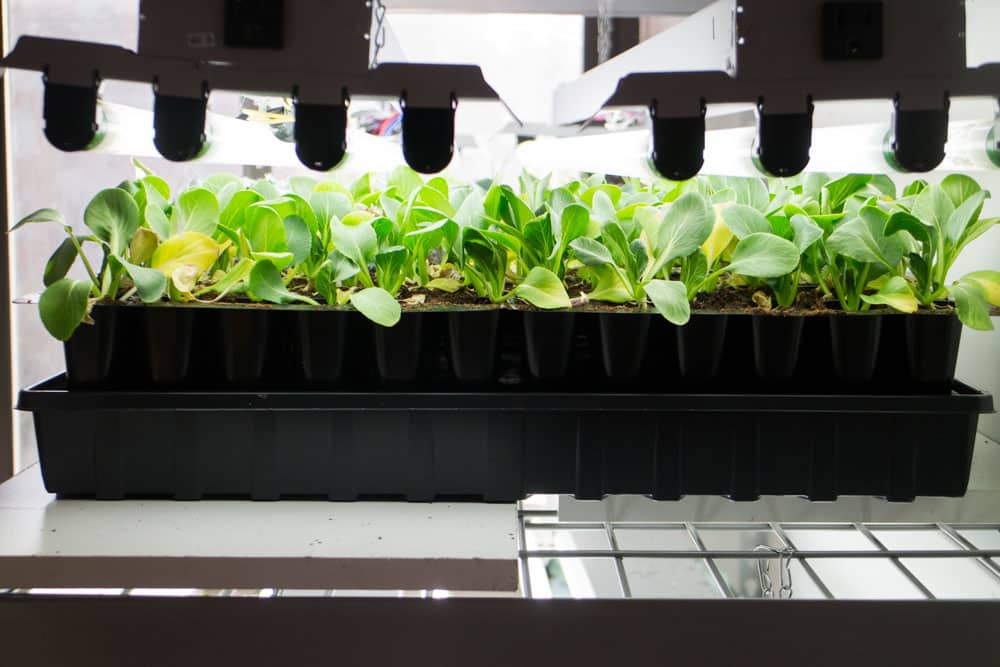
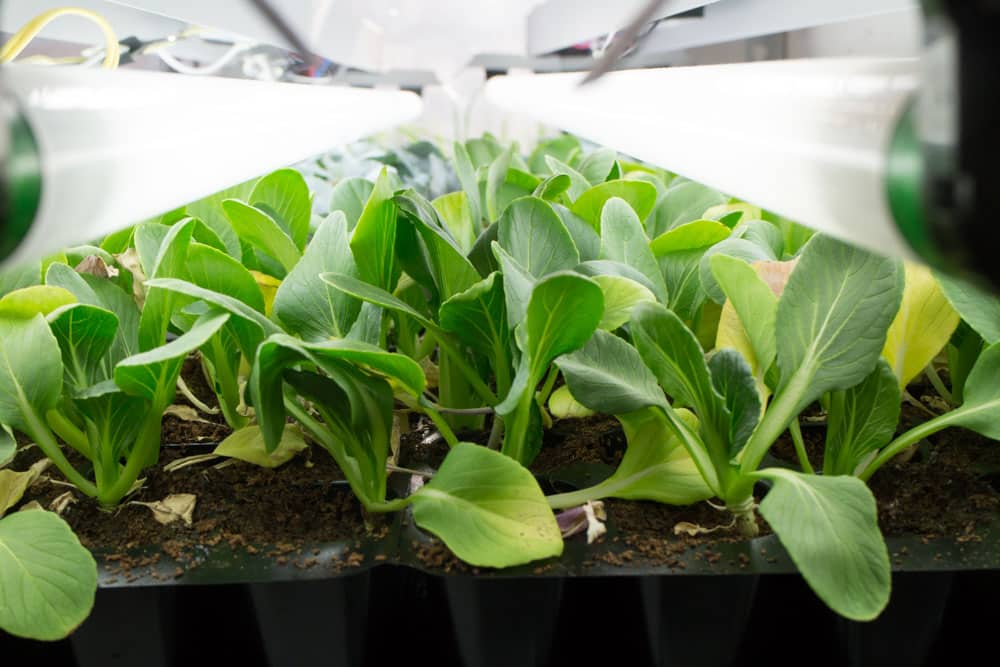
What will the results be like? They’ll be amazing. We love these lights so much we even started growing plants indoors, look at how we grow bok choy indoors!
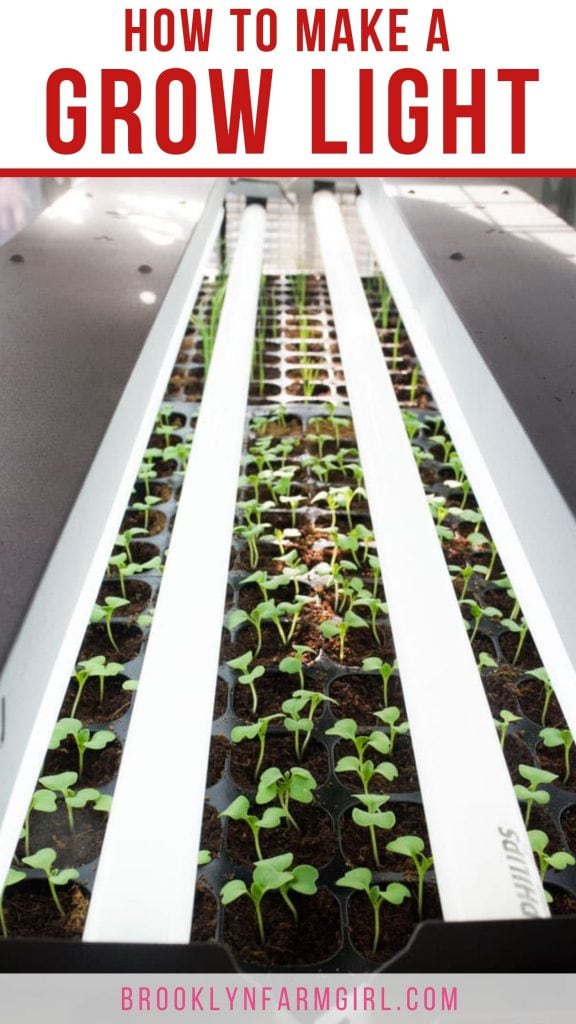
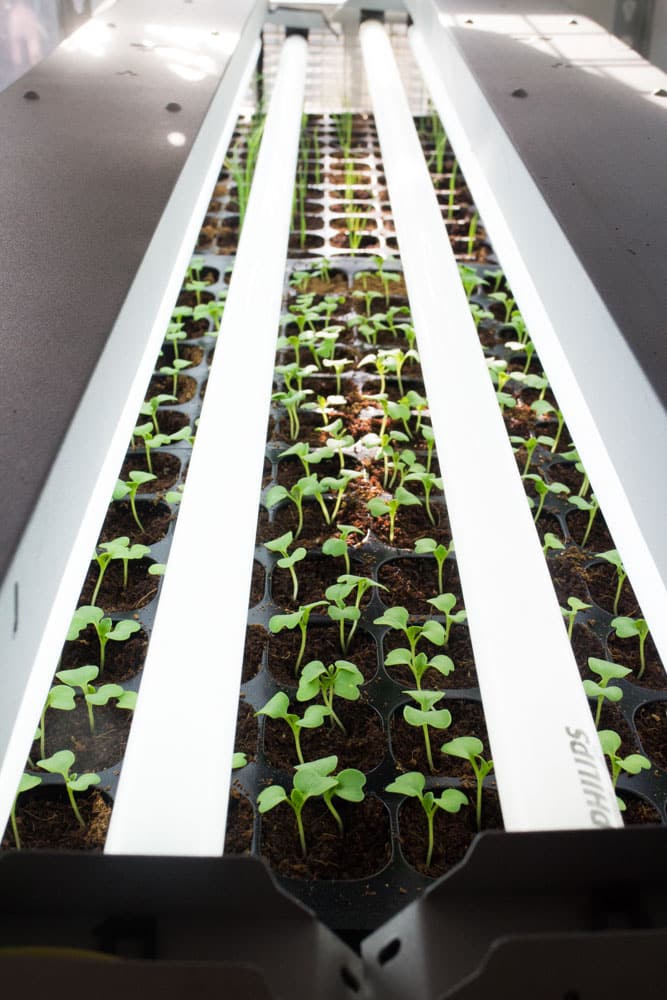
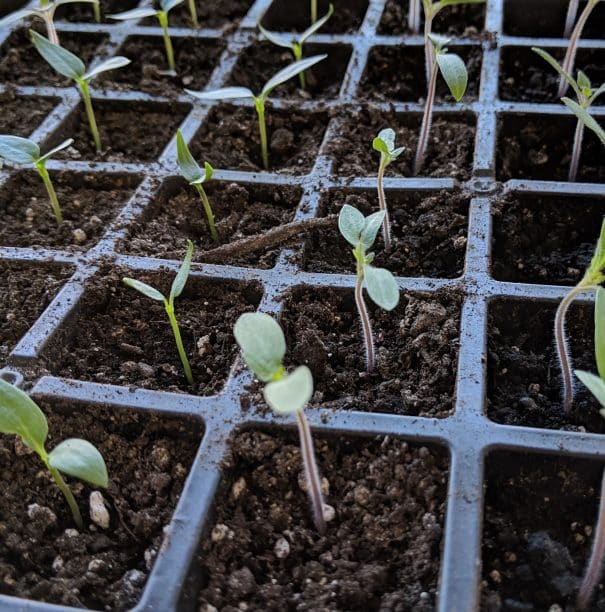
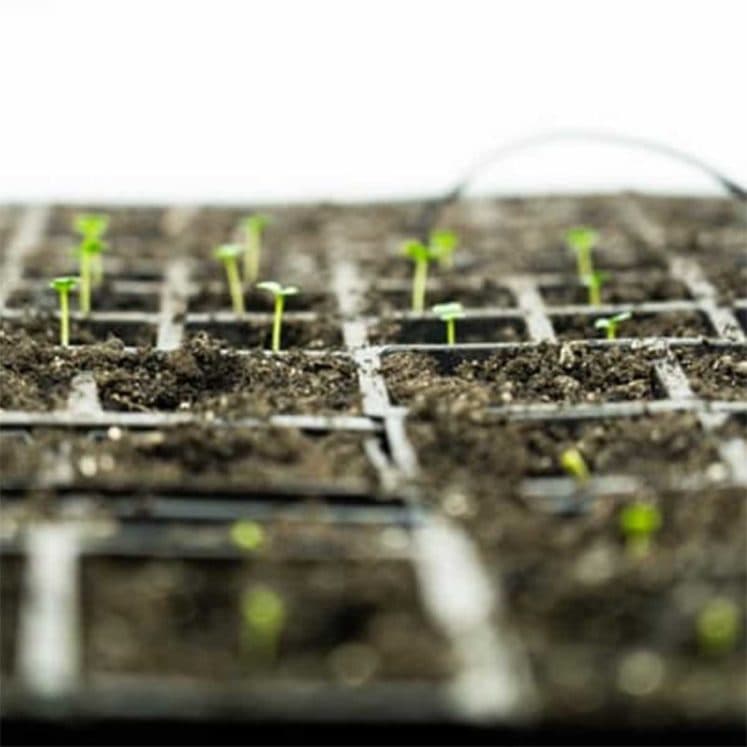
We always grow our plants from seeds, but they usually take a week to come up with sometimes not every seed being germinated. With seeds and these grow lights, the plants were all up within 3 days. 3 days! Also, every single seed came up, including our double “just in case” seeds which means we’ll be double the plants!
This is one week after planting.
How to Make a Grow Light Stand
You’ll need 3 main supplies to make your own Seedling Grow Light Stand.
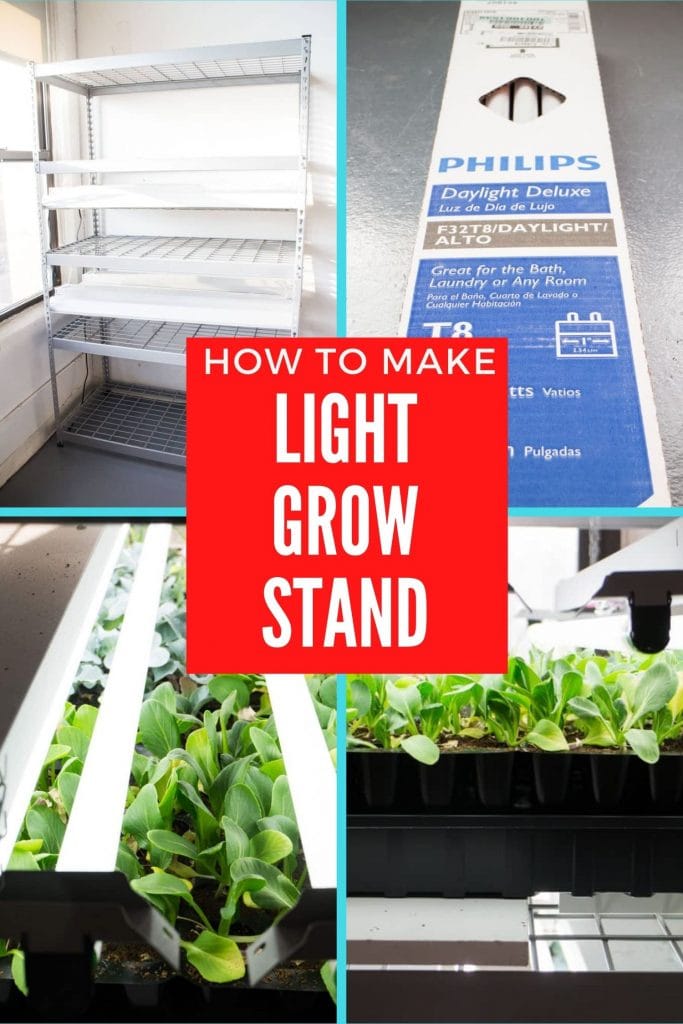
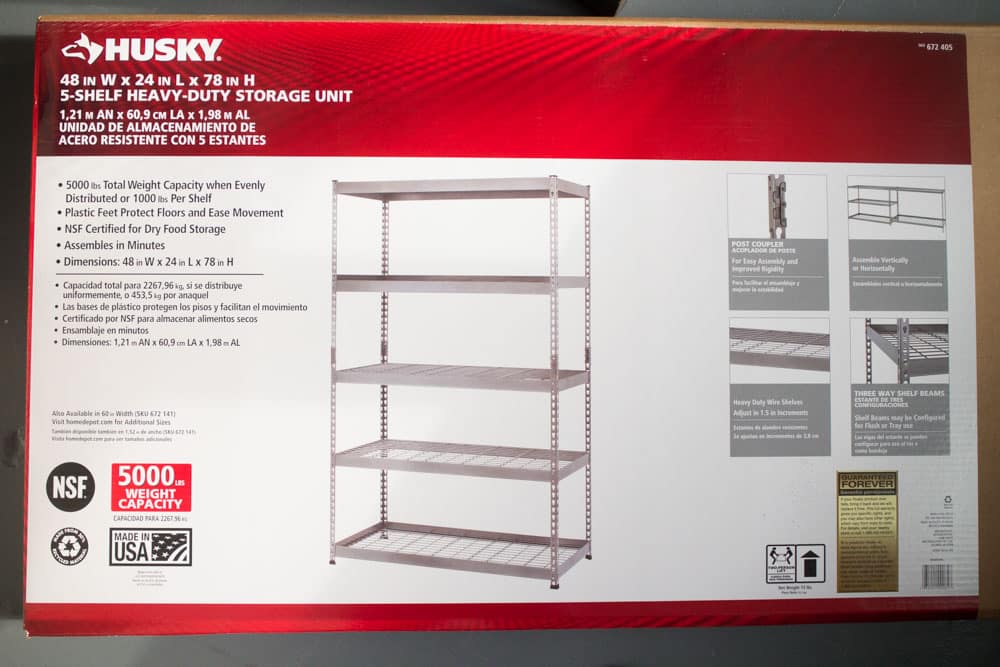
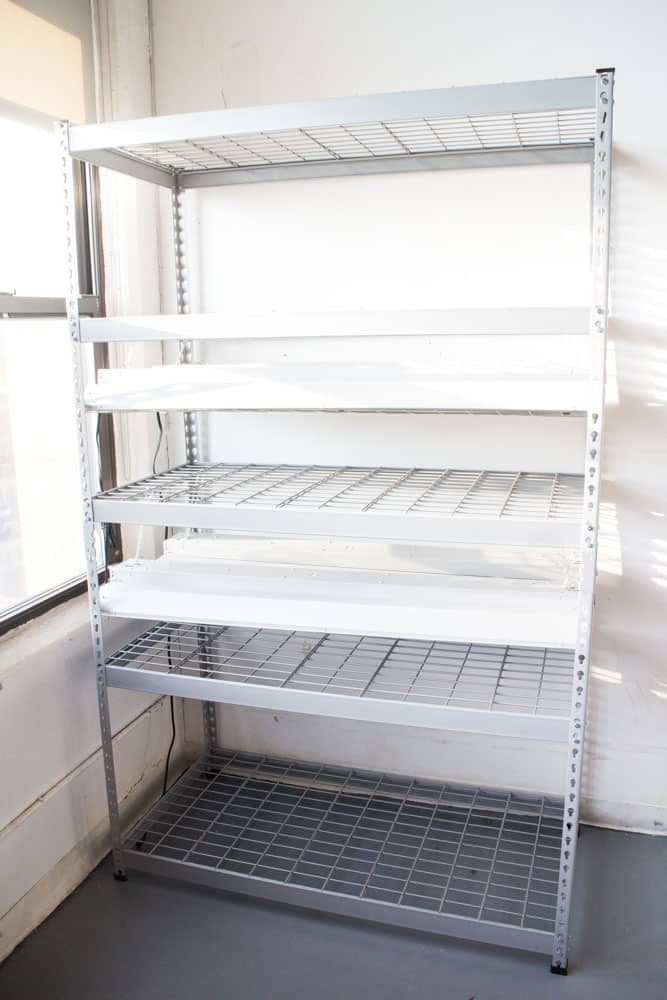
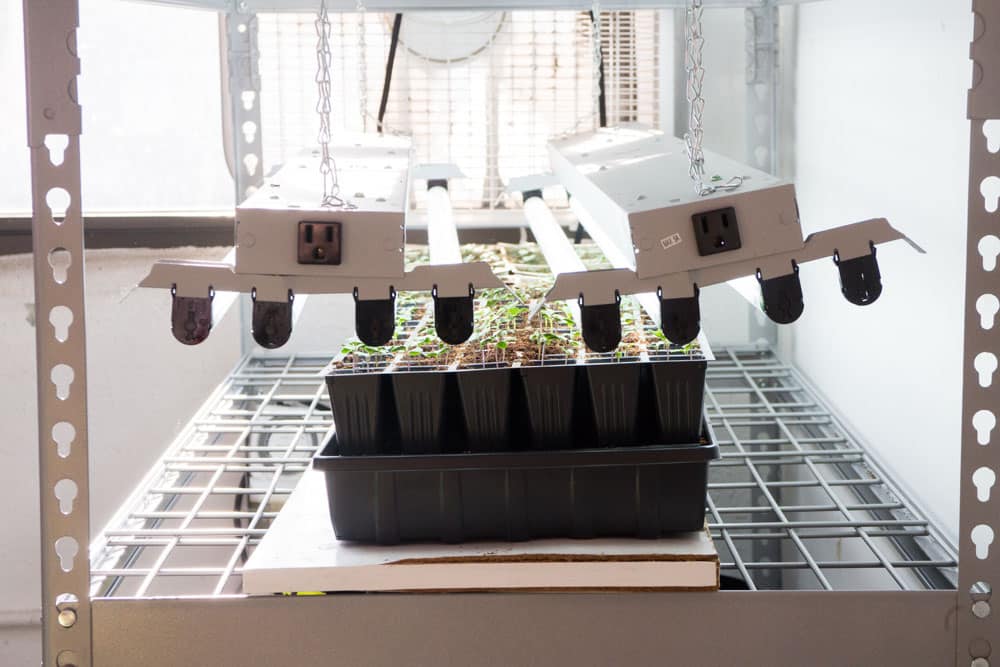
First, you’ll need a stand. We got this Husky 5 tier shelf. This is a model on Amazon that’s the same thing for a little less. If you want to make it a cart that you can move, you can easily add on wheels.
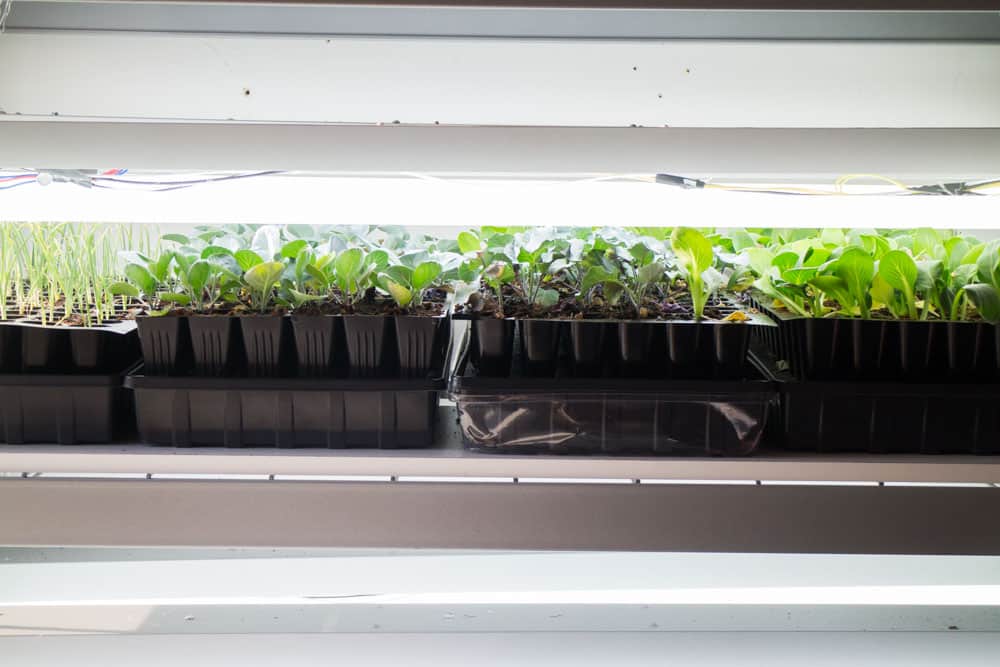
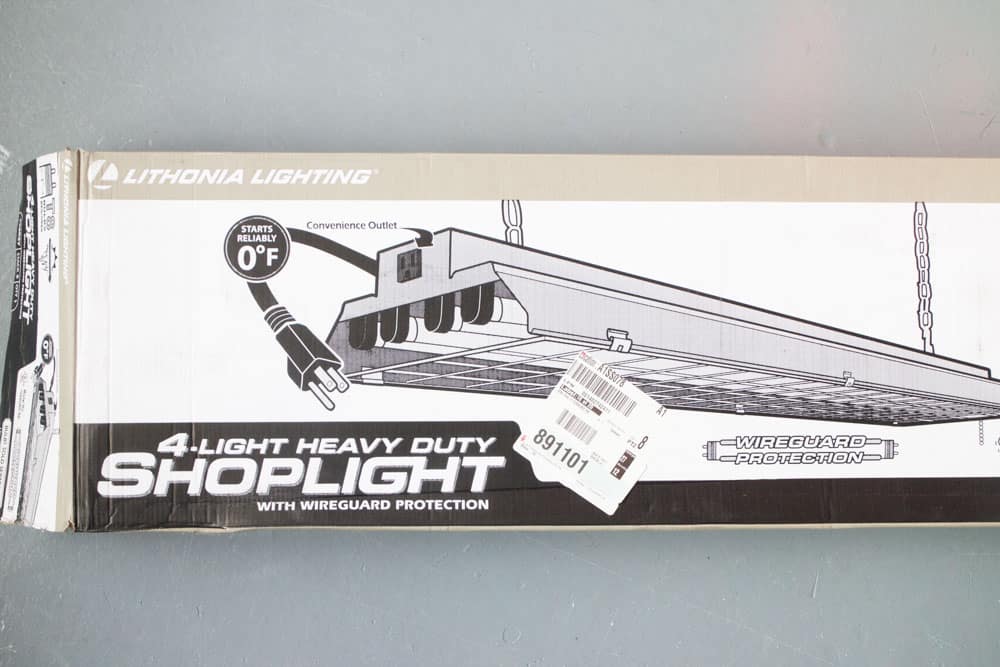
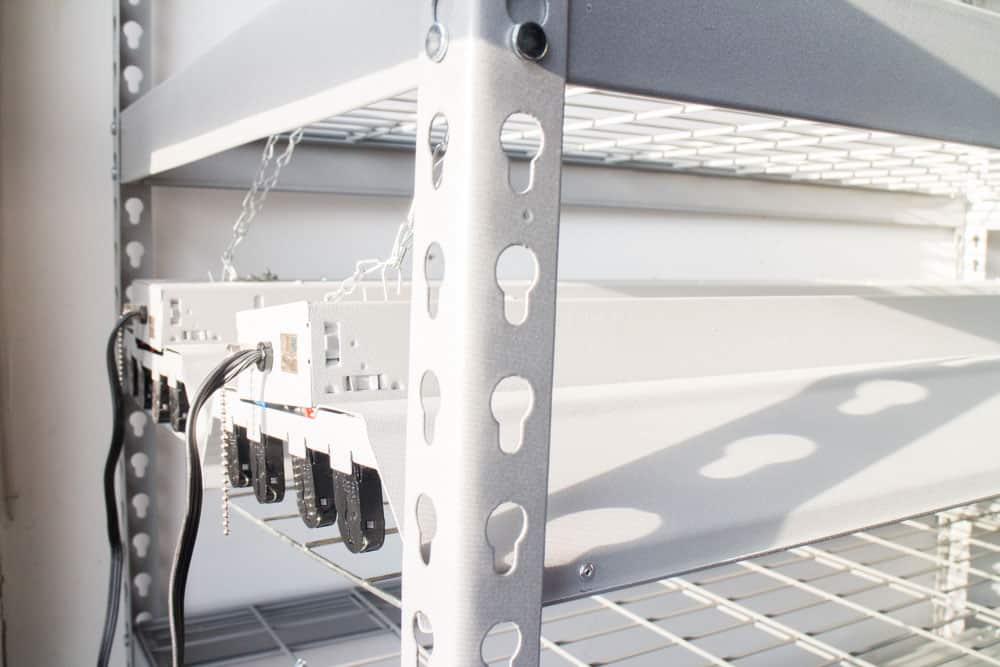
Next, you need a light wireguard. We’ve been using Lithonia for the last few years and they’re great. Each one will require 4 bulbs. For each shelf, we use 2 of these so the entire shelf is covered from front to back.
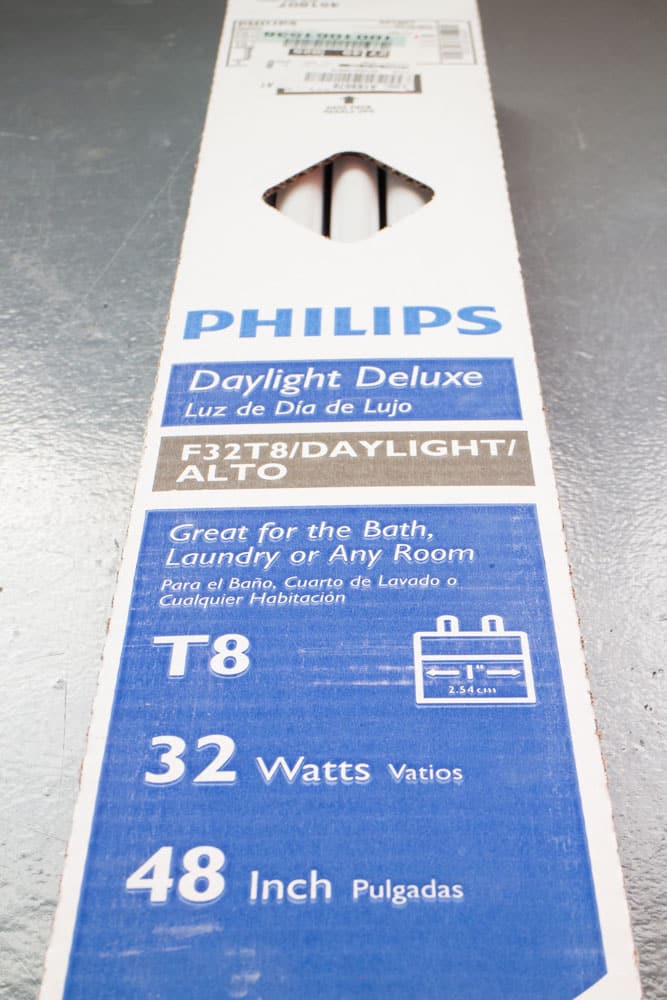
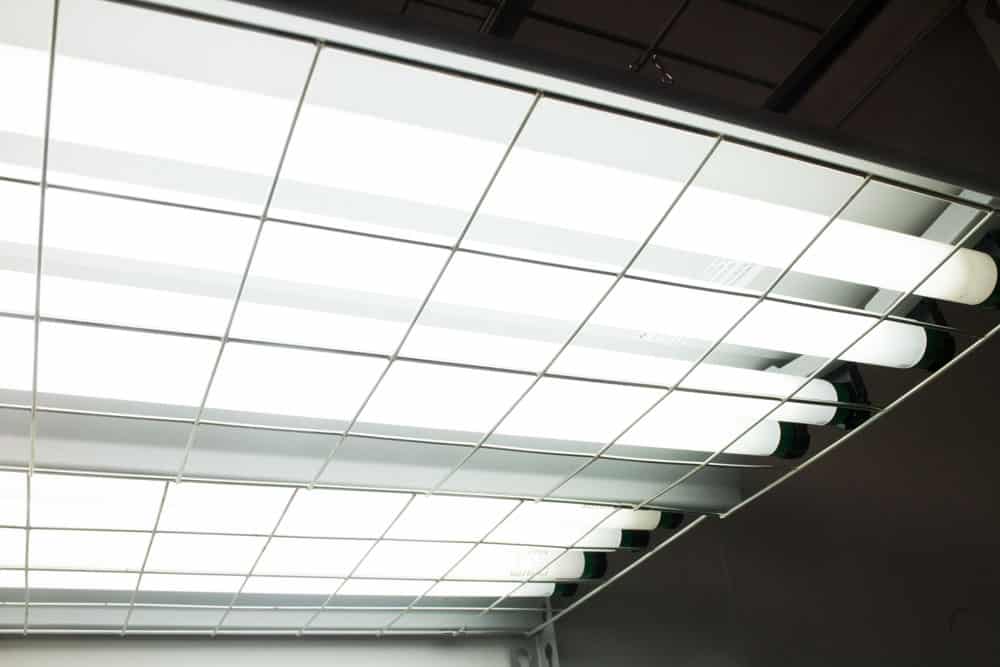
Lastly, you need lights. This is important. Your plants need light! We always use Philips T8 Daylight Deluxe bulbs.
The stand took about 30 minutes to setup (thanks Matthew). We will be using 2 shelves for growing, with the other shelves acting as storage and possibly more growing as the seedlings need to be put in larger pots.
Put your bulbs in.
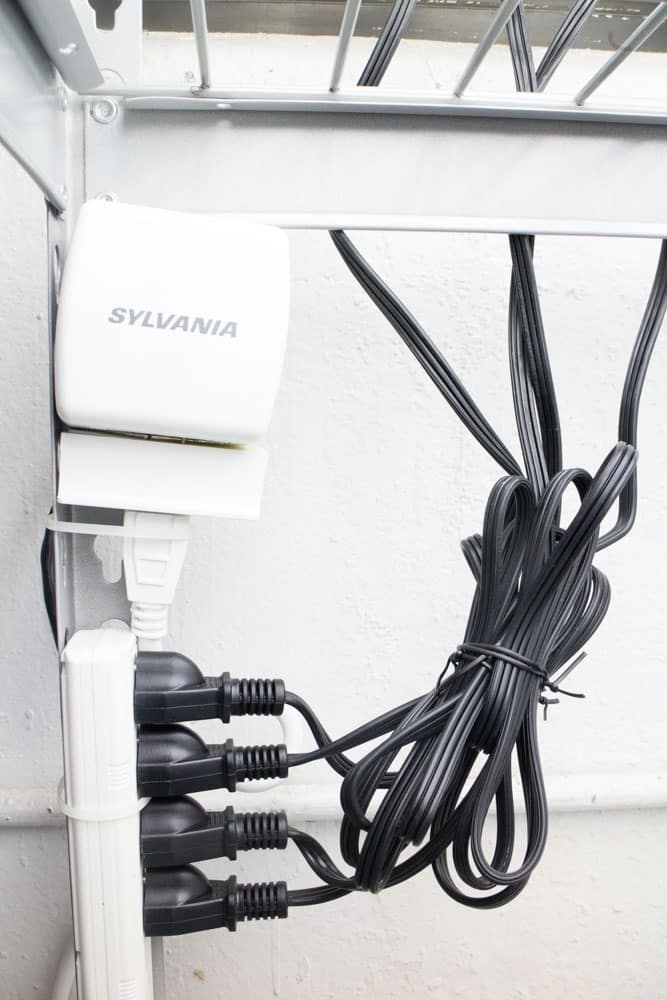
I’d recommend getting a timer for your lights so you don’t have to worry about turning them off/on. Ours goes off at midnight and comes back on at 8AM.
And just like that you’re all set to grow!
How to Make Leggy Plants Strong
Another tip is that once your seedlings are up, add a fan on low. This is going to simulate wind that the plants will have to deal with eventually, so it’s worth getting them strong from the very beginning. You can see the fan on the far side.
And within a few weeks, you’re going to have some awesome looking super strong seedlings ready to plant outdoors!
Check out our bok choy, broccoli, cauliflower, kale, onions…
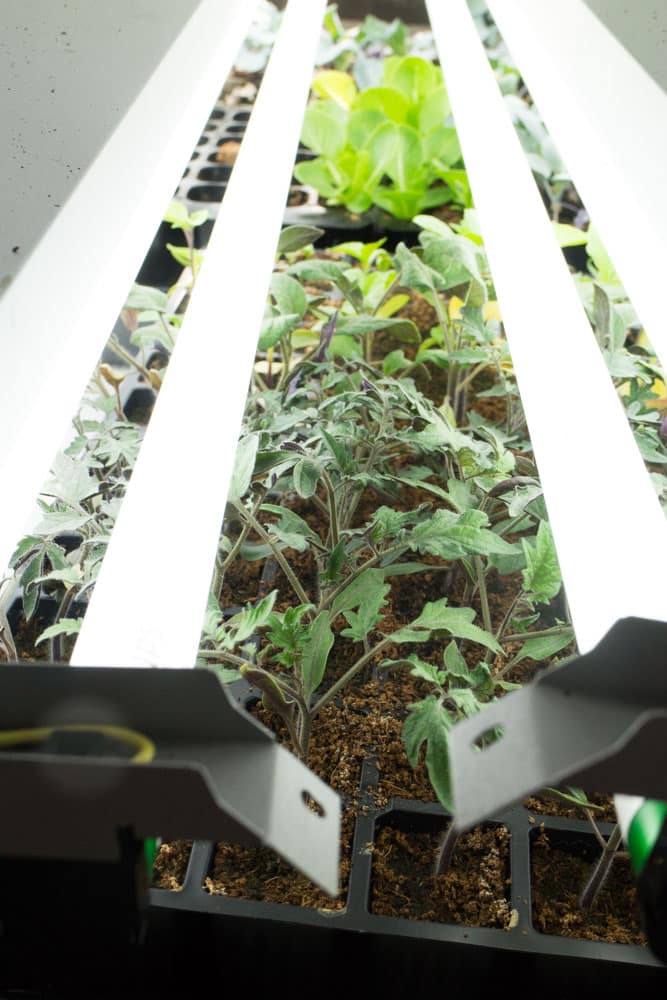
And tomatoes and peppers. The majority of the tomatoes came up in 4-5 days!
Good luck planting! I hope this helps you as much as it’s helped us!
Pin for later:
Carolyn says
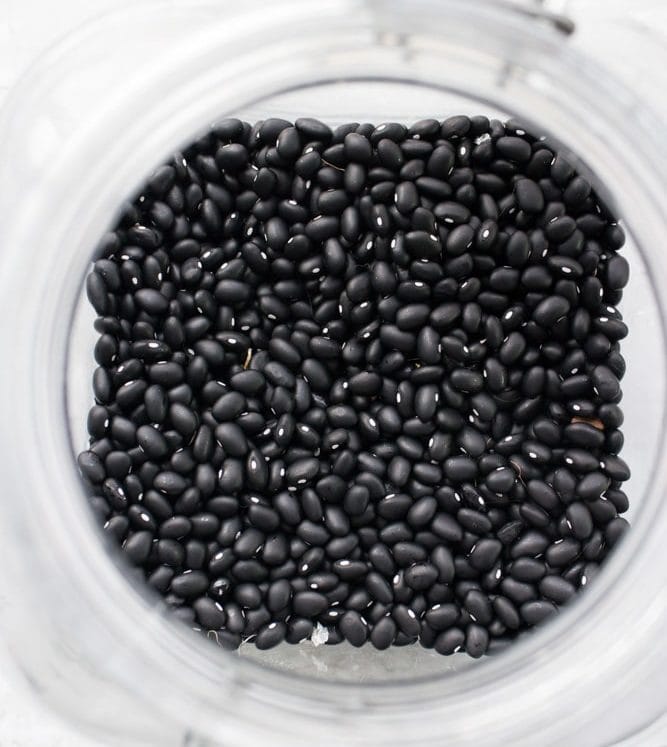
Thanks for the info. BTW, where did you get your seeds?
Kathleen Hoyne says
Hi,
This is so helpful – thanks!! Question – are the lights adjustable and if so, how?
Thanks again!
Pamela says
Hey Kathleen, the lights are physically adjustable, so you can chain them up closer to the plants or further away – this is important as the seedlings grow taller!
Arianna Martienz says
Hello! Just curious, how much did this all cost? My Introduction to Agriculture class and I are trying to find a good DIY Grow light/stand for our plants in a reasonable price range. 🙂
Pamela says
Hey Arianna, if you click the links to all the products in the post – prices will be on each page. Good luck!
Liz @ The Clean Eating Couple says
This is really cool! I’ve been trying to get my garden to take off – this would be super helpful
Jersey Girl Cooks says
This is so inventive! Would love to try this but not sure if I have the room until my kids move out…lol.
Lux G. says
Ooh. I’m sending this to my friend who’s starting to grow his own garden.
Anna @ shenANNAgans says
Very awesome, this is something even i could do. And not too expensive either. Thanks Pamela.
cheri says
Hi Pamela, what a great post, we will be heading to Oregon in a few weeks and this would be such a great time and money saver. Looks like you are feeding an army with all those plants, good for you!
Juliana says
Wow, this is sure a great project…thanks for the pictures and detail description…so much fun!
Have a great rest of the week Pamela 🙂
Cecile - My Yellow Farmhouse says
Both you and your husband NEVER fail to amaze me. I sure wish I knew about this idea when we had our farm! And… I am coveting your plants!!!!! ; o )
Laura ~ Raise Your Garden says
This is a great idea Pam! I’m on it (okay, I’m going to nag my husband to get on it) Light is always my biggest issue too. I have a cloner now and without the light, I’m just not getting it to work effectively. Love this!
Dannii @ Hungry Healthy Happy says
What a brilliant tutorial. I am saving this for next year, as we have started everything for this year already.
Malia @ Small Town Girl Blog says
I’ve always wanted to do this. Your tutorial is perfect! We just moved in to a new house, but maybe next year, we’ll give it a go. Pinned and sharing 🙂