I’m not one to pick favorites in the garden but I will say my heart skips a bit faster when I see a full head of broccoli growing. Last year we had pretty great success with our broccoli with sizes that I couldn’t even dream of, so this year I’m hoping for the same. I know, I’m putting pressure on the broccoli, but I’m very supportive too so it works out.
Last year we had many heads of broccoli, much of when I froze to use in recipes all summer long. There was a week straight where we were cutting off multiple big heads of broccoli every single day.
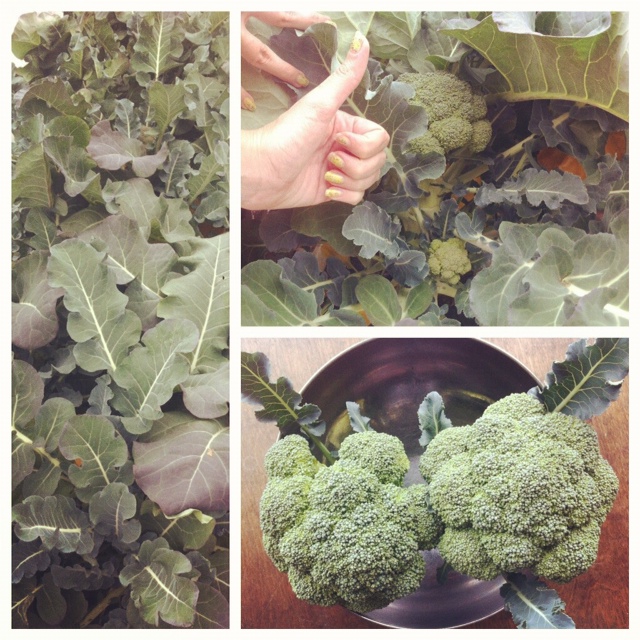
Broccoli – last year.
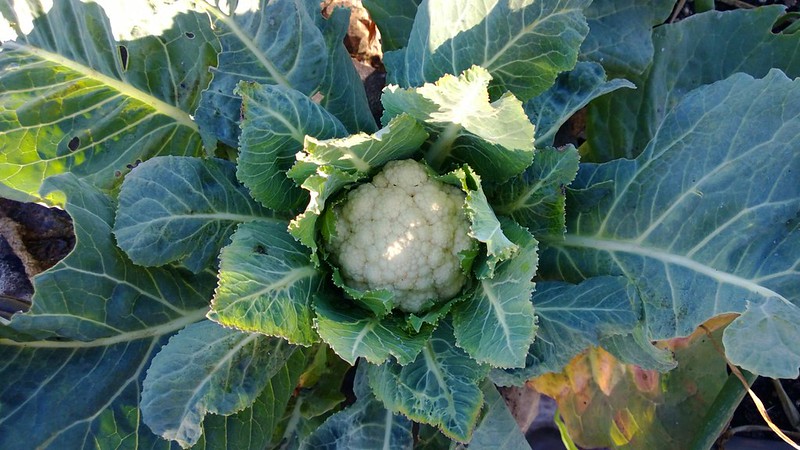
Cauliflower though, that’s another story. We’ve never had great success with cauliflower. In the first few years we grew cauliflower about the size of half dollars. Then last year, we were growing decent size ones (although still on the smaller size) and both Hurricane Sandy and then a aphid apocalypse hit – both not being kind to the cauliflower. So this year, if I can be ever so bold I’m hoping for not only big broccoli again, but I’m hoping for some big cauliflower heads too! I’d love to snack on them, steam them, eat them raw, melt cheese on top, hug them and whisper sweet nothings. Please cauliflower, please!
Cauliflower – last year.
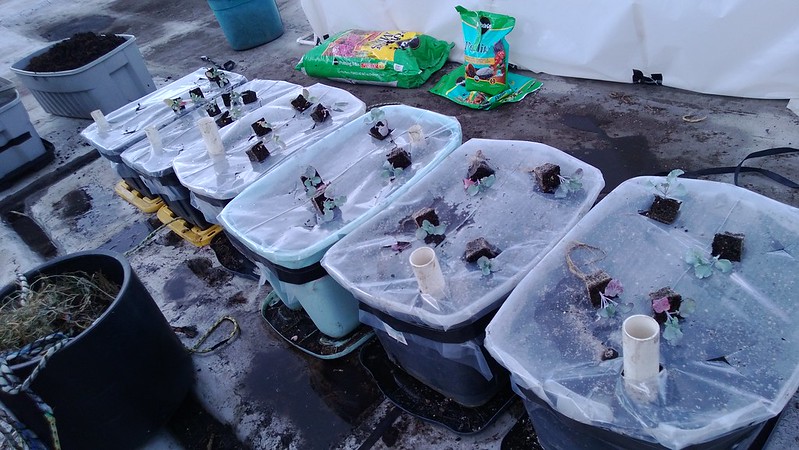
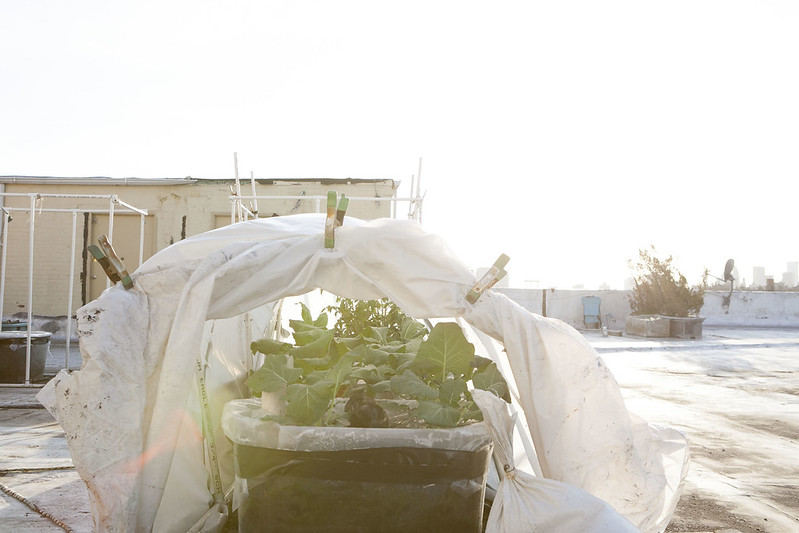
So a few weeks ago, on April 6 we transplanted the broccoli and cauliflower seedlings to the roof where they have been living under a green house since. Doing the containers for these plants really feels like the start of the gardening season because it really is about the garden basics of building the containers, turning soil, planting. Once the containers are built then they are recycled throughout the rest of the year with other plants depending on the season. It’s a process that leaves us a bit tired and needing a nap afterwards, but we cant nap because we’re too excited.
The rest of this post is very picture heavy with how we prepare the containers, and some progress shots up to yesterday!
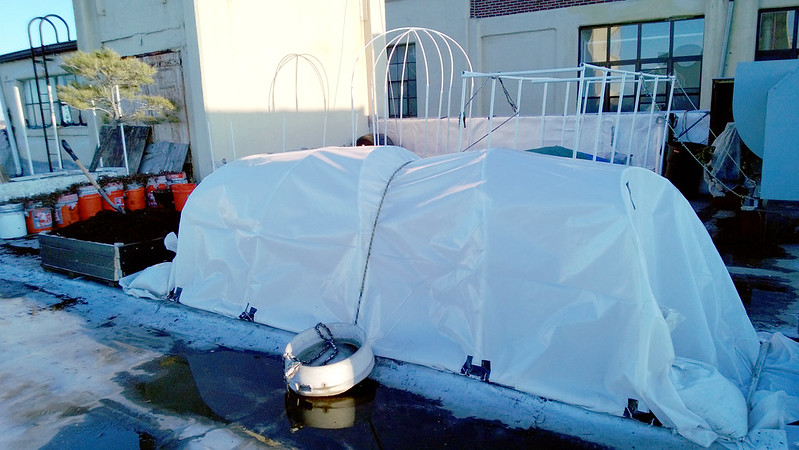
The plants don’t get transplanted until the greenhouse is built as they will live under this for a few weeks. It’s been up and down in the weather here with some nights going below freezing, so it’s very important they have a warm home. In early March we endured the chilly weather and put the green house up and replaced the plastic.
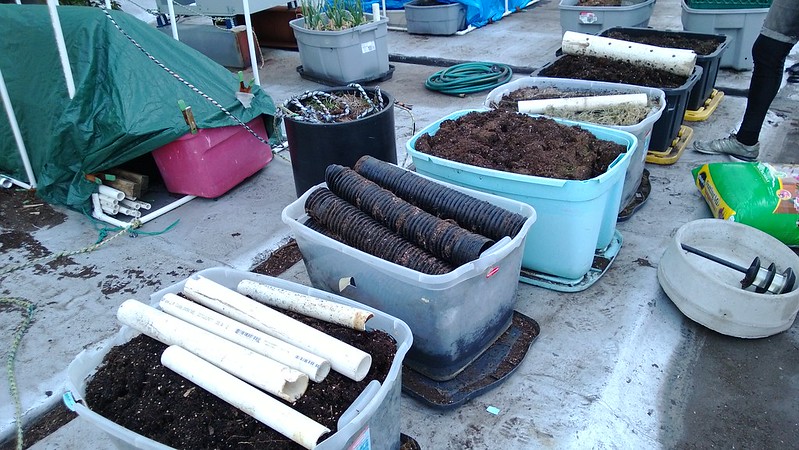
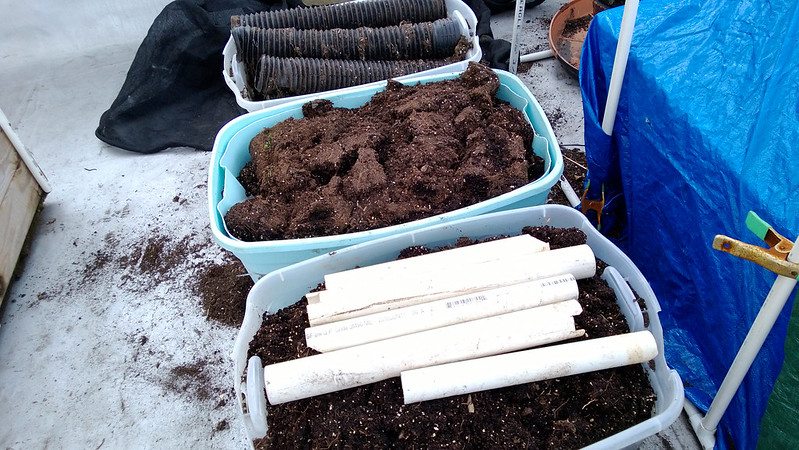
Then all the containers get removed from under the tarps where they sat all winter. In the last few years we have collected many containers! Hint: If you’re in a city, look for them outside on the curb on trash nights, it can save you lots of money! Just make sure they aren’t cracked.
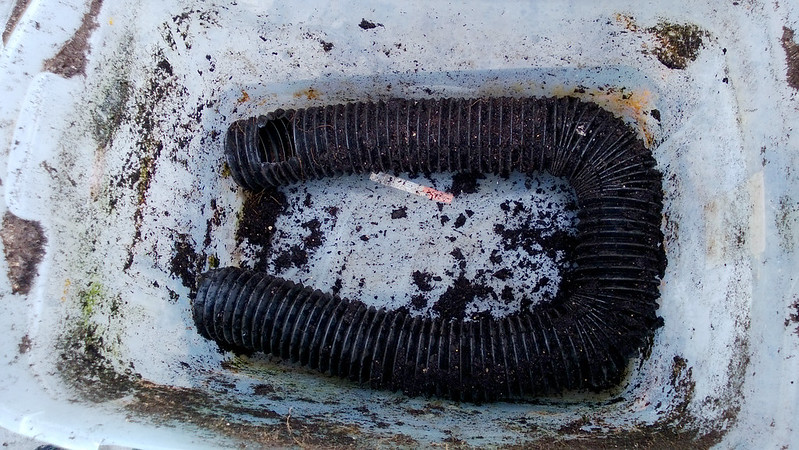
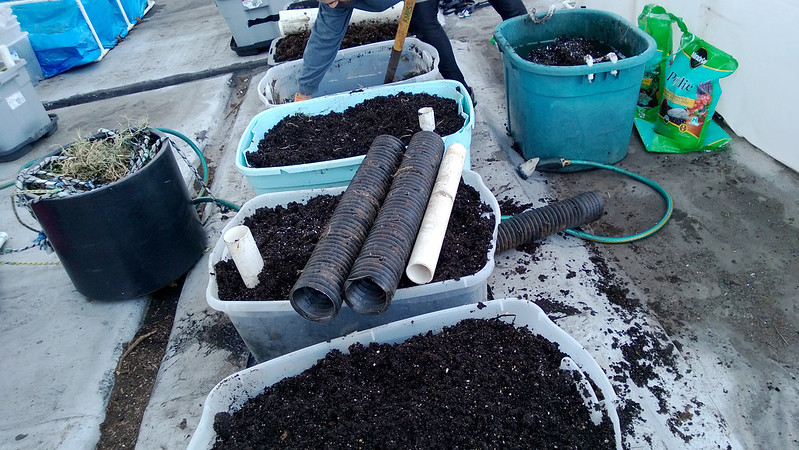
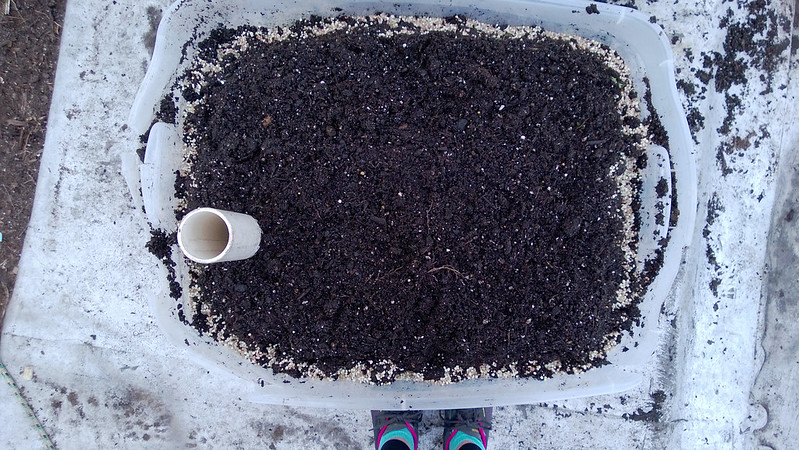
Get your muscles ready because this is the hard part. All the containers need to be emptied so you can flip the potting mix, give it nutrients and set up the pipes. All of our containers are sub-irrigated so they get watered through a feed tube which them waters the plants from the bottom. We use 2 types of pipes depending on what we have available, they both work equally well. In the box above we use corrugated piping.
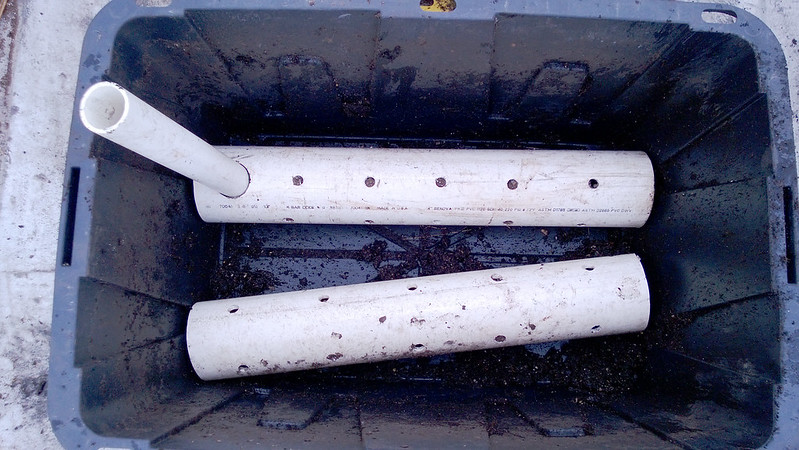
Or you can use PVC piping cut up. Just make sure you always leave a hole for the watering feed tube.
When starting the containers, add a little bit of potting mix at the bottom and add water. Pat this soil down so it becomes firm with the piping. This is starting the wicking process which will continue to water your plants throughout the season.
Keeping add potting mix to all the containers. Reminder, if you are using containers, use potting mix! Potting mix is officially one of my best friends.
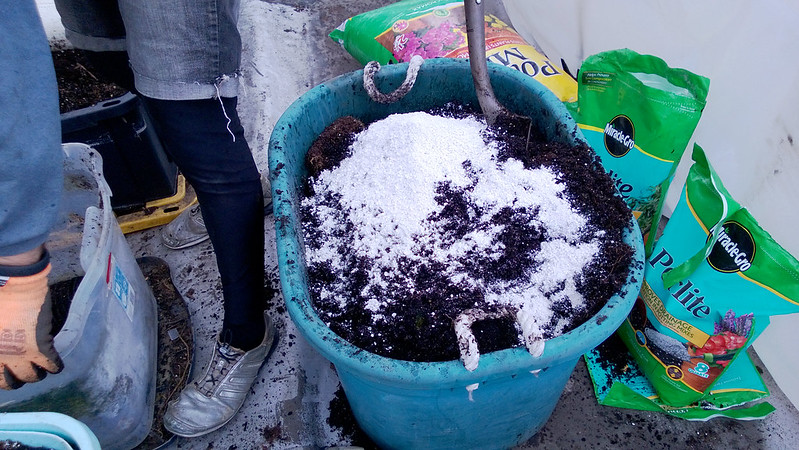
Add Perlite to all your containers and mix it around with the potting mix. Perlite allows drainage and access for the water to move around in.
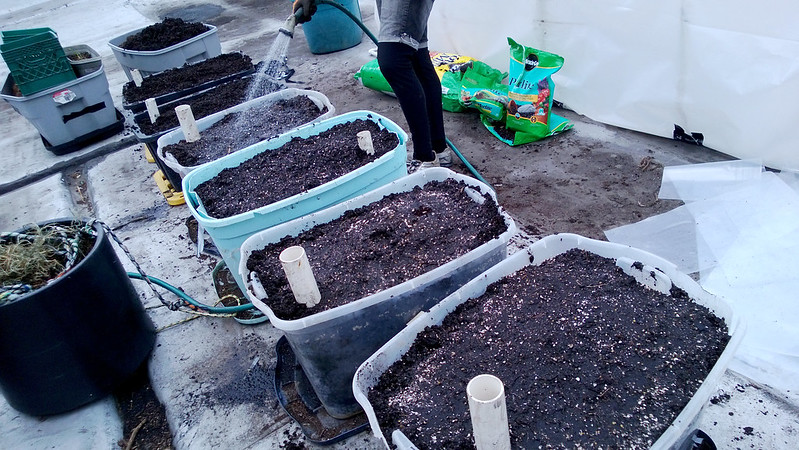
Keeping doing this until all your boxes are filled.
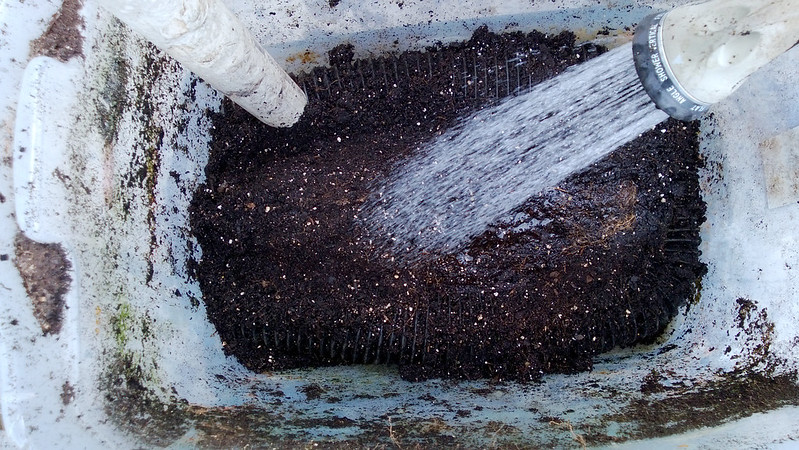
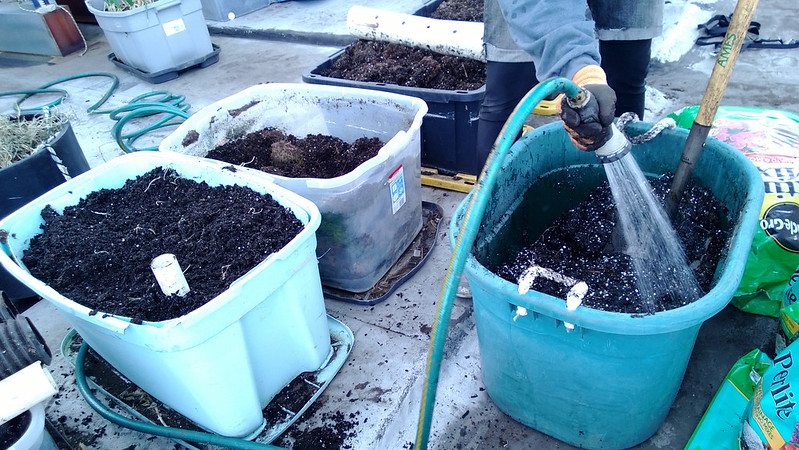
Then give them all one last sprinkle of water on top. You want that potting mix wet (not soaked though).
Now you want to give your containers some food for those vegetables to eat later on. We like this plant food, it’s worked well for us.
Just dig into the edges of the box with your gloved hand, sprinkle plant food and then cover it up. Your plants will love you for this!
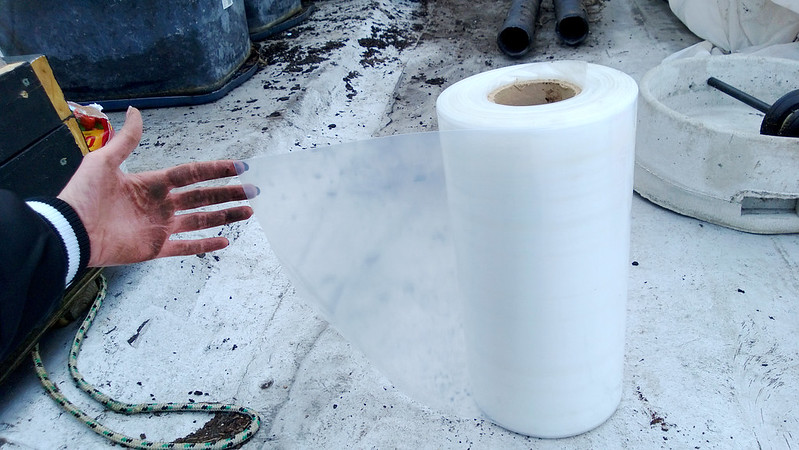
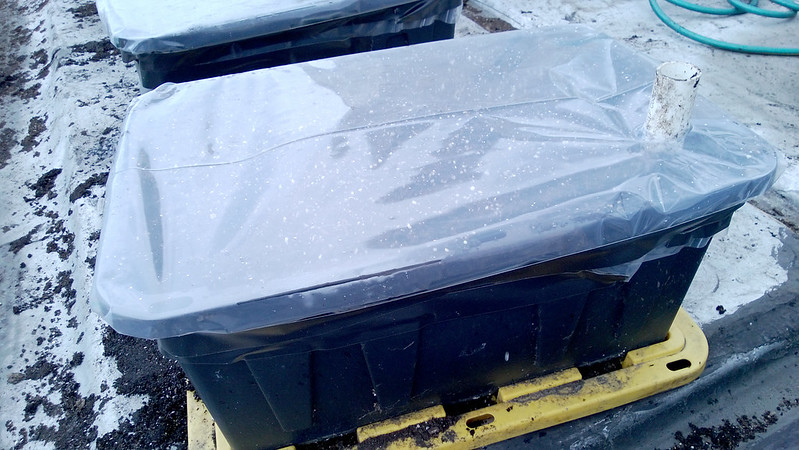
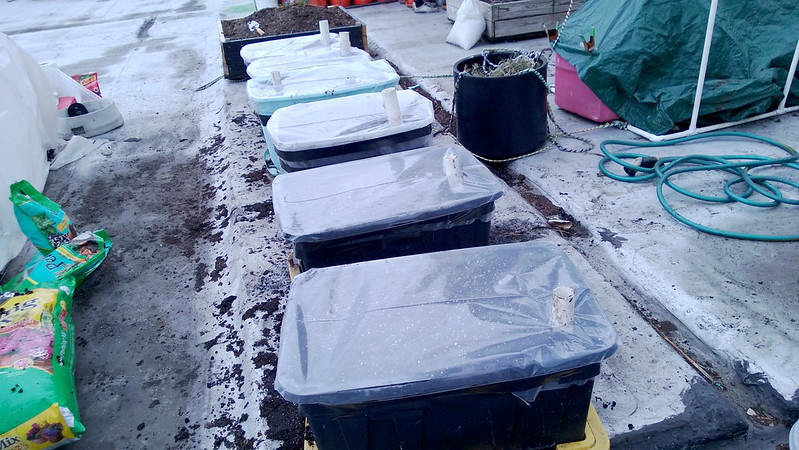
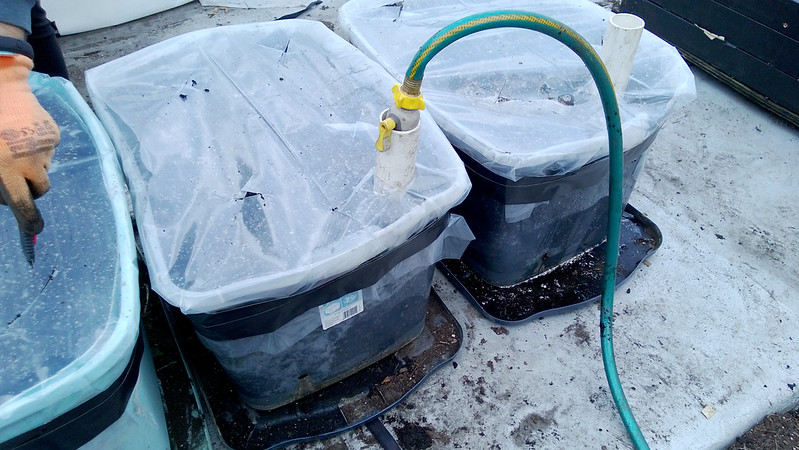
Now it’s plastic time. What? Ok, so you built these amazing containers! But you want to keep the moisture IN the containers. And let me tell you if you are growing on a roof and it’s getting beamed by the sun, you are going to need all the moisture you can get because everything will dry out very quickly. So we cover every single container up with plastic.
Rip a hole in the plastic for the feed tube, then tape the plastic on. Make sure you use tape that can endure all weather conditions.
Do this for all the containers. If you have 2 people, that’s best case scenario as one person can hold the plastic while the other one tapes it. At least once Matthew accidentally tapes my hand to a container.
One more thing before you add your plants – first water your containers. You want to drill a hole into every single box – this hole should reside at the top of the inside of the pipes. When the containers are watered, these pipes will fill up with water to the top, touch your soil and continue the wicking process.When water comes out, the plant has enough water. This way you always know the plant isn’t under or over watered. Now fill up every single box until water comes out of the water drainage hole.
This box was watered, it’s coming out, so it has enough water. Note: Move shoe out of the way so foot does not get soaked – ooops.
Now finally – we can transplant the broccoli and cauliflower!
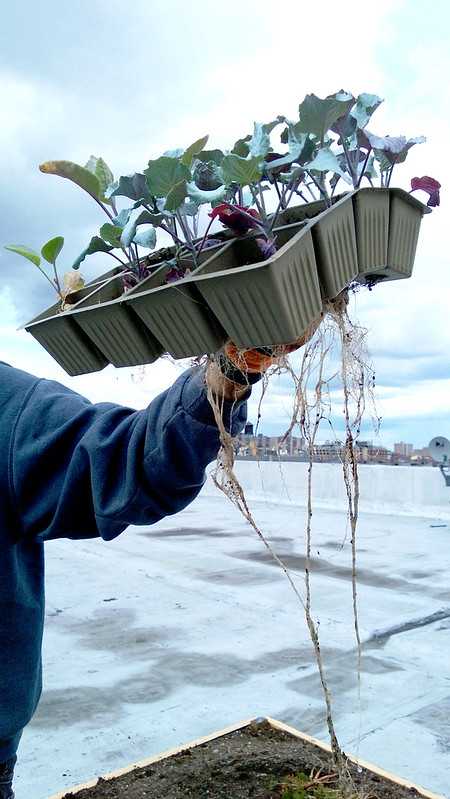
These are the broccoli and cauliflower seedlings. The seeds were planted January 12 and this picture was taken April 6 so they were growing inside for almost 3 months. There are 24 plants in all – 12 broccoli, 12 cauliflower.
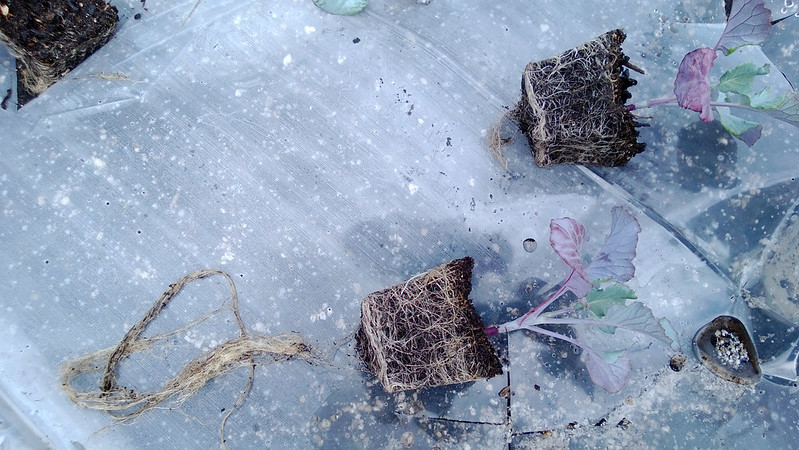
Can we talk about how big their roots became in those 3 months?
Each container gets 4 plants so we evenly distribute the broccoli to all grow together and the cauliflower to grow together.
6 containers x 4 plants = 24 in all.
I’m always in awe of the beauty of the seedlings.
Then one by one, we make holes in the plastic and the seedling gets transplanted inside. Pat it down, make it a nice home in that potting mix.
I gave this one a nice little pat and told it that I loved it very much.
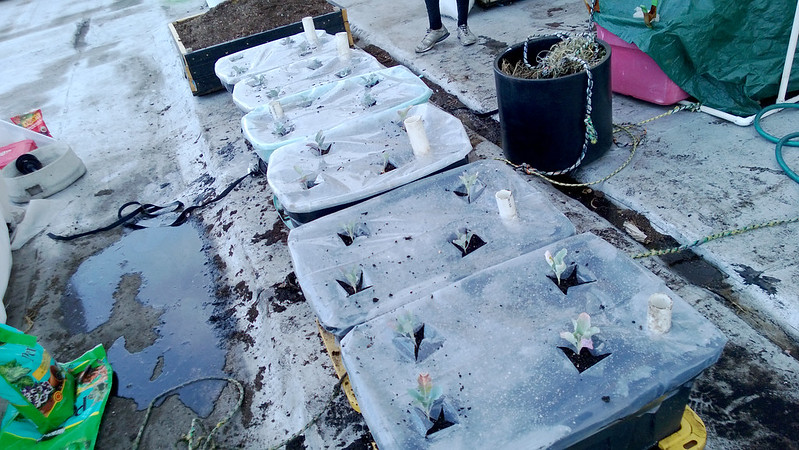
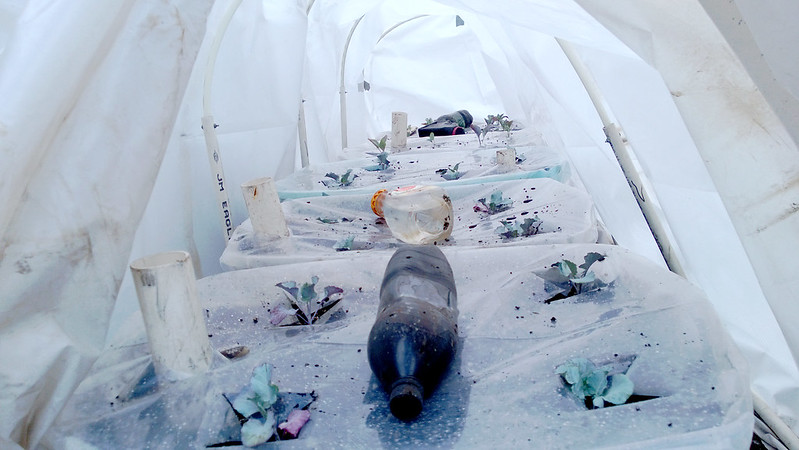
Every single one was planted. But it was still March so they needed protection. The greenhouse goes on…
Tip: It gets cold at night so if you fill up old bottles with water – the water heats up the in the green house, causing the temperature to rise in the greenhouse. If you ever open your greenhouse during the afternoon and feel one of these bottles you’ll be surprised by how warm it is.
And then you cover them up, tuck them in and wish them well. Now the exciting part that causes me high anxiety.. the waiting!
But what I love even more, tracking their progress!
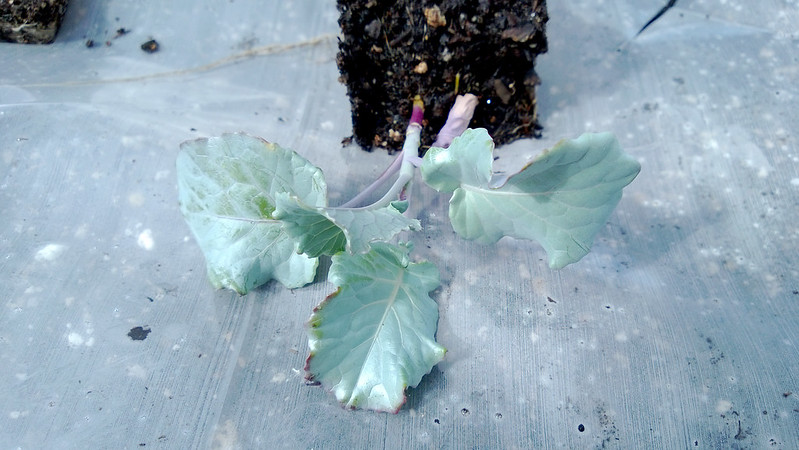
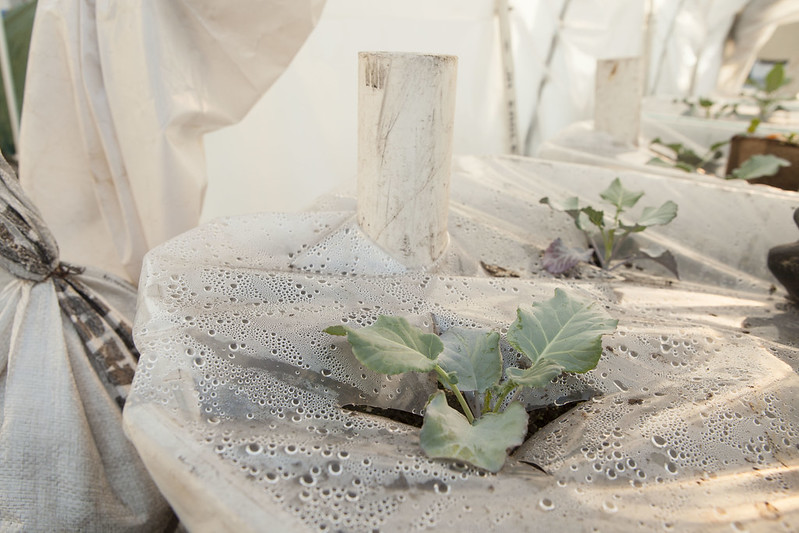
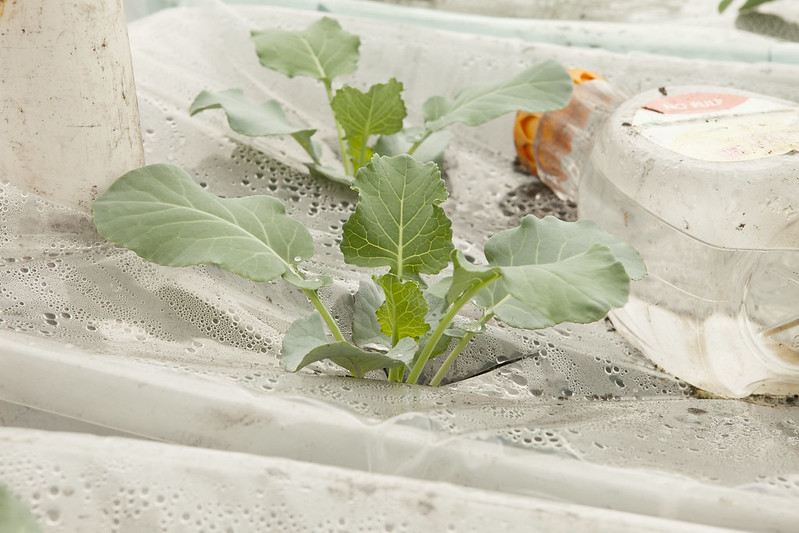
A few days later we see they have transitioned nicely to their new containers.
These were taken April 8 – 2 days after transplanting.
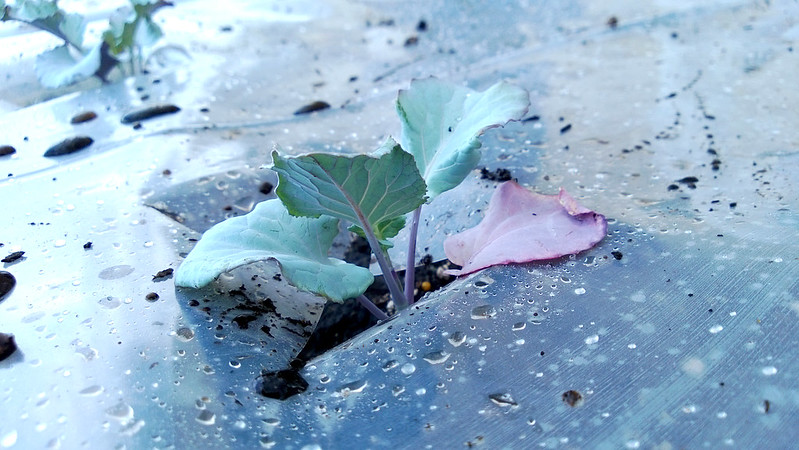
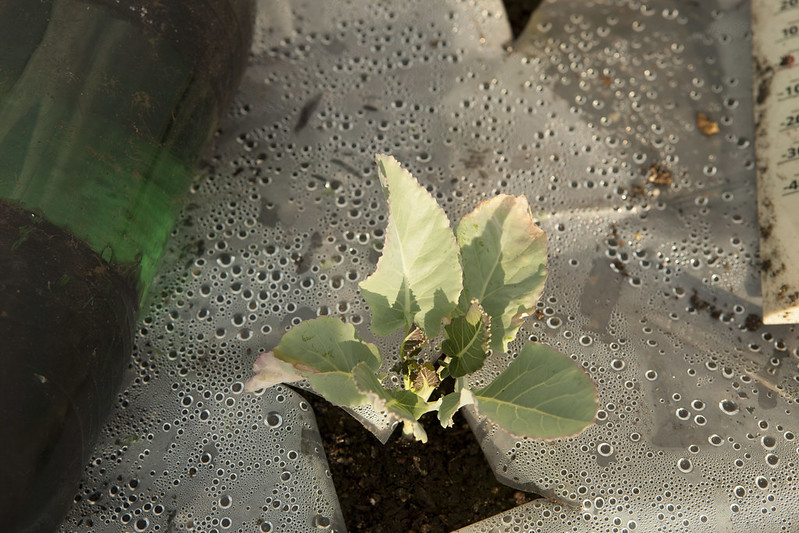
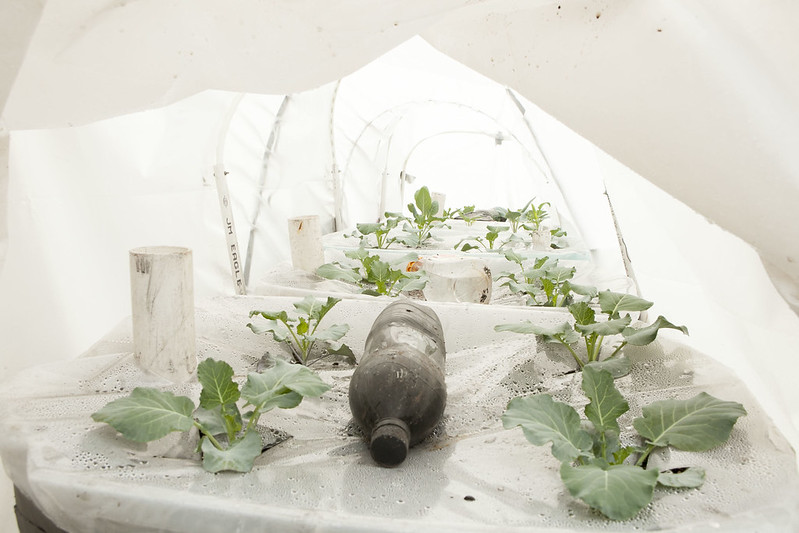
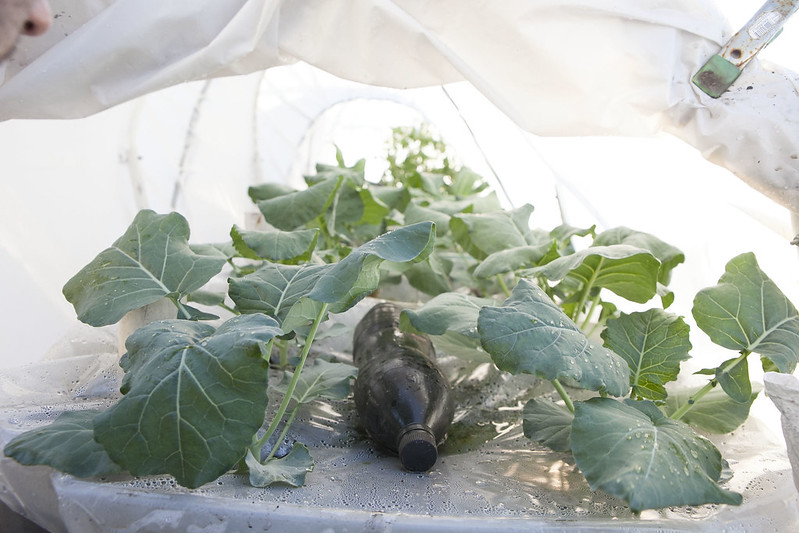
Then a week after transplanting on April 13, we are noticing them grow in size..
Then it really starts to get wild/exciting/makes me want to dance.
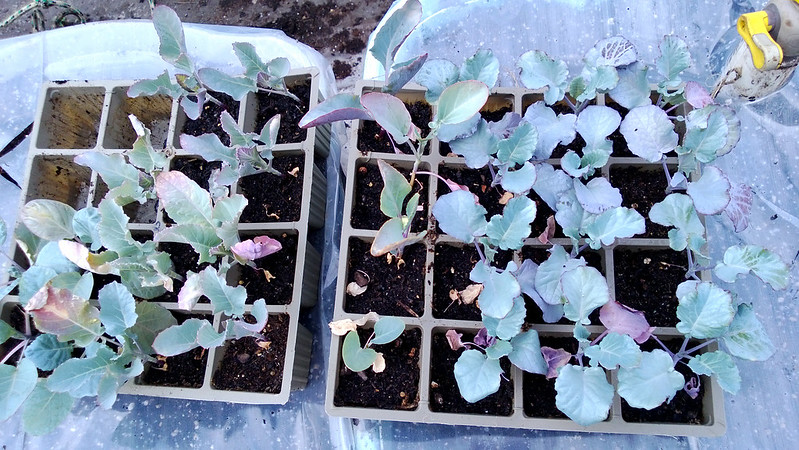
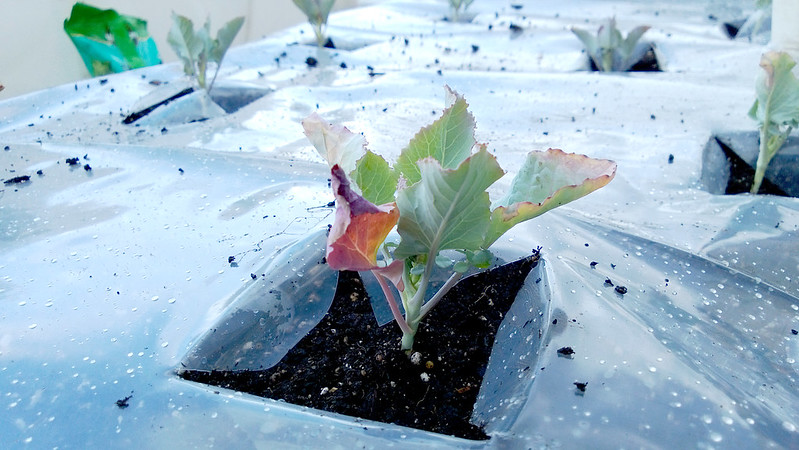
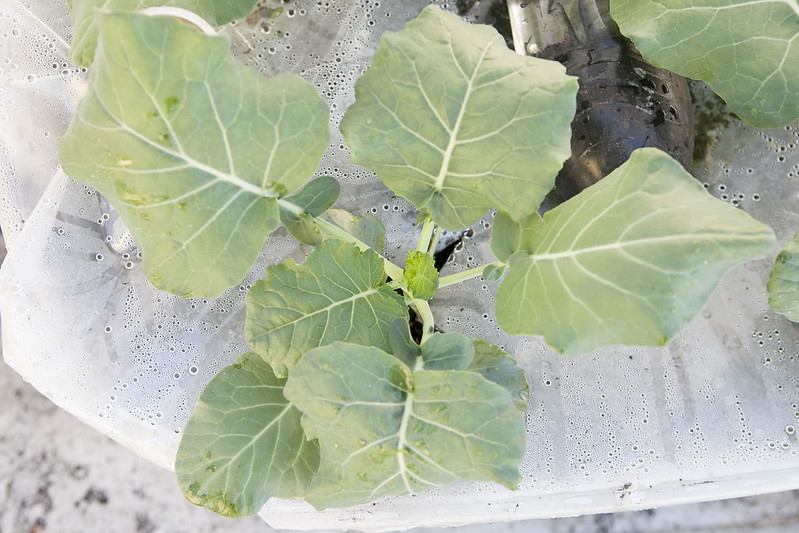
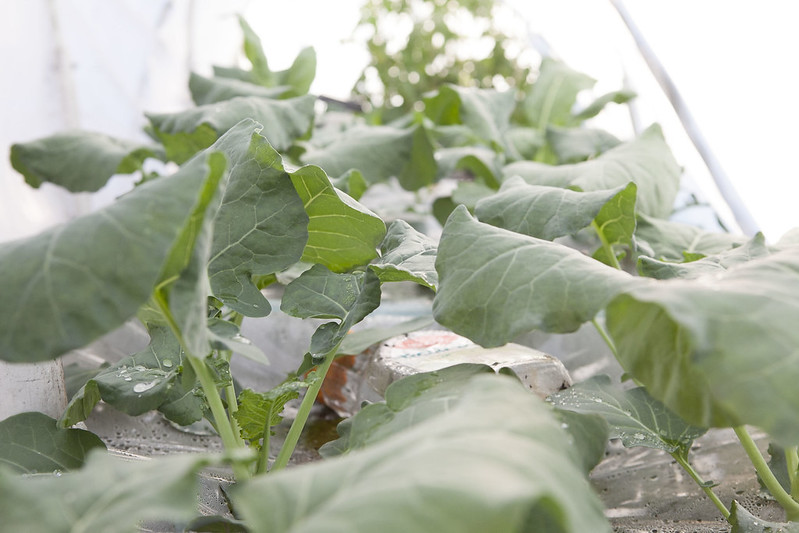
This was taken yesterday – April 22, 16 days after transplanting.
~SWOOOOOOOONS~
Check out that growth! I love you guys. Every single one of you 24 beautiful plants. You make my day!
I love you beautiful.
I love every single one of you!
Keep growing big and strong. You make one girl very happy.



Brenan says
Ok, I’m planning on planting some transplants in Sacramento this month (September). In your post says that you started your transplants in April? I’m so confused, I thought you were suppose to grow broccoli in the winter? Please let me know. I really want to get these going but not sure if the Sacramento cold is too cold. Solid piece of content!! Thanks for sharing
Pamela says
Hey Brenan, I’m in New York so our zones are very different. How cold is Winter there? What zone are you? Broccoli and Cauliflower are best suited for Spring and Fall here. Once extreme heat or frost hits, the plants don’t like it. In NYC I need the plants to produce before hot Summer or cold weather shows up. Hope this helps!
Gheets says
I really enjoyd reading that! I knw the kinda love u talkin abt! I’ve kinda been lookin arnd for new ways to grow my “new-babyz”. I’ve jst startd a newer, bigger garden! Its been so excitin! And without a doubt, I love ur way! So that’s that, I start my adventure! Wish me luck + will check in soon again!
Pamela says
Good luck Gheets, can’t wait to hear about what you’re growing!