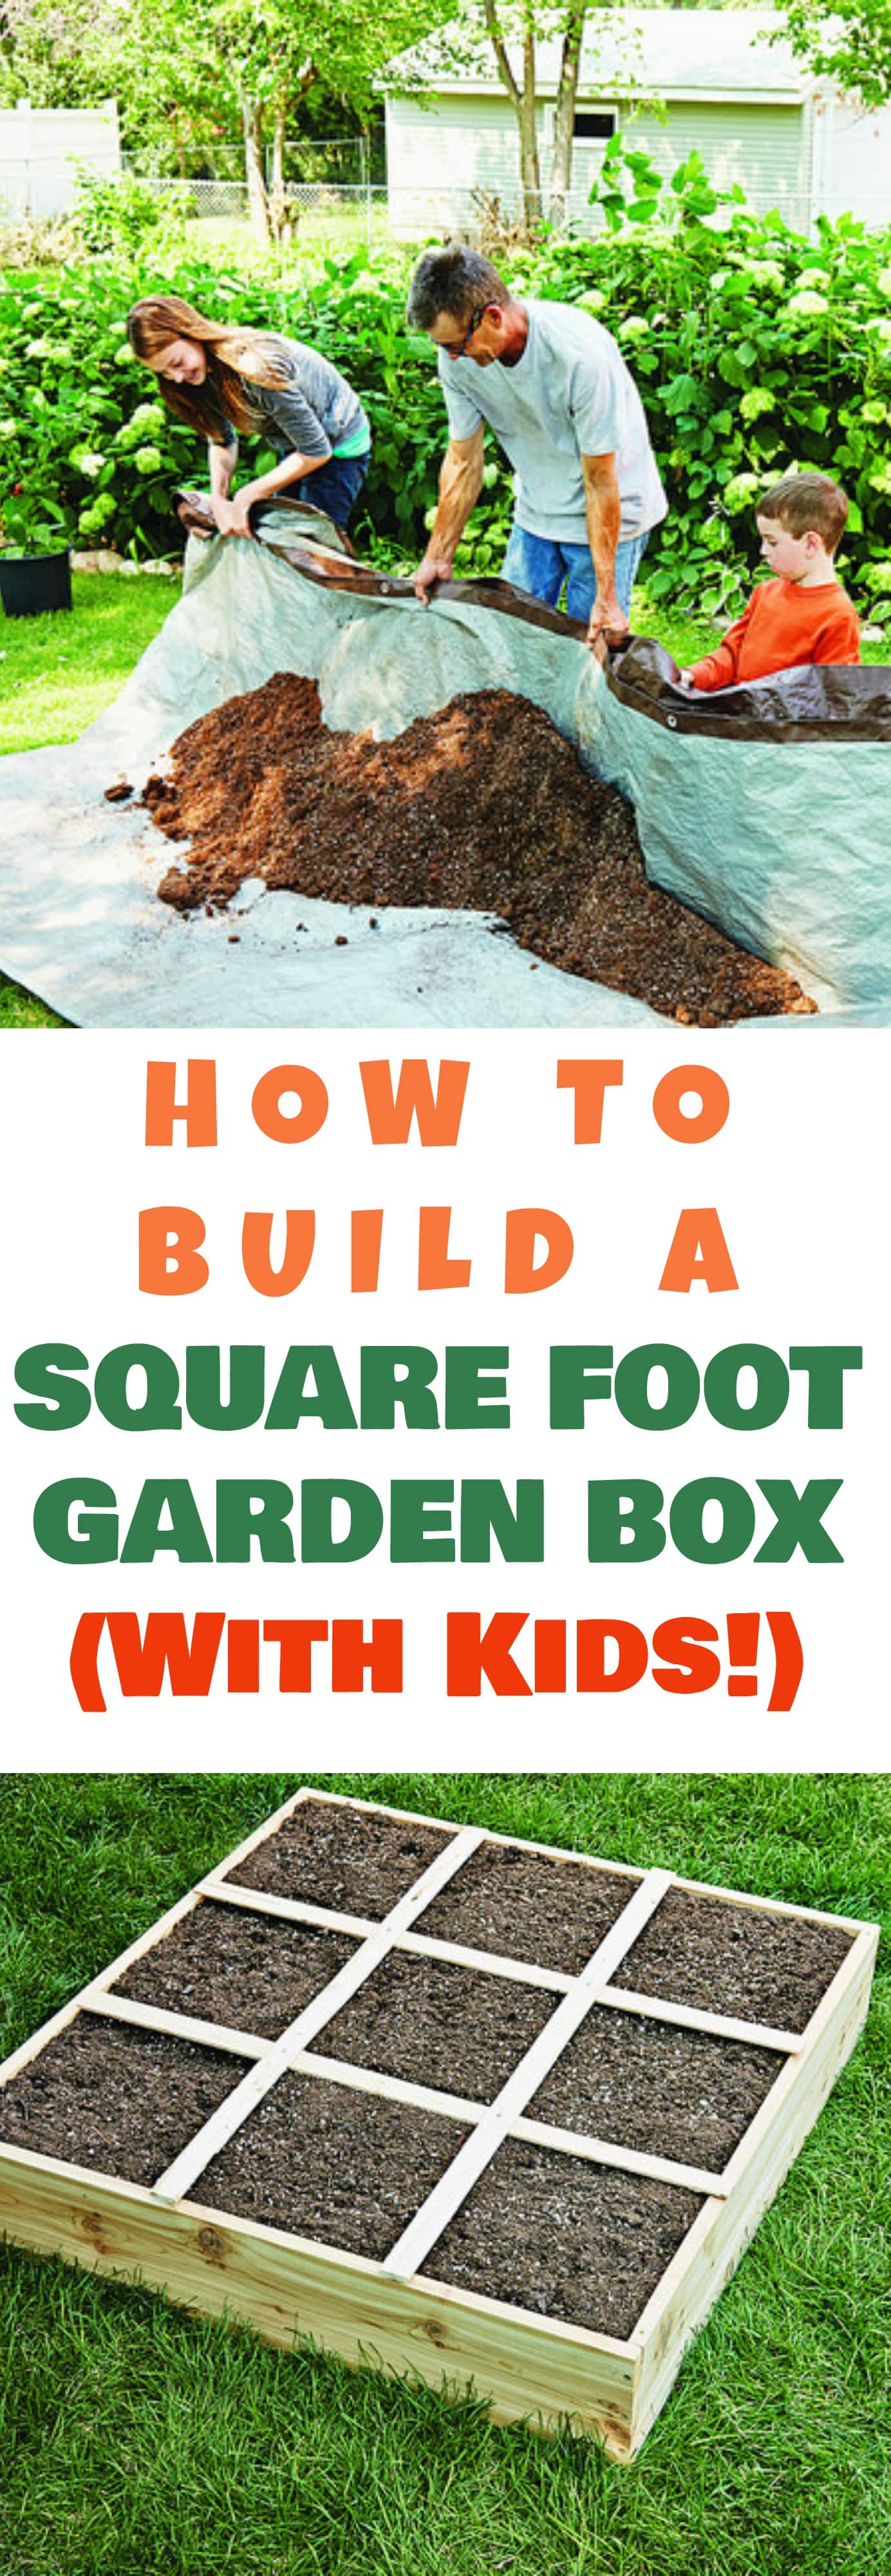
How to Build a Square Foot Garden Box With Kids! Follow these plans for beginners for a fun DIY gardening project you can do with your kids. These boxes are easy to build and will hold lots of vegetables! This is the perfect Spring and Summer activity to do with kids to teach them about gardening!
I think it’s pretty cool when parents introduce kids to gardening at a young age. To do this, you can start reading garden books for kids, and then head straight to the garden to plant and get dirty!
Did you garden as a kid? My dad was big on rose bushes and tomato plants. Those tomato plants in our garden were huge and were his highlight in the summer time. I remember the tomato plants would grow so tall we couldn’t see out the kitchen window but Dad said we didn’t have to see out the window. Matthew was a big gardener as a kid as well, he got a wheelbarrow for his 8th birthday – how’s that for dedication?
Gardening With Kids
Look at how proud I am of my first pumpkin I ever grew:
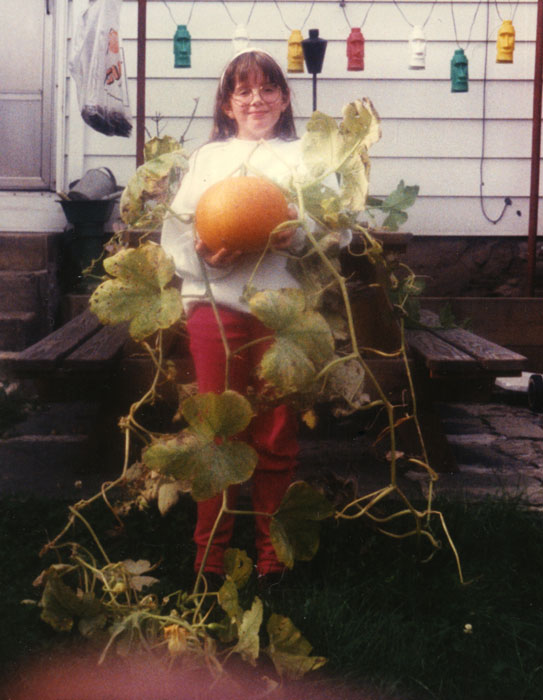
Because of being exposed to growing vegetables as a kid, this was a main reason on why we started our own rooftop garden. We were nostalgic for growing our own, and our childhood brought back happy memories with these plants. What’s even better than the memories is just the knowledge you learn when you garden. You learn how things are grown and you start to respect food and the environment a whole lot more. Grow a tomato and throw it in the trash? I think not. Grow a watermelon on a roof and let it go to waste? Over my dead body.
I was recently received the new book, Square Foot Gardening with Kids, and pretty much fell in love with it. Whenever any kid in our building seems excited on the roof about what we grow, I immediately turn into garden teacher and tell them they should start their own garden box. With supervision, there’s really no age that’s too young to start. Imagine spending a weekend afternoon with your family, building a box, where you guys are going to plant seeds to grow food you can enjoy for dinner? It doesn’t get cooler than this.
How to Build a Square Foot Garden Box With Kids
Want to build a box? Here’s step by step instructions for you and your family.
Building Together:
How to Make a Garden Box
For most kids, building their own SFG box is the point when the garden physically takes shape. They see up close where all their plants will live and grow. And by building their own box, they learn a little something about independence and achievement. Of course, a lot of kids are just going to be excited because they get to work with tools and build something!
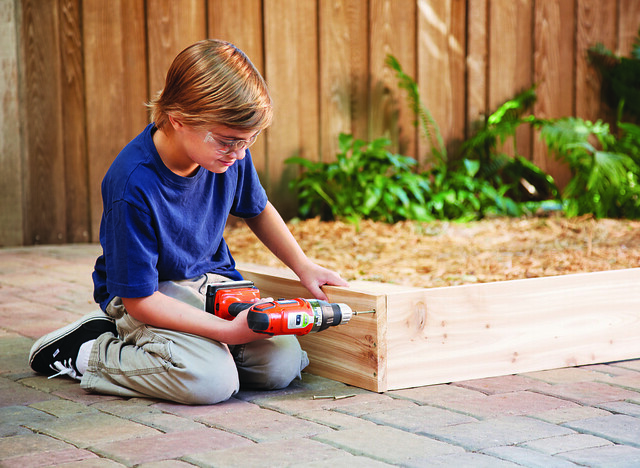
Building your SFG box is a great opportunity to teach kids about using power tools [or any other tools] safely.
The Materials
Start the great big SFG box adventure with the materials the child will use to build the box. And, wow, there are a lot of possibilities. They are all possibilities for learning as well. The SFG box can be built out of just about any material as long as it meets certain restrictions. First and most important: the material cannot contain anything that might contaminate the soil and get into the plants growing there. That means paint or preservatives used to treat wood, or oil-based paints on metal or bricks are no-nos. Even though you can use many different materials, most people choose wood for good reasons. Wood is a natural, replaceable material, it’s easy to work with, easy to find, inexpensive, and looks good too. But the kids should have some ideas about what they want to use, and it’s a good chance to discuss building materials.
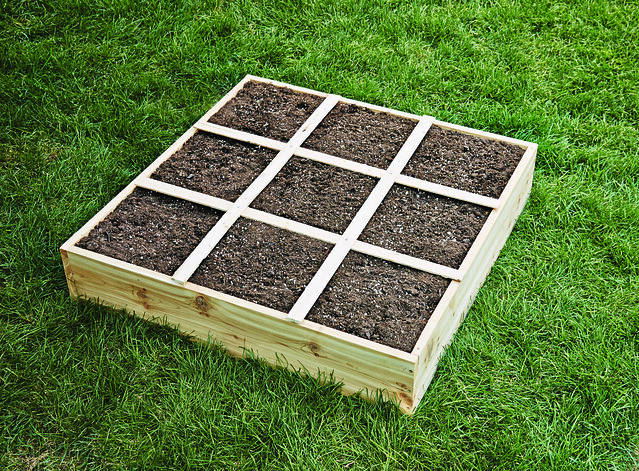
Start with what an SFG box must be. We want our box to be:
• 3 feet x 3 feet.
• Square.
• 6 inches deep.
• Durable.
• Portable, if we want to move it later.
• Nice to look at.
So with all that in mind, let’s ask a few questions about what might be the best material for our SFG boxes.
• Why is wood a good choice for the SFG box?
• What other materials could we use?
• What about glass? Could you use glass for the box? Why or why not?
• What about metals? What different types of metals are there? Which would be best for a box and why? Where would we find those metals? What would be some of the challenges in using metals?
• What about bricks or concrete blocks? What would be good or bad about using bricks or concrete blocks?
Let them discuss all the pros and cons about what to use to build their boxes, but generally, wood is going to work best. So the instructions that follow are geared to using wood for a child’s box.
Rules
1. We only work with tools when an adult is there to supervise.
2. Children and adults always wear the appropriate safety gear: safety glasses, a dust mask, gloves, and work clothes [including shoes with enclosed toes].
3. Only use tools that are in good condition. No splitting or rotting tool handles, drills with frayed cords, or other poorly maintained tools. Always check that your tools are in proper working order before using them.
4. No working with people who are tired or cranky! You can always come back and do the project after naptime or tomorrow [that includes parents too!].
Putting the Box Together
Now that your child has gathered the materials he or she will need, it’s time to get organized and get building that SFG box. If you’re like most parents and teachers, you’ve discovered that kids love nothing better than to work with tools, just like a grown up. So this part of the SFG process is especially fun for the little ones. The engineer in me likes it because it shows children how things go together. If you have ever seen an adult mess up the simple instructions for assembling a bookcase or a kitchen table, you know how important this life skill can be! Let’s get started with a few safety rules to make sure this is a happy experience for everyone.
Setting Up a Work Site
Set up your work site as close as possible to where your child’s SFG box will ultimately go. The best place is a flat level surface with lots of room to move around. With children, it’s always a good idea to make an actual staging area. This can be a driveway, a tarp laid out on the grass, or even a large piece of plywood or cardboard. The idea is to keep tools and materials in one place while you work, because sometimes in all the excitement of building something, youngsters can misplace tools. We wouldn’t want Dad losing his favorite screwdriver, would we? Collect all the materials you’ll need for the project and organize them in the staging area. For the wood box we’ll be building, you’ll need the following:
• 4 boards, 3 feet long x 6 inches wide (should be I or 2 inches thick)
• 4 pieces of lath, 3 feet long
• A pencil
• Cordless drill and bits
• 12 deck screws
• I roll of landscape fabric (see if you can buy a piece just 3 feet long at a garden center, or a pre-fab SFG box kit usually comes with the weed fabric and grid)
How to Build a Square Foot Garden Box With Kids
How to build your own Box
Actually building the box is simple once you’ve collected all the proper tools and materials.
1. Have the child stack the four boards, one on top of the other. Now help them hold one board perpendicular, on its edge, at the end of the stack. This board is used to mark the overlap width. Mark the width of the board along the ends of each of the other boards.
2. With the boards stacked up and aligned, pull each one out in order and drill three pilot holes for screws, spaced evenly from edge to edge. If you are using 1x wood stock [actual thickness is ¾, draw a reference line 3/8ths” from the end of the board to help align your screw holes. For 2x stock [actual thickness 1 ½ “) draw the center reference lines ¾ ” in from the ends. Drill three or four pilot holes at each corner. For standard deck screws, use a drill bit that’s about 1/16 diameter.
3. Hold or clamp the boards together, overlapping each successive corner. Drive deck screws into the predrilled holes until the screw heads are just slightly below the surface of the wood.
4. Add the box bottom. Sometimes, a child’s SFG box will need to be portable. Maybe it will need to be moved between a schoolyard and home at the end of the school year, or maybe your child will want to take the box with them her when visits grandma and grandpa for a month-long summer vacation. Not to worry; any SFG box can be made portable.
Most kids can easily add a bottom by cutting a piece of 5/8-inch plywood to match the outside dimensions of the box. Your child may need some help to screw the bottom to the side boards of the box—use a drill with a screwhead bit and 2-inch deck screws. The child will also need to drill a .-inch drainage hole in the center of every square foot, and an extra one in each corner of the box. The bottom is also necessary if your child wants to place the box on a patio or deck or put it up on an outdoor tabletop.
5. Build your grid.
Have the youngster mark each piece for cutting (measure twice, cut once—another important lesson).
Rather than using dad’s circular saw or table saw to cut the pieces, have the child cut the pieces with a handsaw. What did we just save for the environment? Yes, the electricity. This will also teach them how to use a simple crosscut handsaw, rather than dealing with the danger and cost of a power tool.
Lay the lath in place across the box (there may be a little measuring here to make sure each square is the same size, in case the inside box measurements aren’t exactly the same all around), and help your child drill guide holes slightly larger than the diameter of the bolts being used to join the lath pieces where the pieces cross.
Use tiny nuts and bolts or special pins you can find at the lumber store to put in the holes and hold the grid together. We did remember those bolts on the shopping trip, right?
Time to plant in those boxes… here’s the easiest vegetables to grow!
Looking for more DIY projects? Check out how to build a rainwater catchment!
Hope you and your kids have fun this gardening season! And remember…. it’s all about having fun!


Jen Gregor says
I just wanted to let you know you are the featured post this week on the Friday at the Fire Station link-up!
Jen Gregor says
I love this and would be so fun to do with the kids!
Andrea says
Love this post! Getting kids outside and involved with their food system is so important. I think that gardening and keeping chickens are to of the best ways to get kids back in touch with nature.