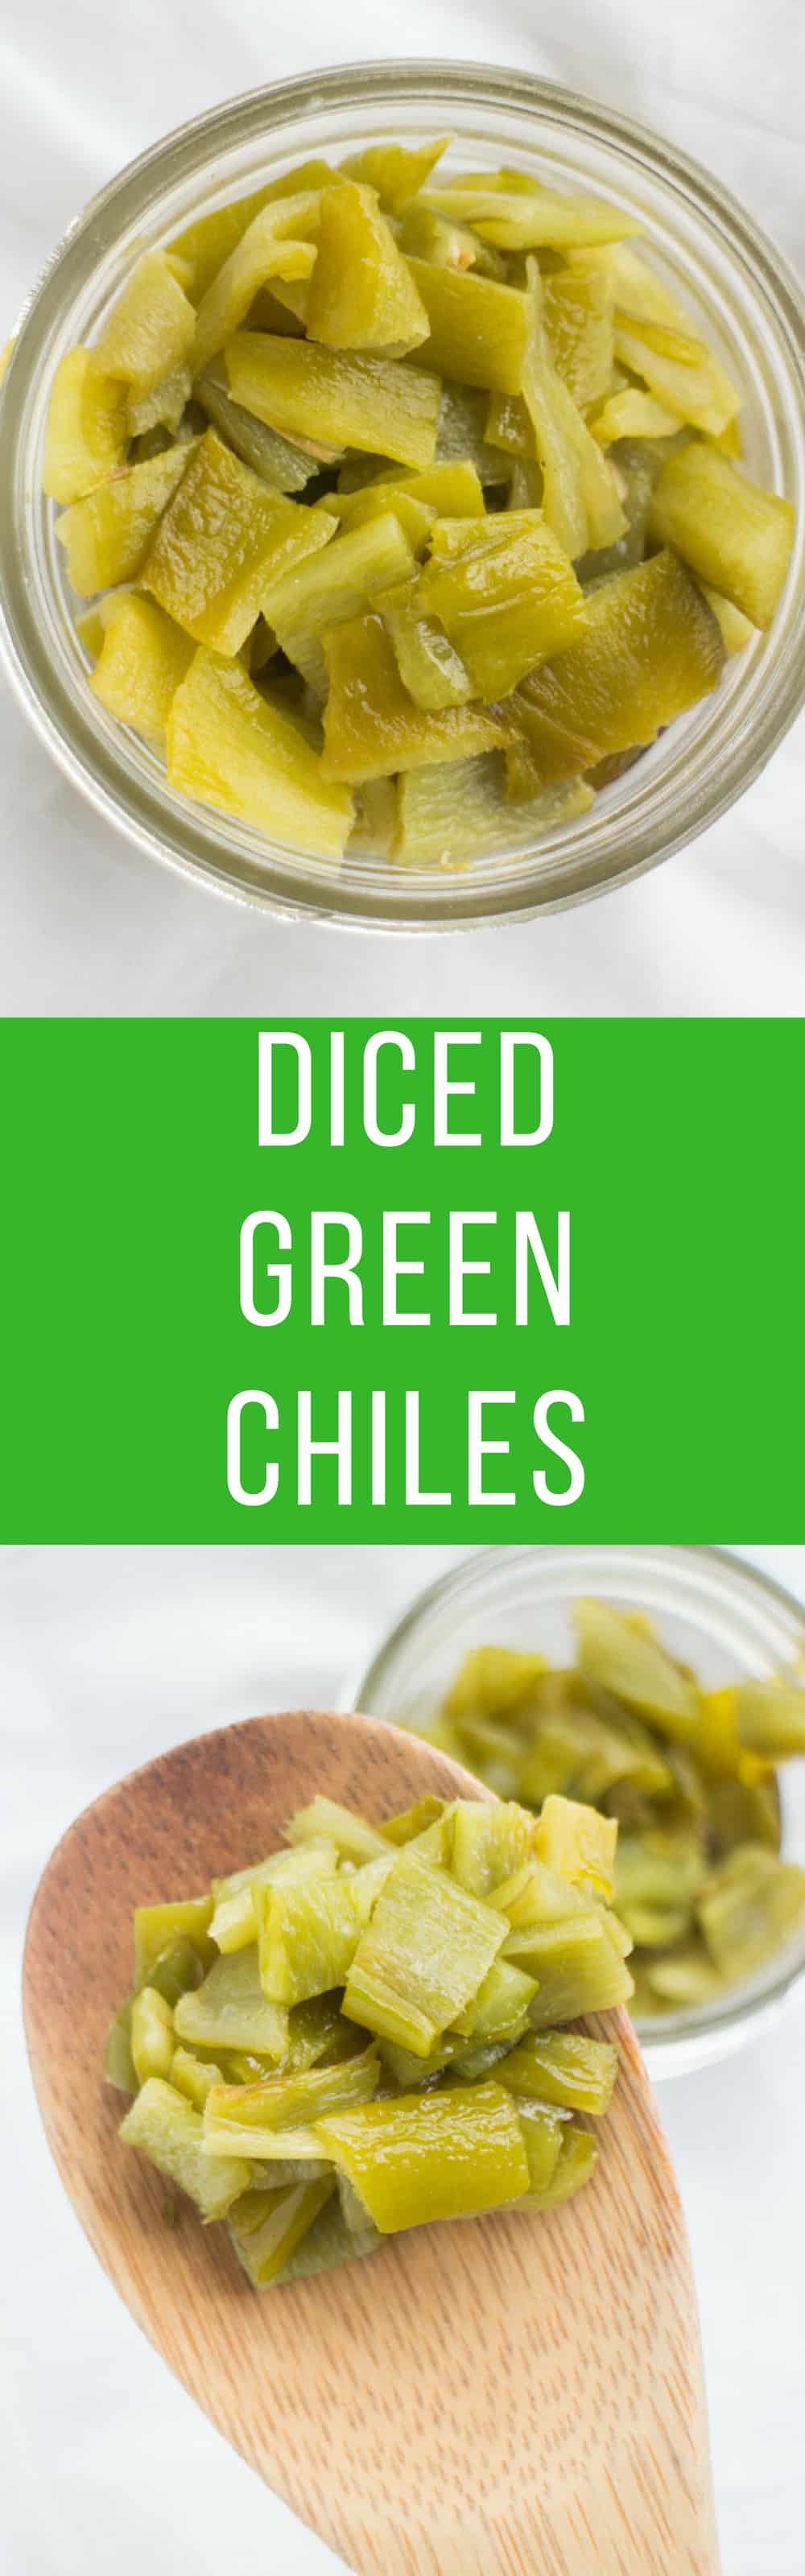
How to make DICED GREEN CHILES – just like the canned version you buy in the supermarket! SO EASY step by step instructions to make homemade green chiles! Perfect idea for your garden Anaheim peppers! Serve immediately, freeze or can them!
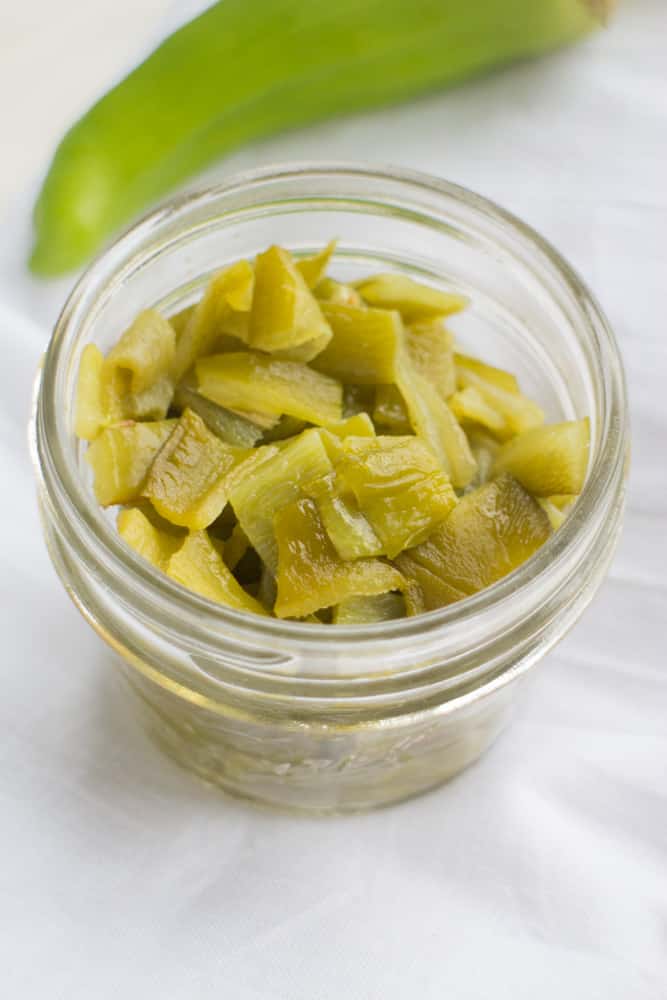
Diced Green Chiles
Did you come here because you wanted to make your OWN diced green chiles, just like the canned chiles you buy in the supermarket? Well you’re in luck, because this is going to walk you through how to make them! And even better, they’re so EASY to make!
The past year we became obsessed with canned diced green chiles, you know those 4 oz canned peppers? You’re probably familiar with the Oretega or Old El Paso brands! We put them in enchiladas, tacos, casseroles, stews and more. We were buying a few cans a week when it hit me – we should be growing them!
What type of peppers are canned diced green chiles?
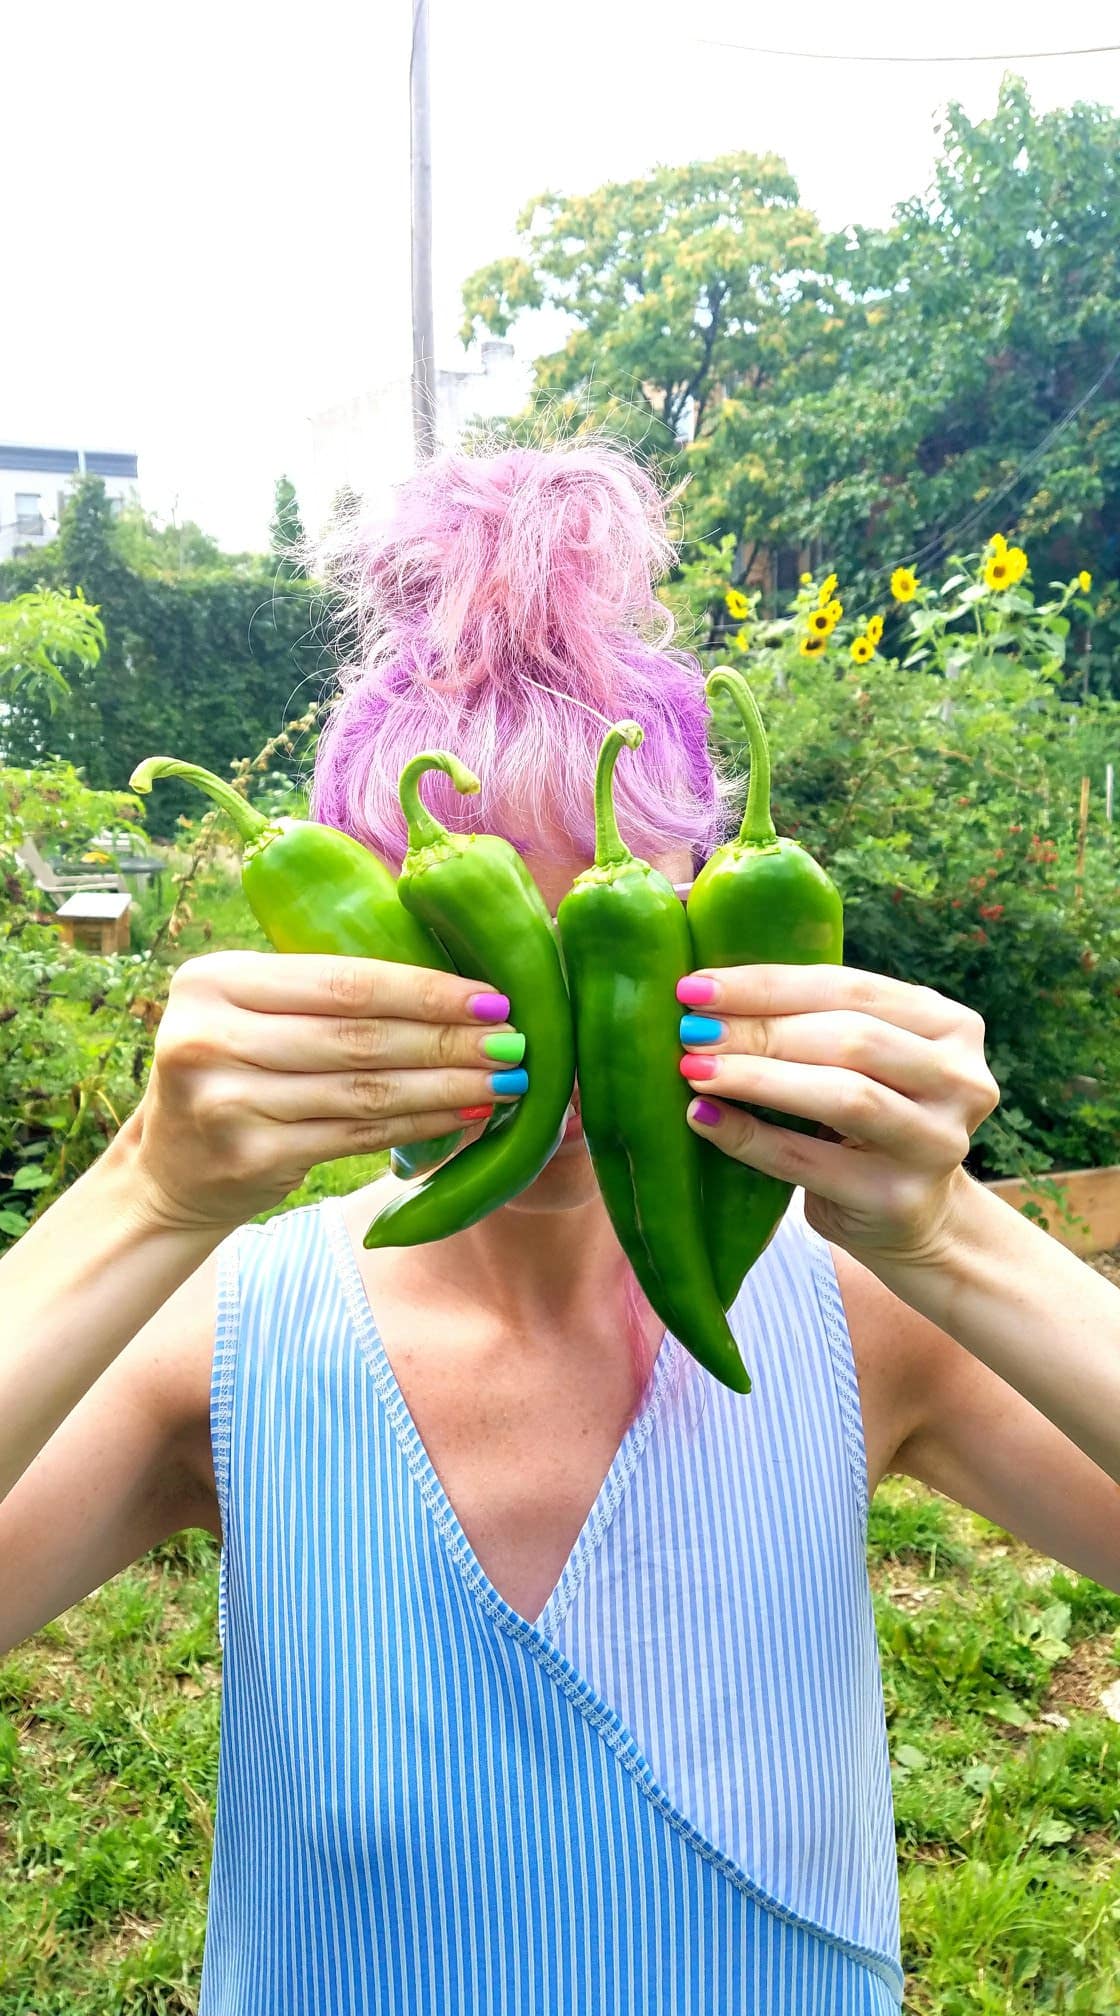
So I did some investigating to figure out what type of peppers they are, and turns out they’re Anaheim peppers. More specifically, we grow the “Highlander” variety of Anaheims. These plants are super high in productivity. I’m not kidding, grow 2 plants and you might be set for the season!
We have 6 plants growing and now I have a dedicated drawer in the refrigerator to these peppers! The plants grow about the average height of a bell pepper plant, but there’s just endless peppers in sight! We’re so amazed by their yield we’ll be growing them every year now!

They grow beautifully, more on the flat side which are great for roasting (although there are a couple curly ones!), and nice in length, ranging anywhere from 5-7 inches. Seriously guys, they can grow big!
How To Make Diced Green Chiles
These diced chiles are so easy to make and you only need 2 ingredients – Anaheim peppers and a little bit of salt. That’s it.
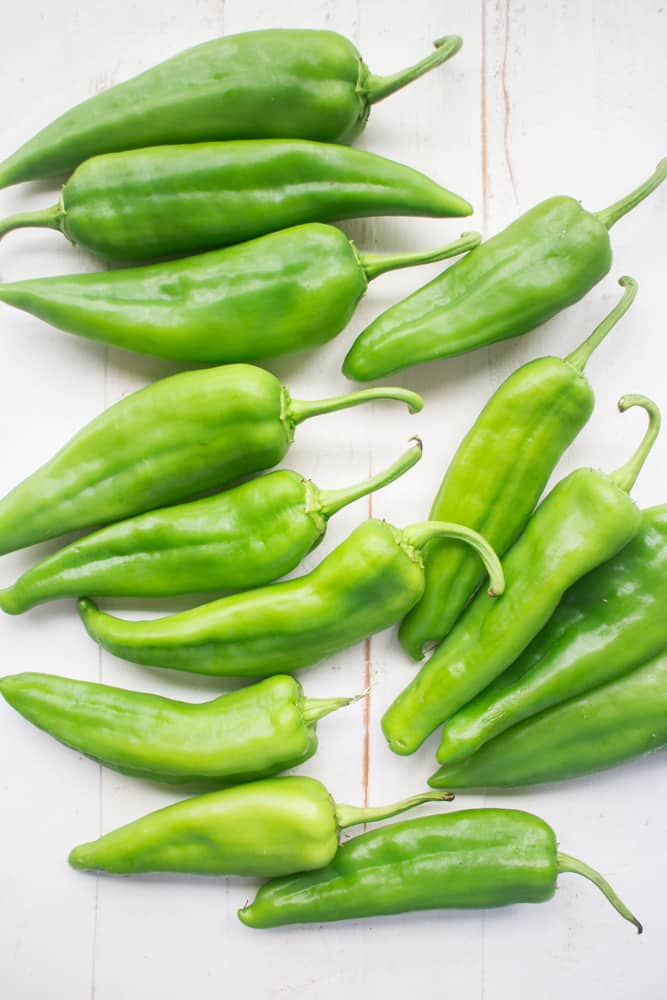
First wash your Anaheim peppers to make sure they’re clean, then dry them off completely.
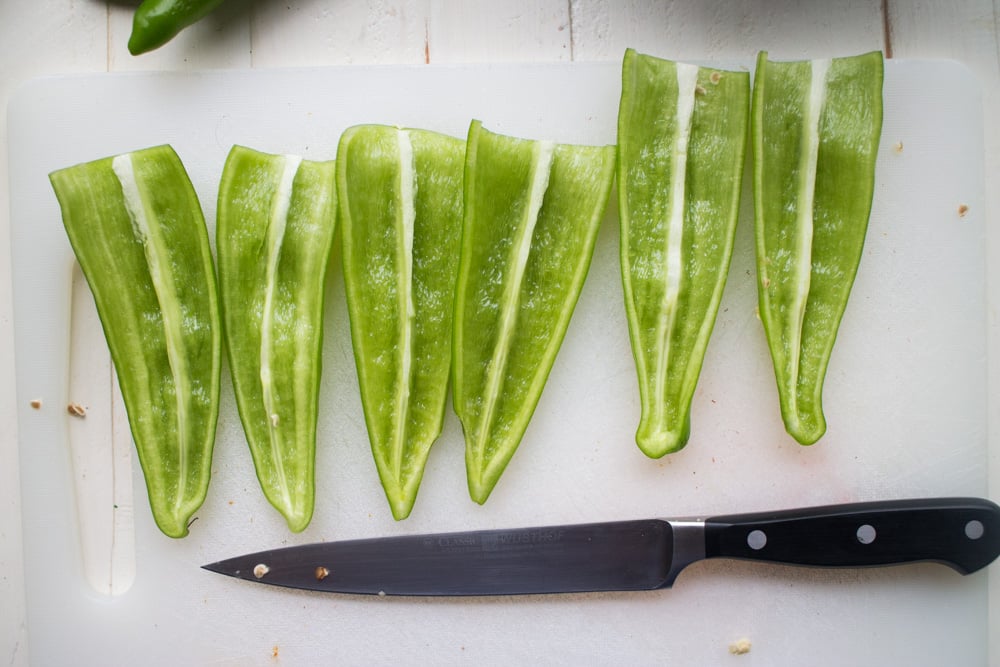
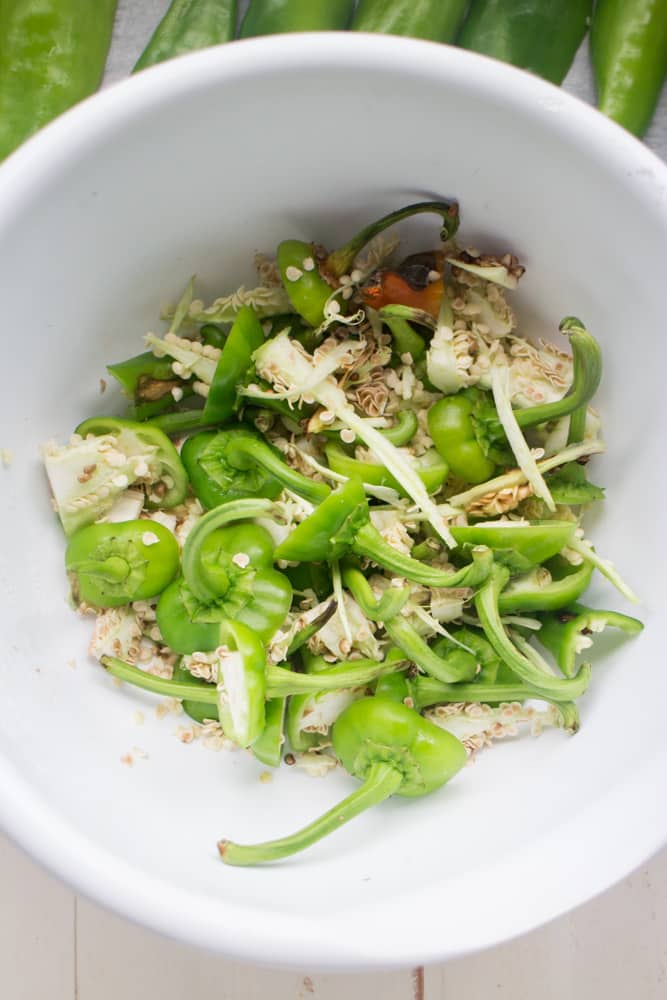
Cut the stem off each pepper, and then cut it in half. Scoop the guts and seeds out of the pepper and place in your compost bowl.
Here’s my good ol compost bowl.
Use Parchment Paper When Roasting Vegetables
You want to use parchment paper when roasting vegetables. This will prevent aluminum foil from possibly sticking to your vegetables. There’s also been some studies that show the foil can leach into the vegetables.
Now cover a baking pan with parchment paper. Arrange your peppers on top of the parchment paper.
How many peppers should you make? One can of 4 oz diced chiles requires about 4-5 Anaheim peppers. I recommend to make a few batches at once as you can easily freeze them.
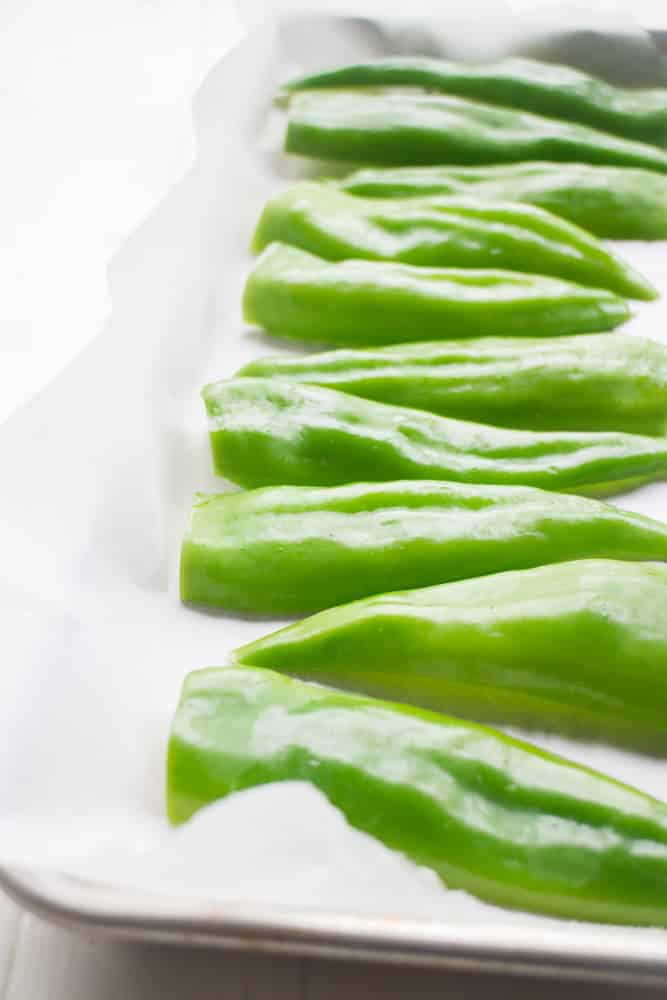
When arranging them on the baking sheet, I like to reverse each one when lining them up. This will give you more room for more peppers!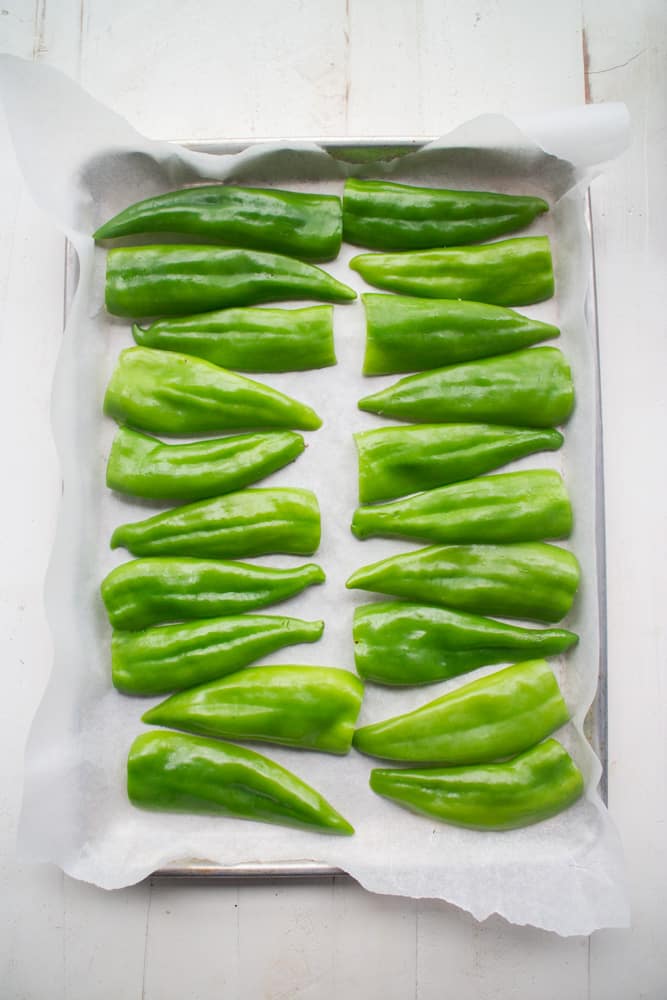
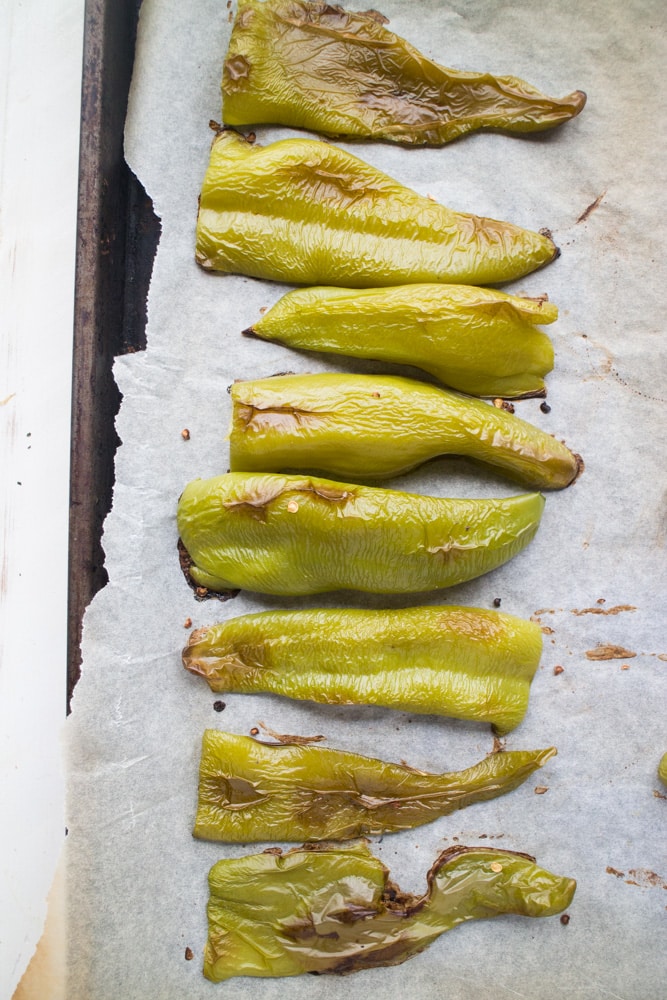
Roast your peppers at 450 degrees for approximately 20 minutes. You want the peppers to be slightly blistery, but not burned! Keep a eye on the peppers from around the 10 minute mark, just to be careful. 20 minutes is usually my “magic time” but depending on your pepper size yours might be anywhere from 15-25 minutes.
Here’s how your peppers should look when you know they’re done roasting. See how they’re blistering but not burnt?
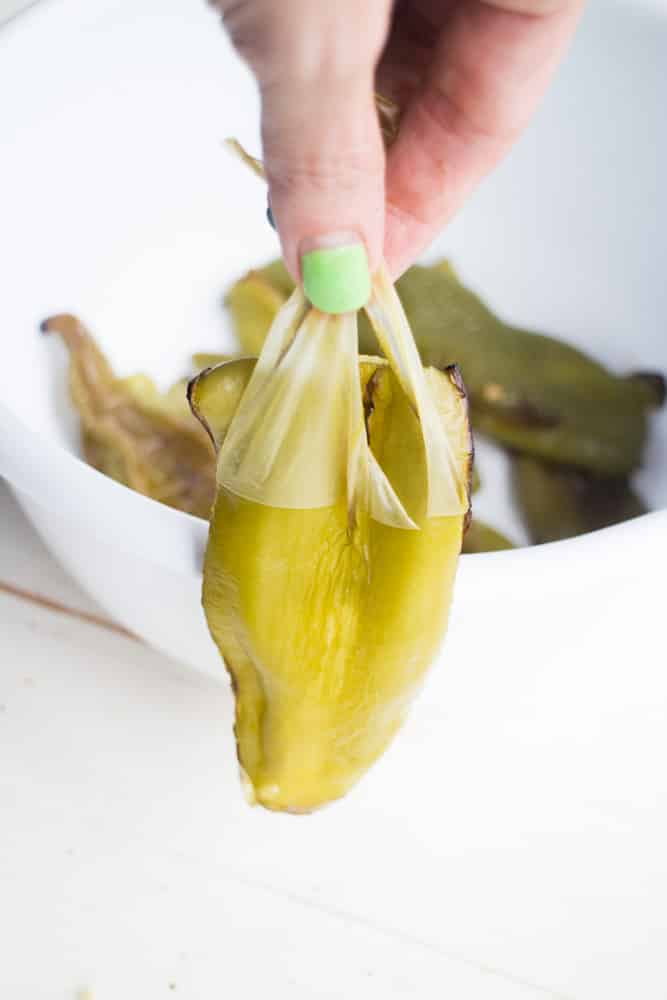
How to Remove Skins From Peppers
Here’s my trick on how to remove skins from peppers easily. By using this method, you can practically pull the skin off in one go.
Once the peppers are removed from the oven, let cool for a couple minutes until you can touch them (about 2-3 minutes). Place them in a bowl.
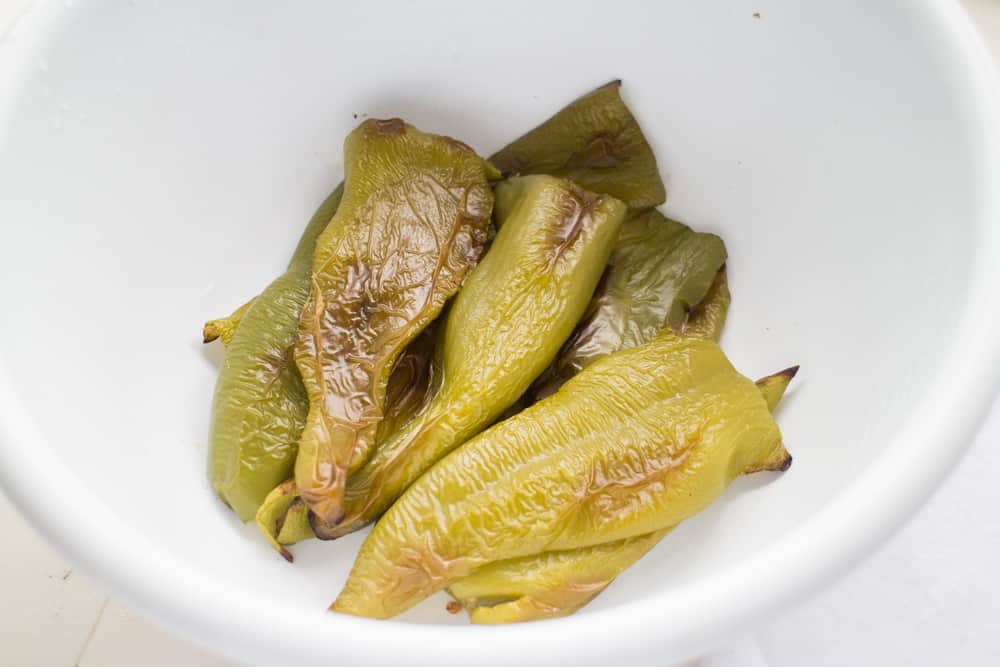
Now cover the bowl with a towel and let sit for about 15 minutes. This is going to lock in the moisture and make the skins easy to pull off!

See, look at how easy the skins peeled off!
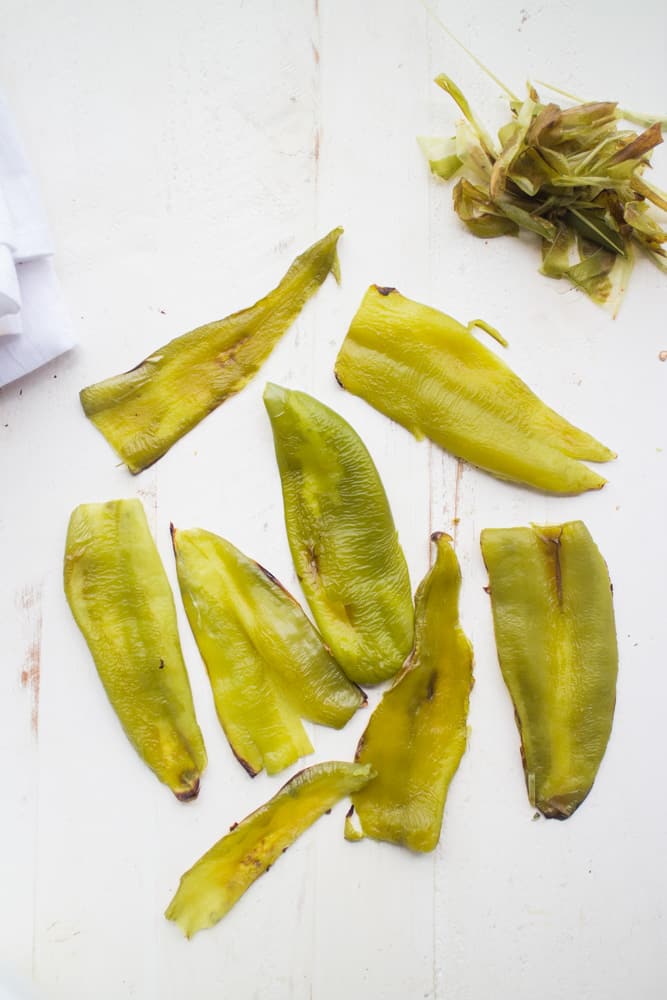
Peel the rest of your peppers so they’re naked! Don’t make them blush!
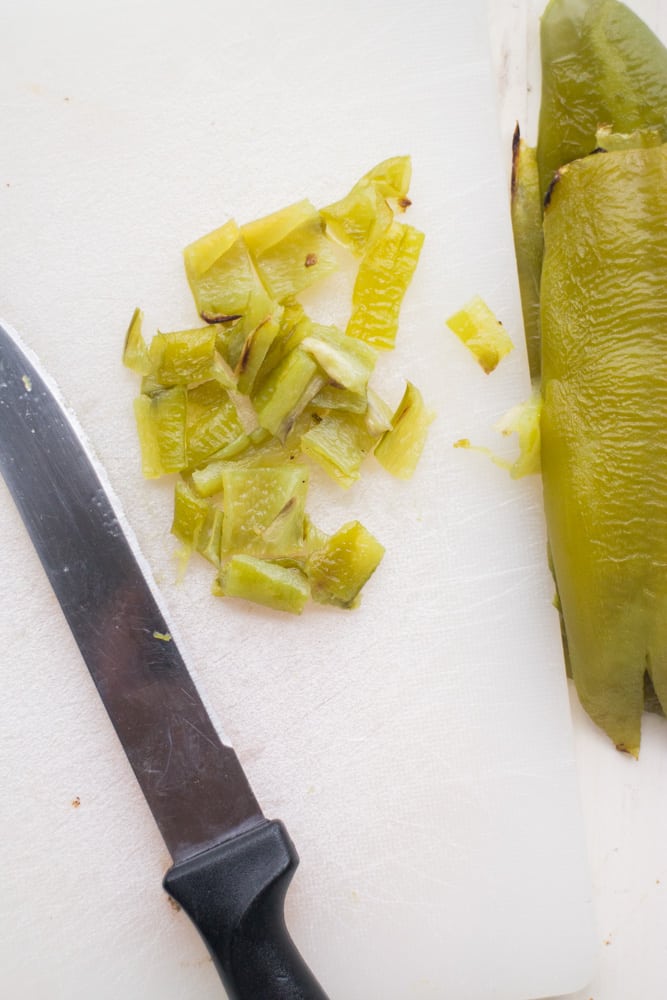
Ok, we’re almost done! Time to dice then up! I cut each half up into a few skinny pieces first.
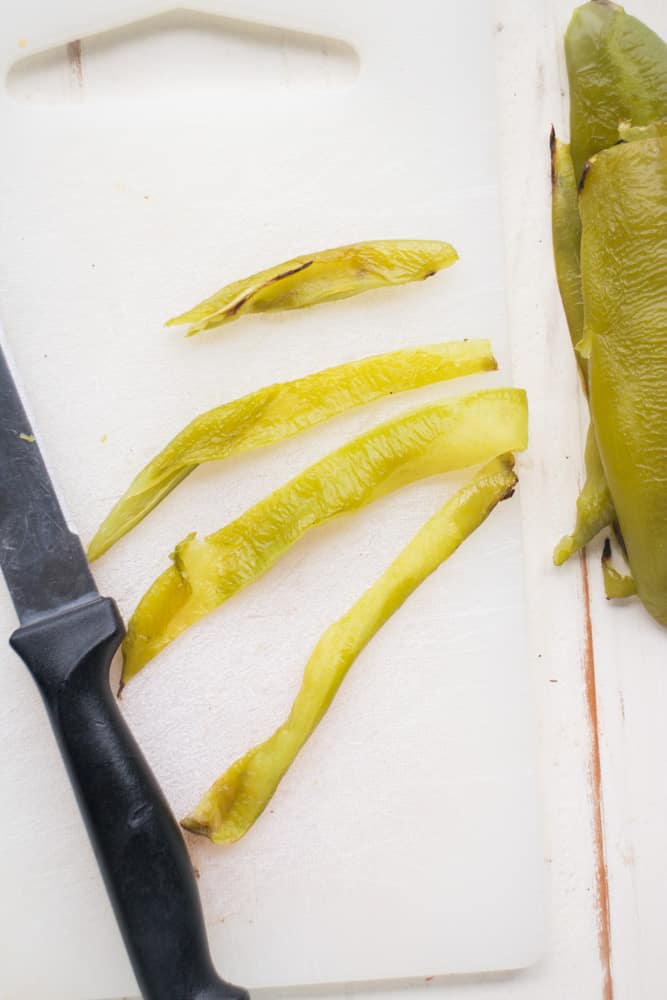
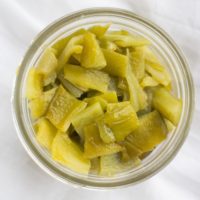
And then dice those pieces up!
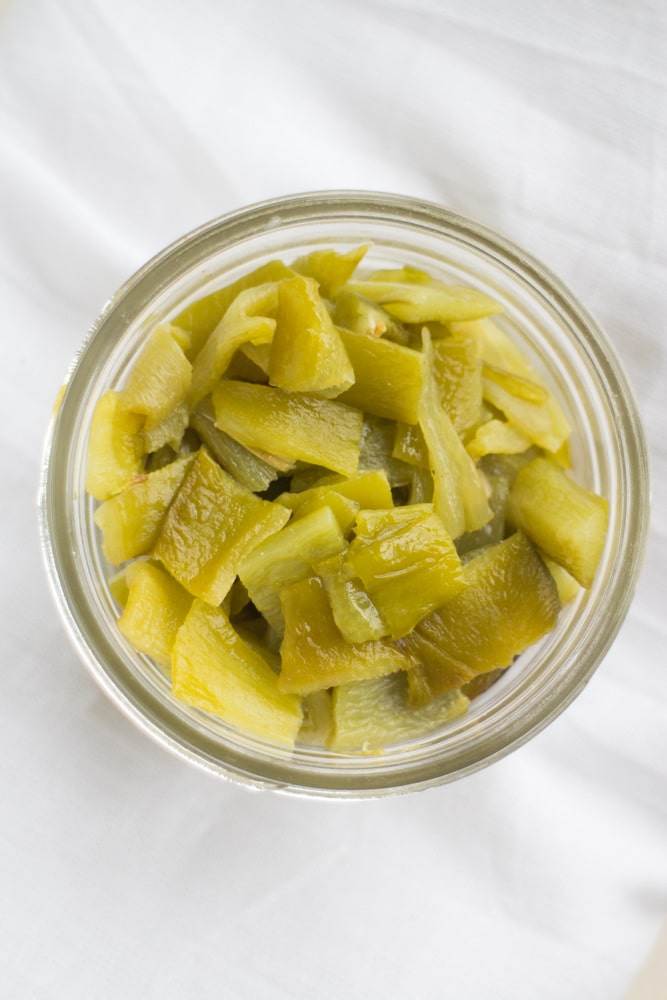
And just like that you have your own homemade canned diced green chiles! I usually add a tiny dash of salt to each 4 oz batch. But that’s it – you don’t need any other ingredients!
Can you can diced green chiles?
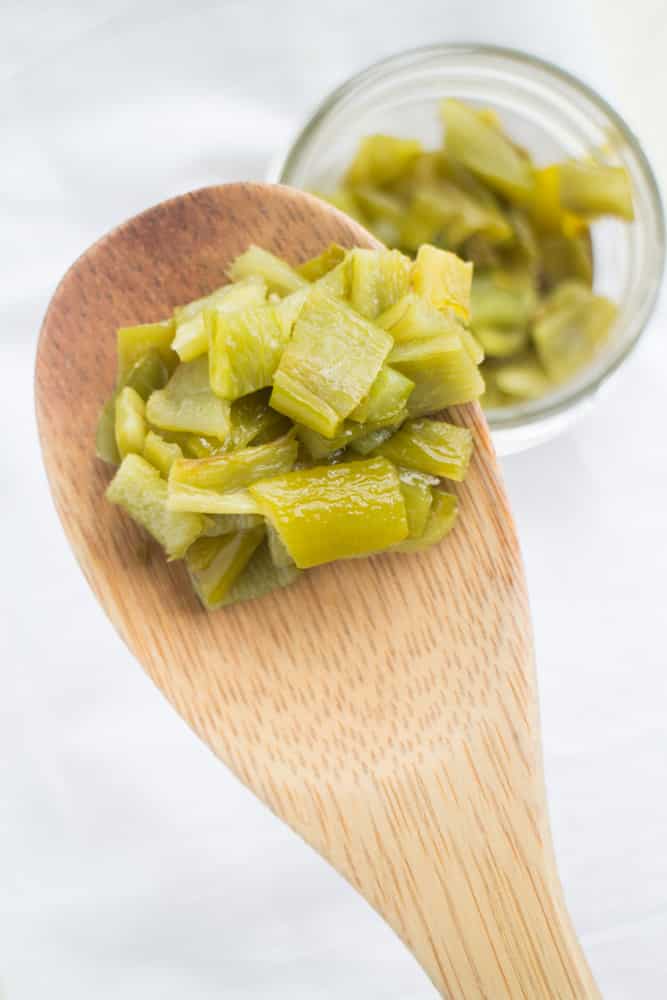
Yes! You can serve them immediately in your favorite recipe, freeze them for later or even can them!
I usually freeze them in 4 ounce portions in freezer bags or small jars, as usually that’s what a recipe calls for!
You’re going to love how easy these are to make and how you can save them to last throughout the Winter!
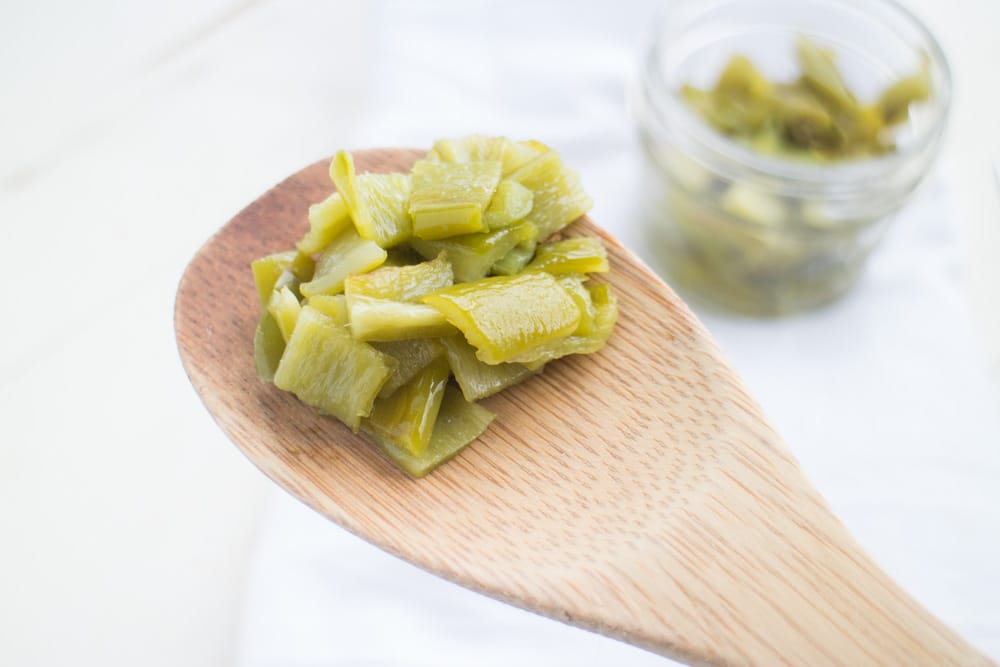
I hope you enjoy these Diced Green Chiles!
If you make them, make sure to post them on Instagram with #brooklynfarmgirl so I can feature them!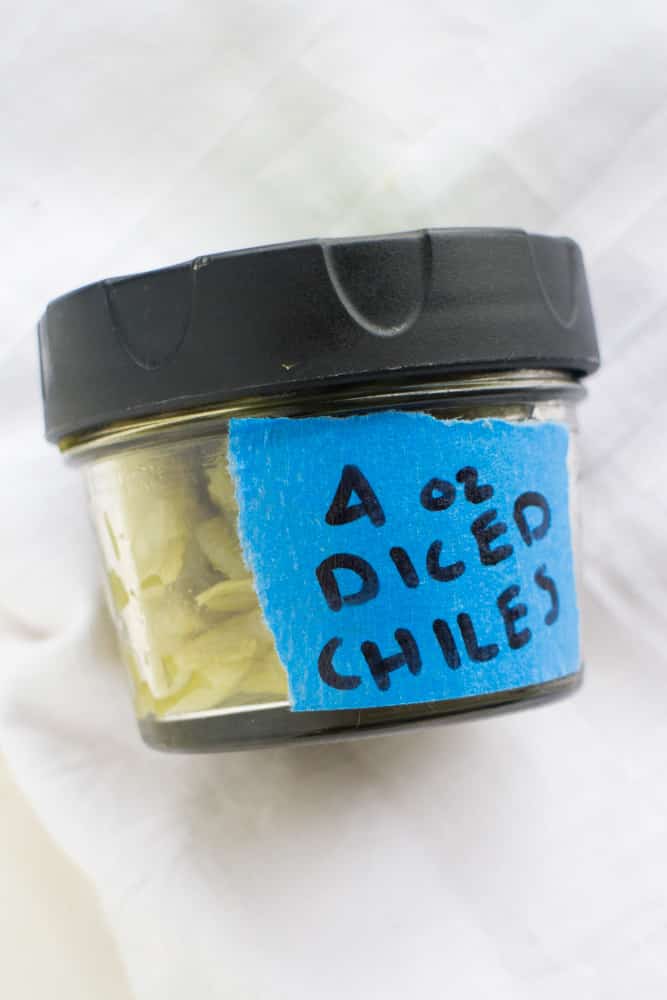
Recipe Using Diced Green Chiles
Pin for later:
How to Make Diced Green Chiles
PrintIngredients
- 16 Anaheim peppers
- dash of salt
Instructions
- Preheat your oven to 450 degrees. Place parchment paper on baking sheet.
- Clean peppers to remove any dirt on them. Dry them completely.
- Cut off the stem of each pepper. Cut the pepper in half, removing all the guts and seeds (discard or compost!). Place peppers on parchment paper lined baking sheet.
- Roast for approximately 20 minutes, or until the peppers are blistery and starting to get brown spots. Depending on your pepper size this will take about 15-25 minutes. Keep a eye on them so they don't burn!
- Remove from oven and let cool until you can touch them (about 2-3 minutes). Remove peppers from baking sheet and place in bowl. Place a towel over the bowl and allow to sit for about 15 minutes. This process is going to allow the skins to be removed easily. When 15 minutes is up, peel the skins off each pepper.
- Dice the peppers up and place in bowl. Add a dash of salt and stir.
- You can serve these immediately in your favorite recipe, freeze them for later usage or can them.


John Robert says
You are the bomb… I’ll go grow some now, (and try with jalapenos too ) and try your recipe. THANKS
Gail McManus says
I live in Mexico and can you believe I can’t get canned green chilies , jalapeños yes. I’m going to try to locate the Anaheim here and will consider growing them. Thanks for the simple recipe.
Todd says
The way i understand it, this would need to be pressure canned due to the low acidity of the peppers, water bath method is for high acid foods.
Chelsea says
This is a wonderful recipe. I plan to can them. How long do you pressure can peppers for
Todd Miller says
I believe it is 30 min at 10pounds, that is for half pints so i would imagine 1/4 pints would be close to the same
Darlene in Nova Scotia says
OMgosh…my previous comment should ready “YOUR” many fans, not “my” . geeh whiz I don’t have fans…haha
Perhaps you can correct that for me…sorry….I type too fast sometimes.
Thanks Pamela
Darlene in Nova Scotia says
for got your well deserved 5 stars on my previous comment :-))
Darlene in Nova Scotia says
Hello Pamela! Yum Yum Yum oh my your chiles looks so delicious. I have Anaheim peppers growing from seed for the first time here in Nova Scotia. Thank heavens they survived hurricane Lee. I really want to make these tasty morsels. I have no freezer room so I want to can them, safely of course. I don’t have a pressure canner, I always use the water bath method. Do you have a recipe to can the chiles this way? If not, perhaps one of my many fans have one. Love your website. Thank you kindly Pamela.
Holly says
What is a good way to freeze in recipe size amounts?
Pamela Reed says
You can use ice cube trays as a easy way to freeze them! Once frozen I pop them out and place in freezer bags. Hope this helps!
roy says
Hi, thank you for your recipe. But how much does this make in cups (or oz)?
Pamela Reed says
Hey Roy, in this recipe I’m making 16 ounces. You can adjust your recipe according to how many peppers you have. Hope that helps.